
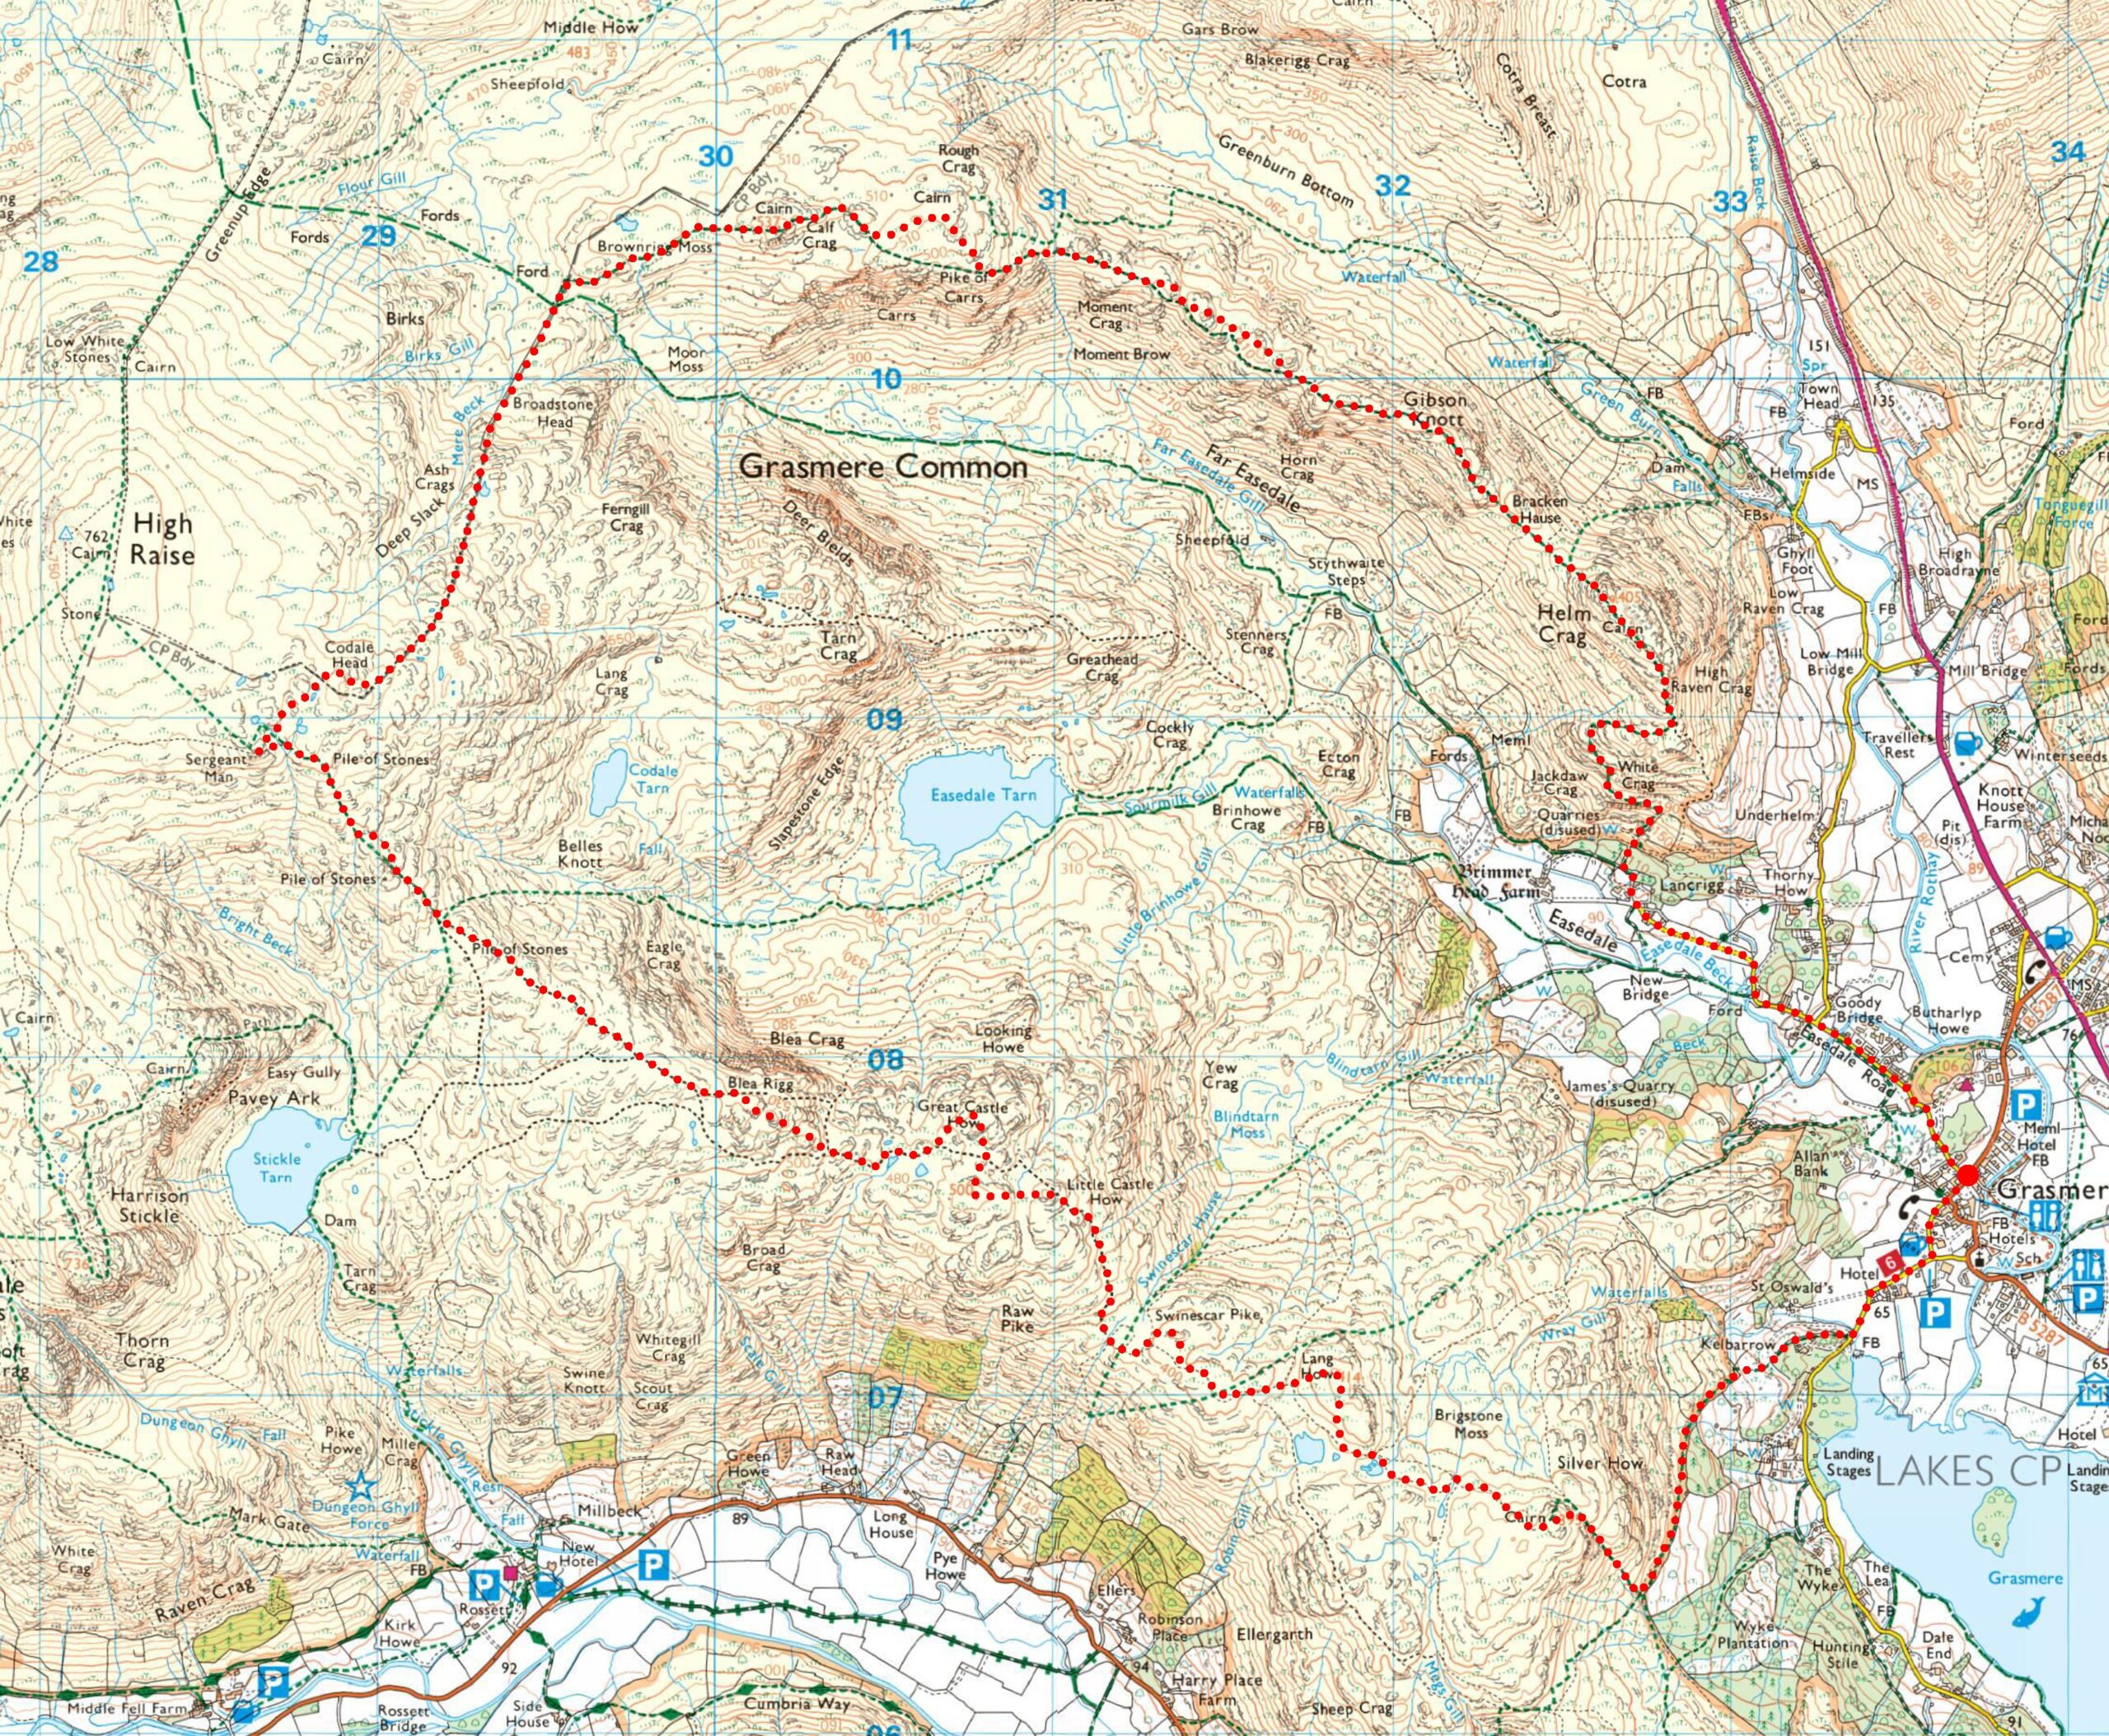
The best ‘round’ in the Lake District? Well, it’s certainly the author’s favourite, and I’m sure it will be a favourite for many fellwalkers. If you like tops and tarns, then surely there isn’t a better ‘round’ in Lakeland, especially if walked in clear weather like I did on this occasion. As for other ‘rounds’ in the district, yes, there are ones with more height and more dramatic drops, but the Easedale Round, with its meandering paths, rewards with interest throughout, with a remarkable succession of tops and tarns along the way.
The Easedale Round can be extended at its head to include High Raise and Greenup Edge, but personally, I prefer to leave Codale Head via the direct route to the head of Far Easedale, where it connects with the returning ridge of Helm Crag. This feels like a more natural ‘round’ and is far more interesting.
Richard
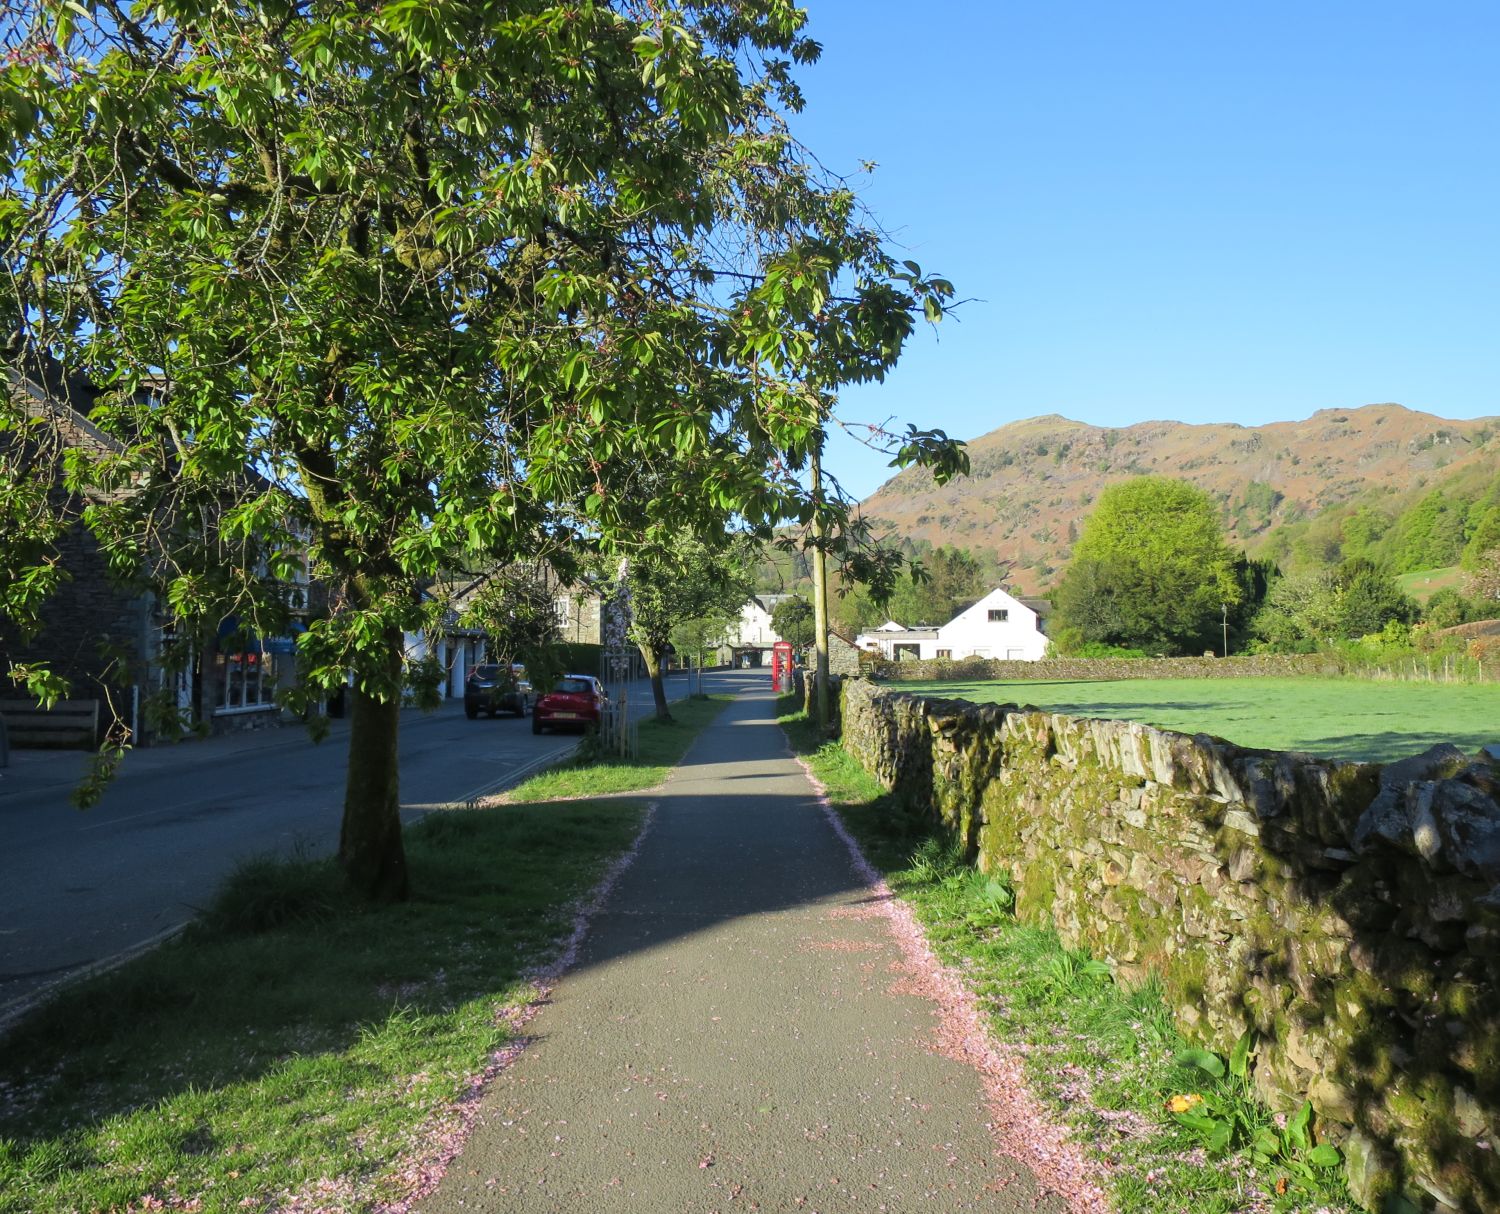
There are many parking options in the village of Grasmere — some are even free, but on this occasion I chose the Broadgate Meadow car park, which is pay and display.
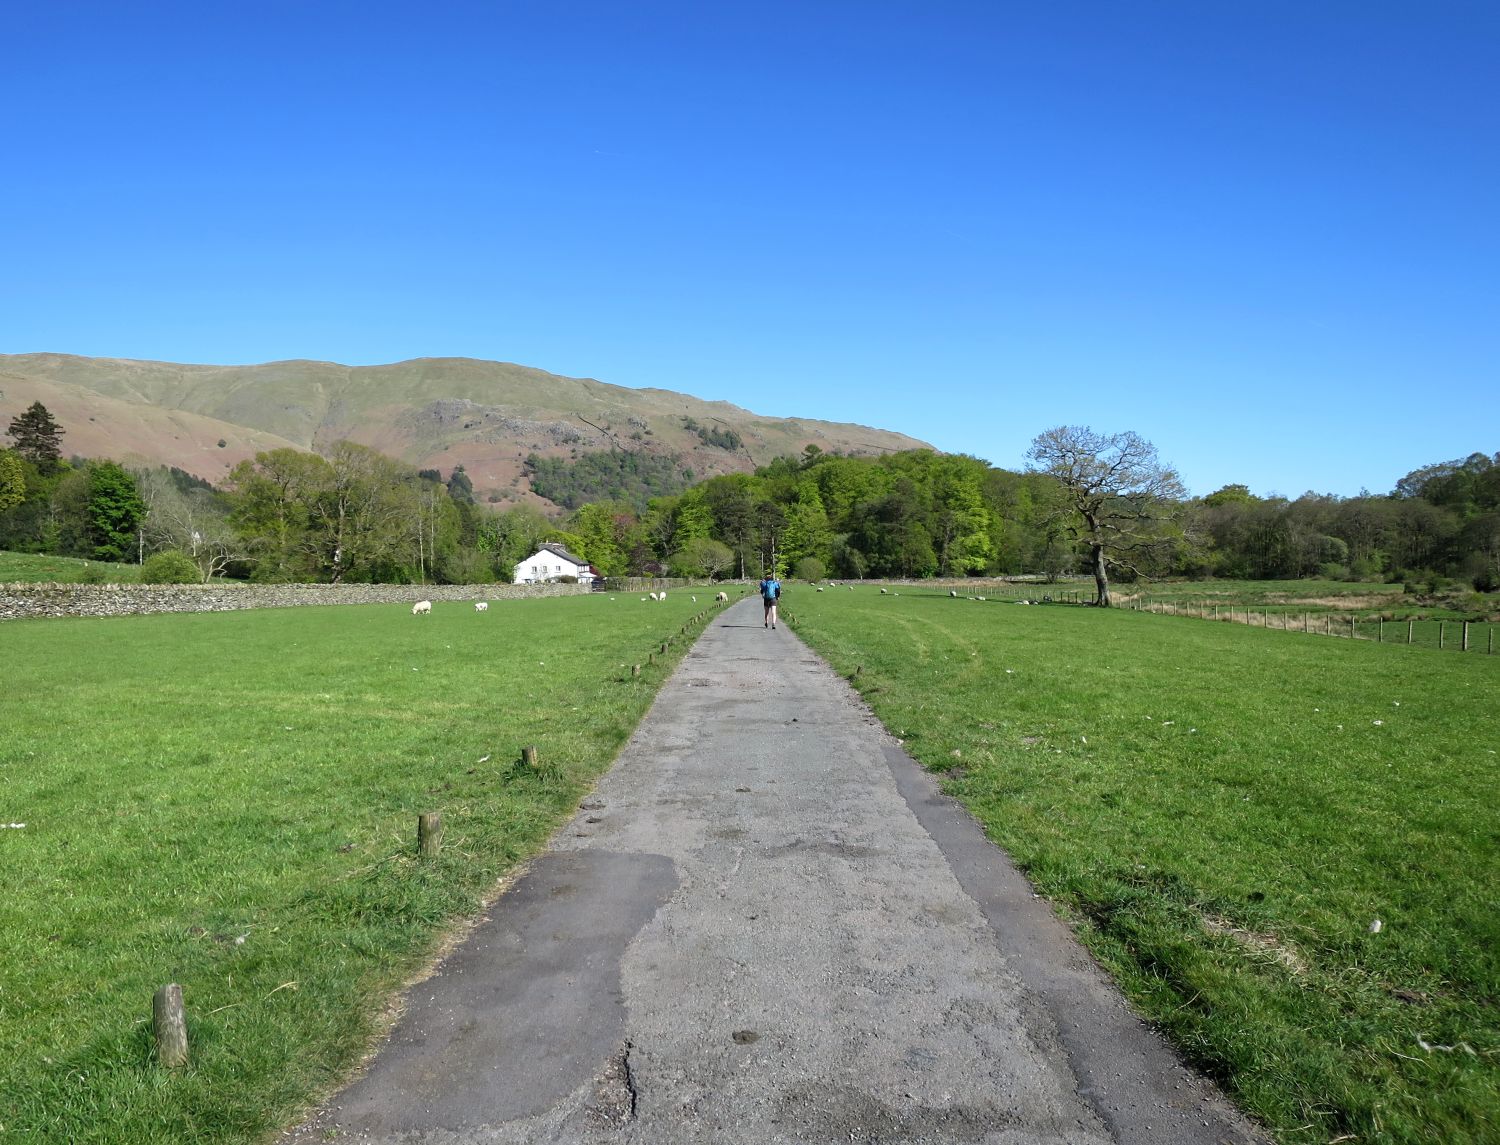
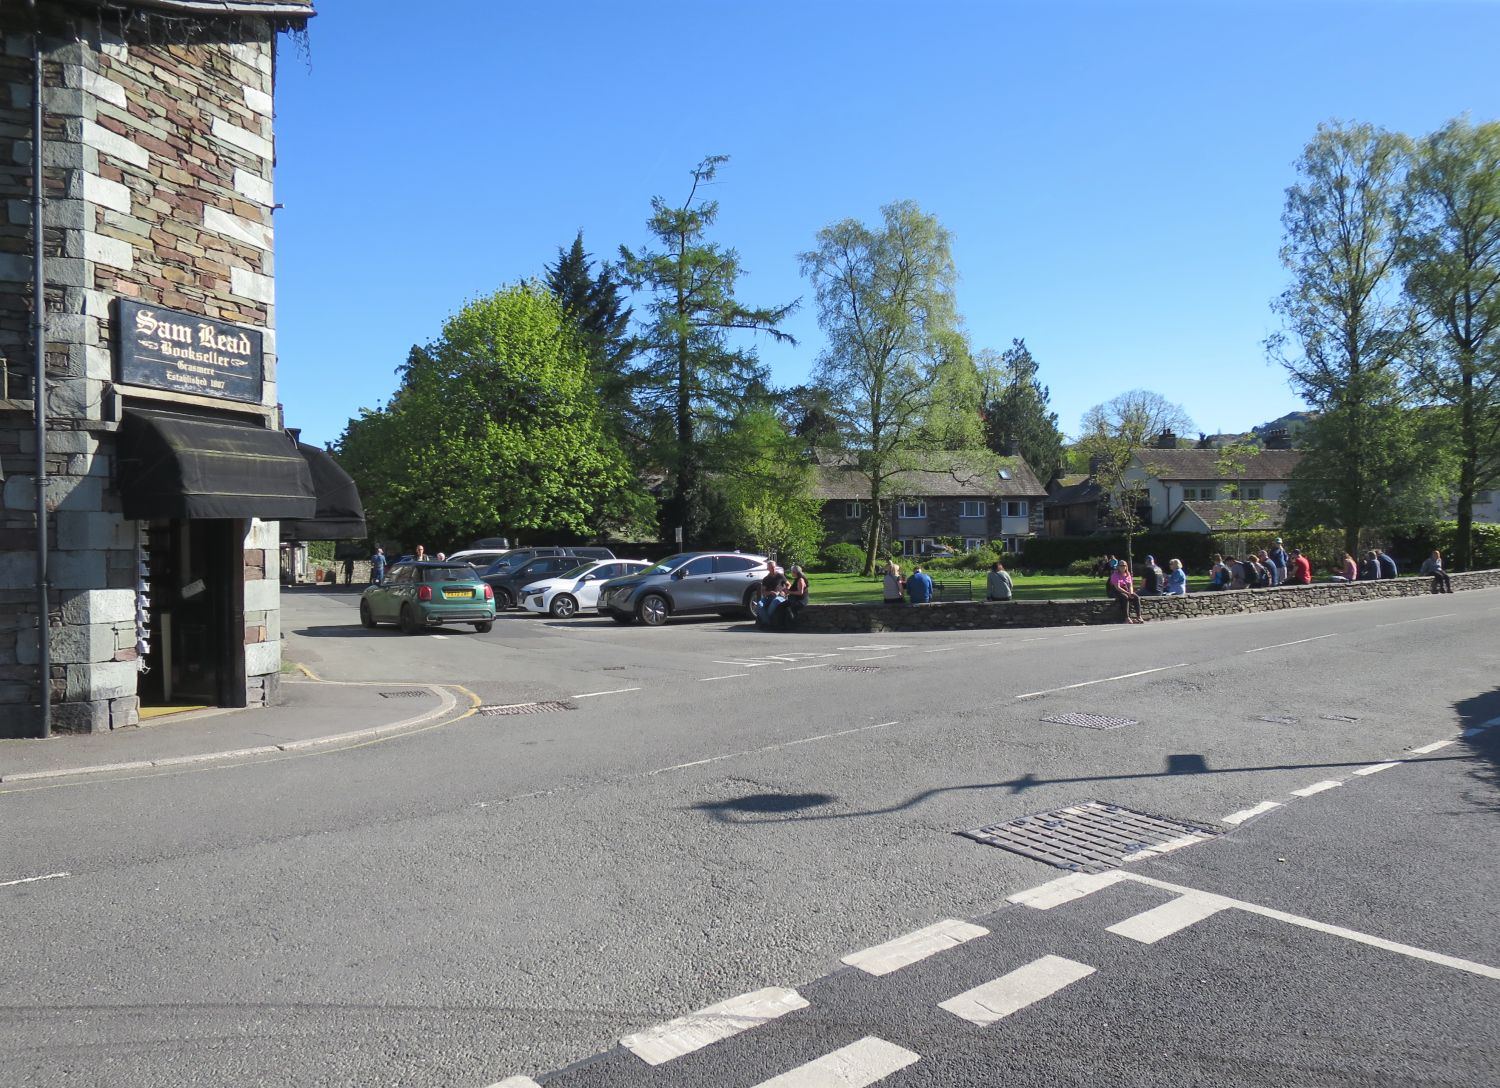
From the car park, after a quick visit to the Co-Op, we continued along Broadgate Road and left the village via Red Bank Road.
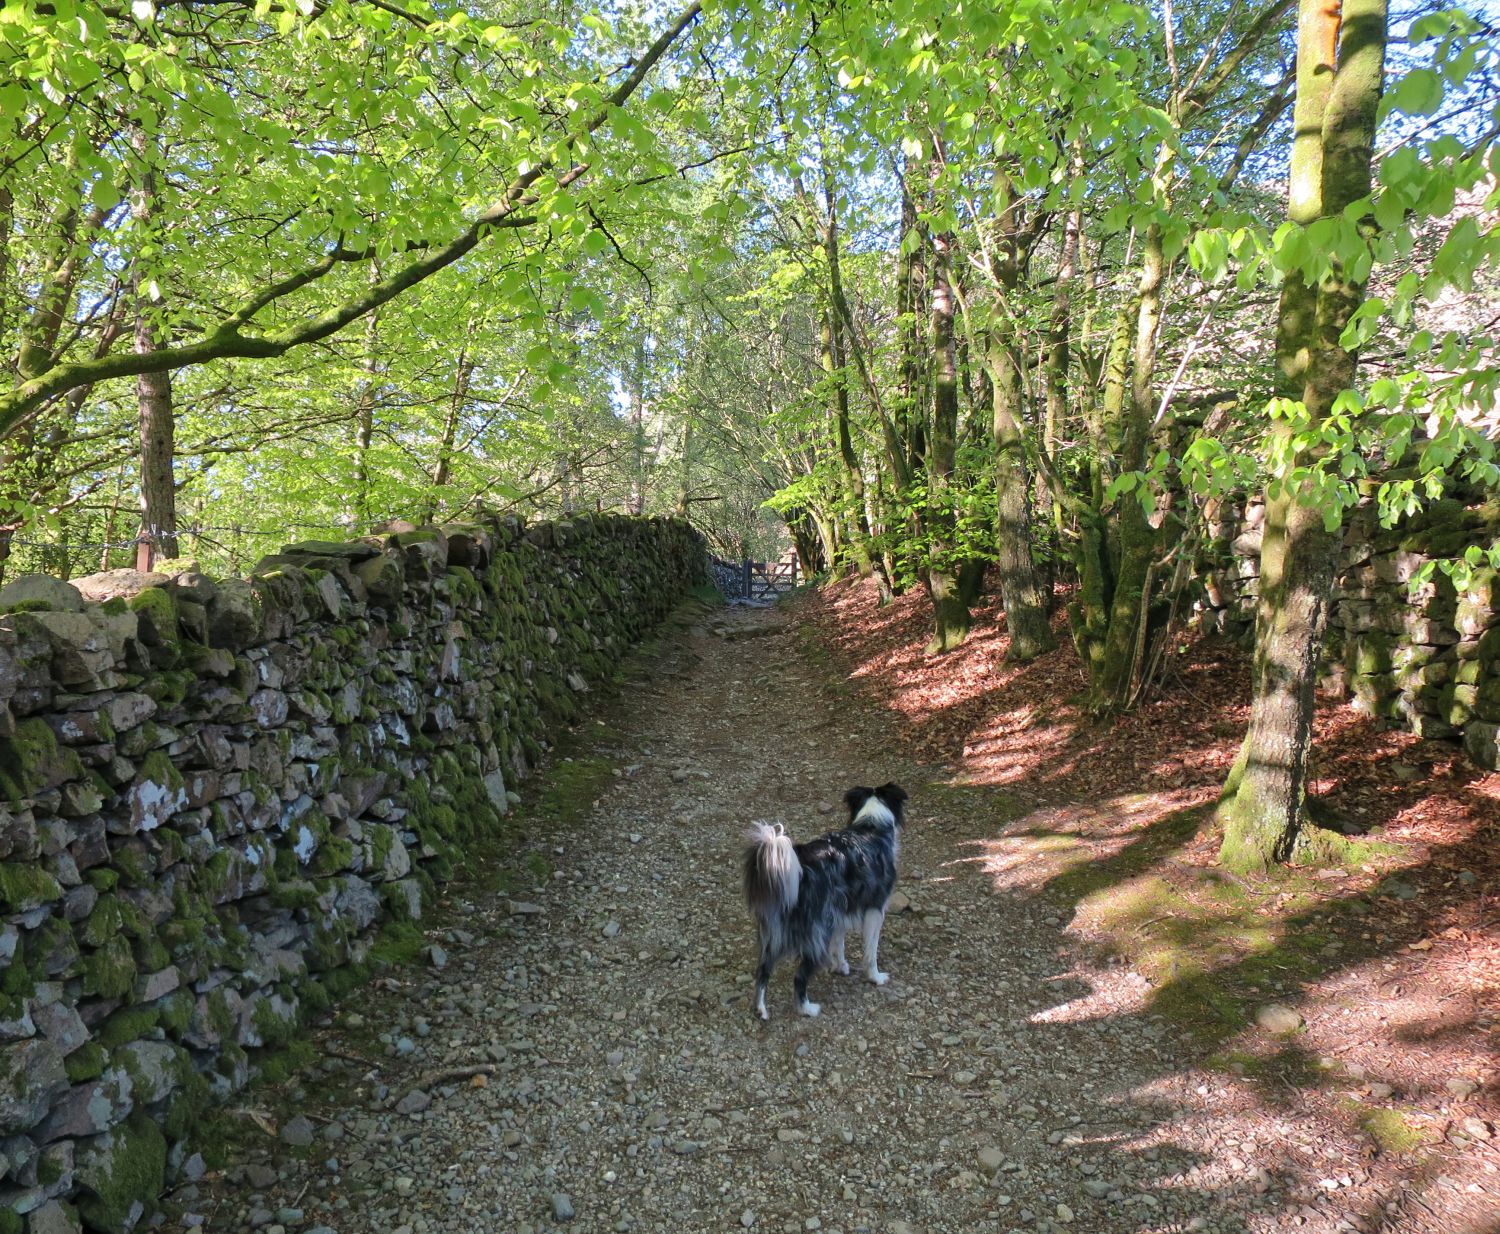
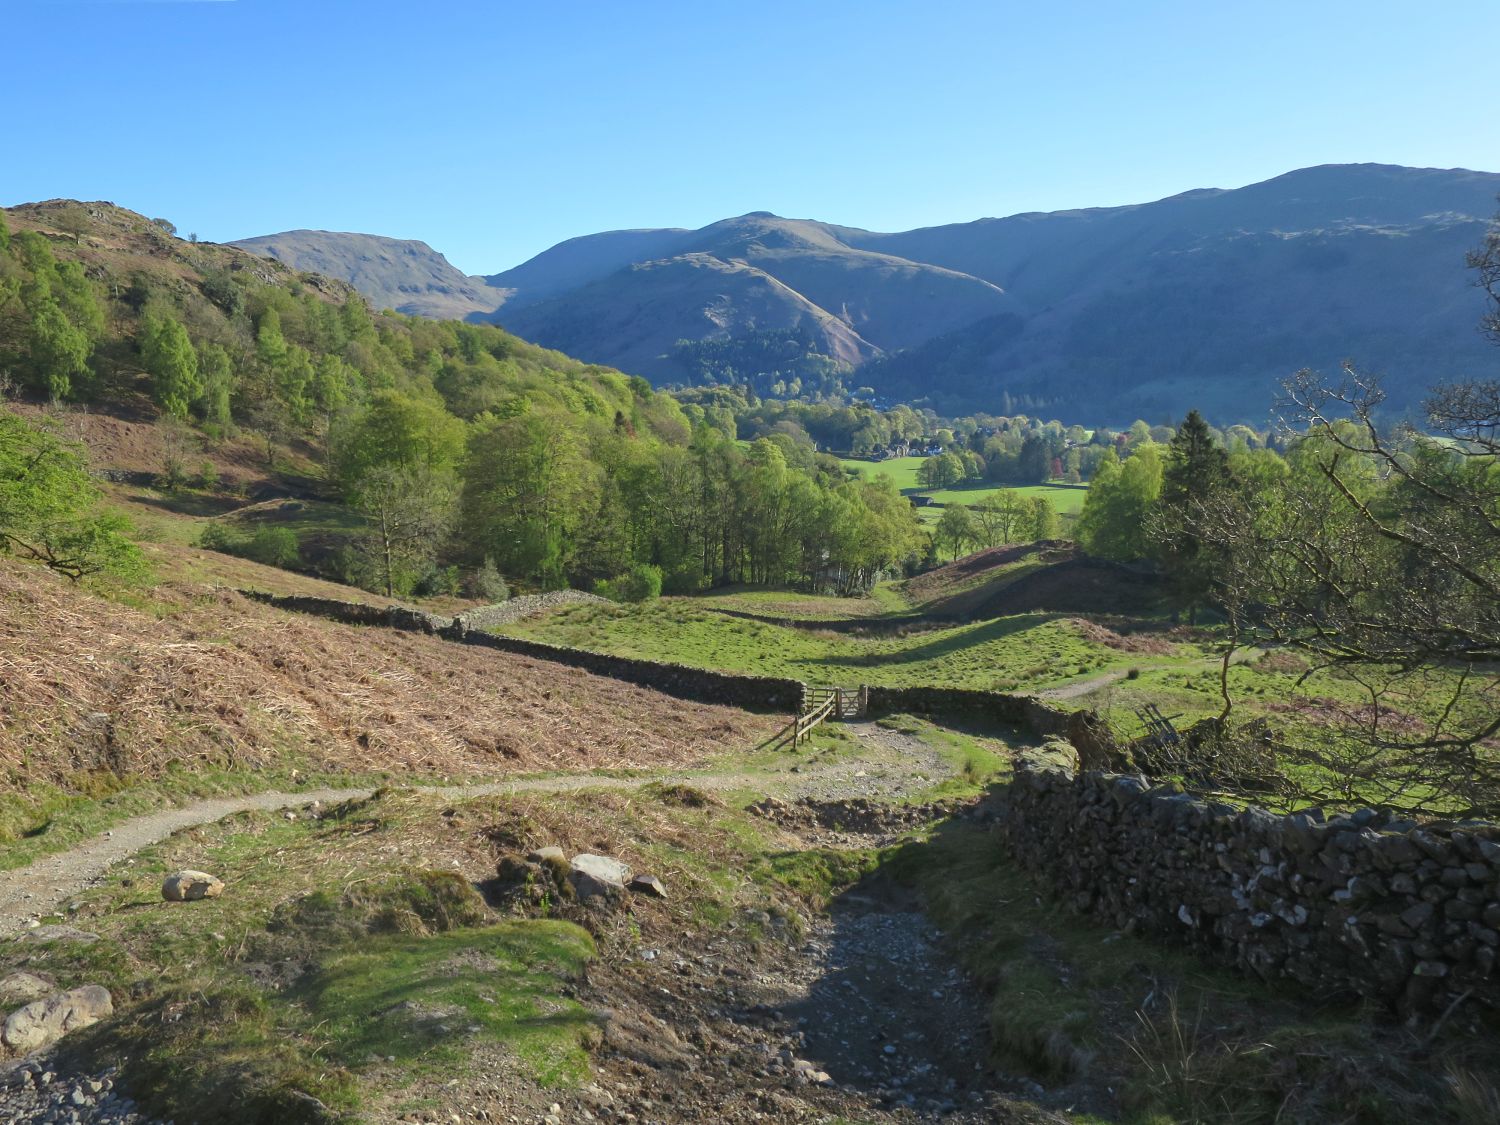
“Forget about Silver How for a few moments here and halt to admire the beautiful specimen trees in these lower pastures.” Silver How 4
— Alfred Wainwright
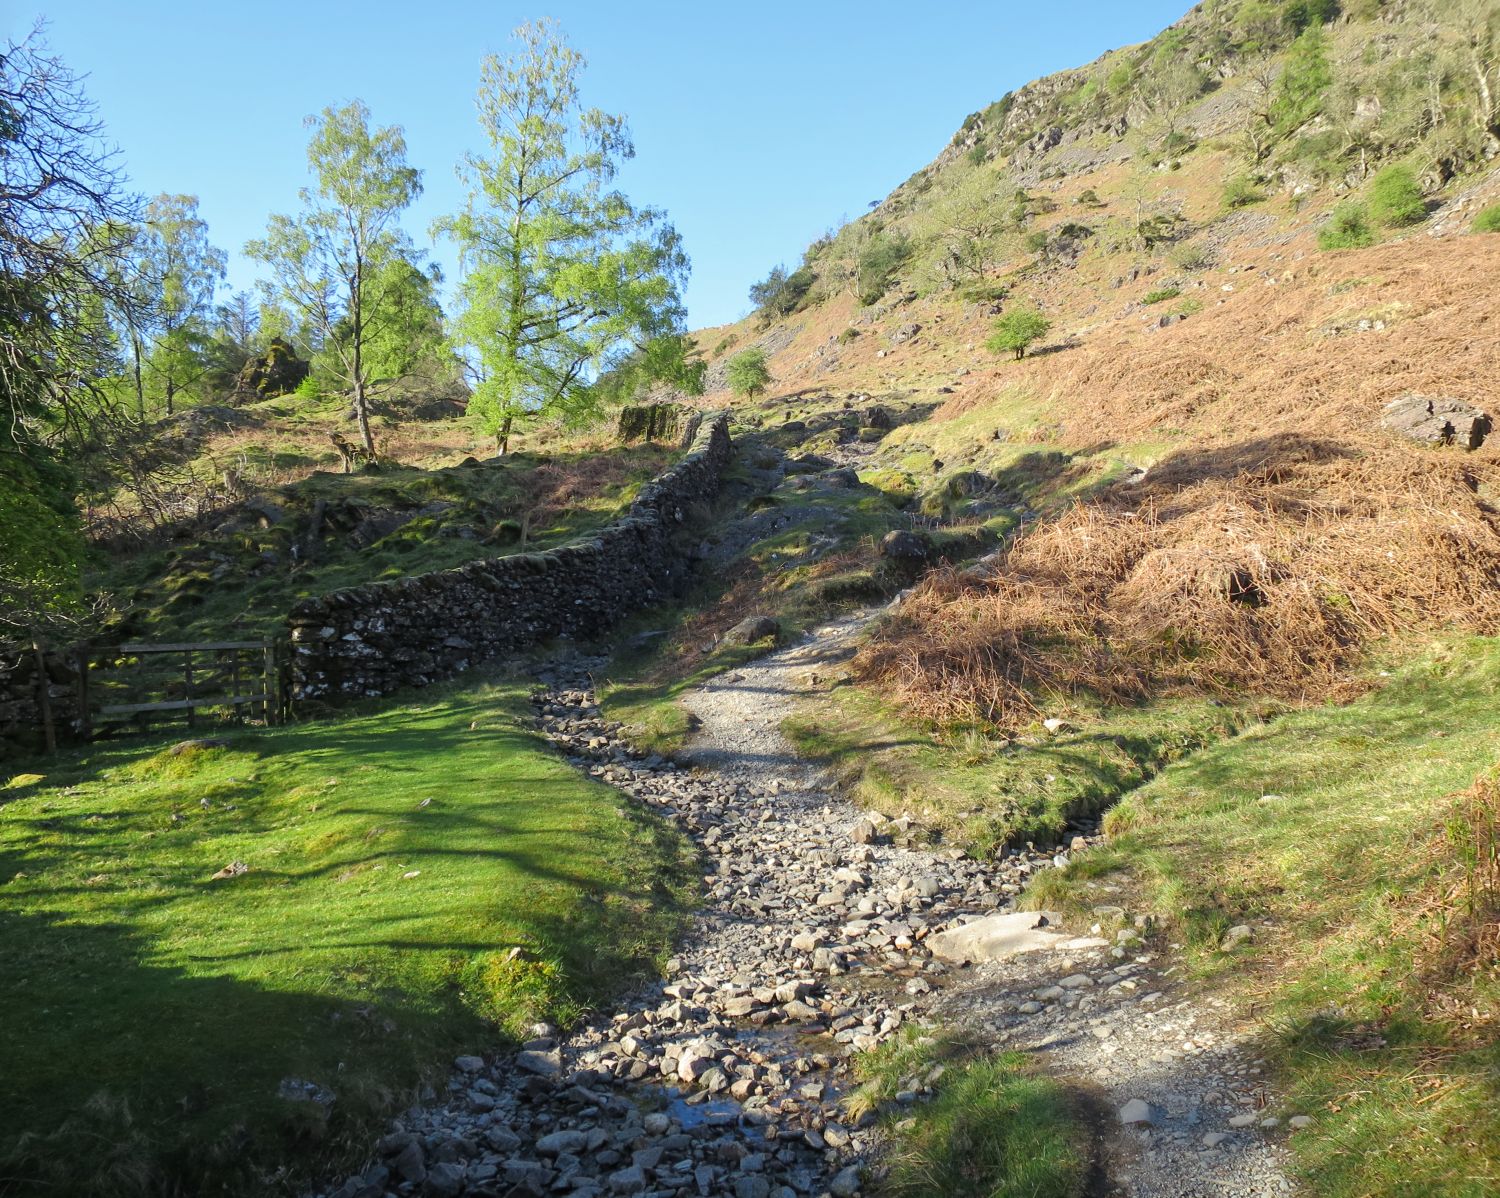
The track continues to follow a wall to the top of the bank and the foot of the eastern shoulder of Silver How. This is a delightful approach.
The walled pastures on your left are private grounds and plantations.
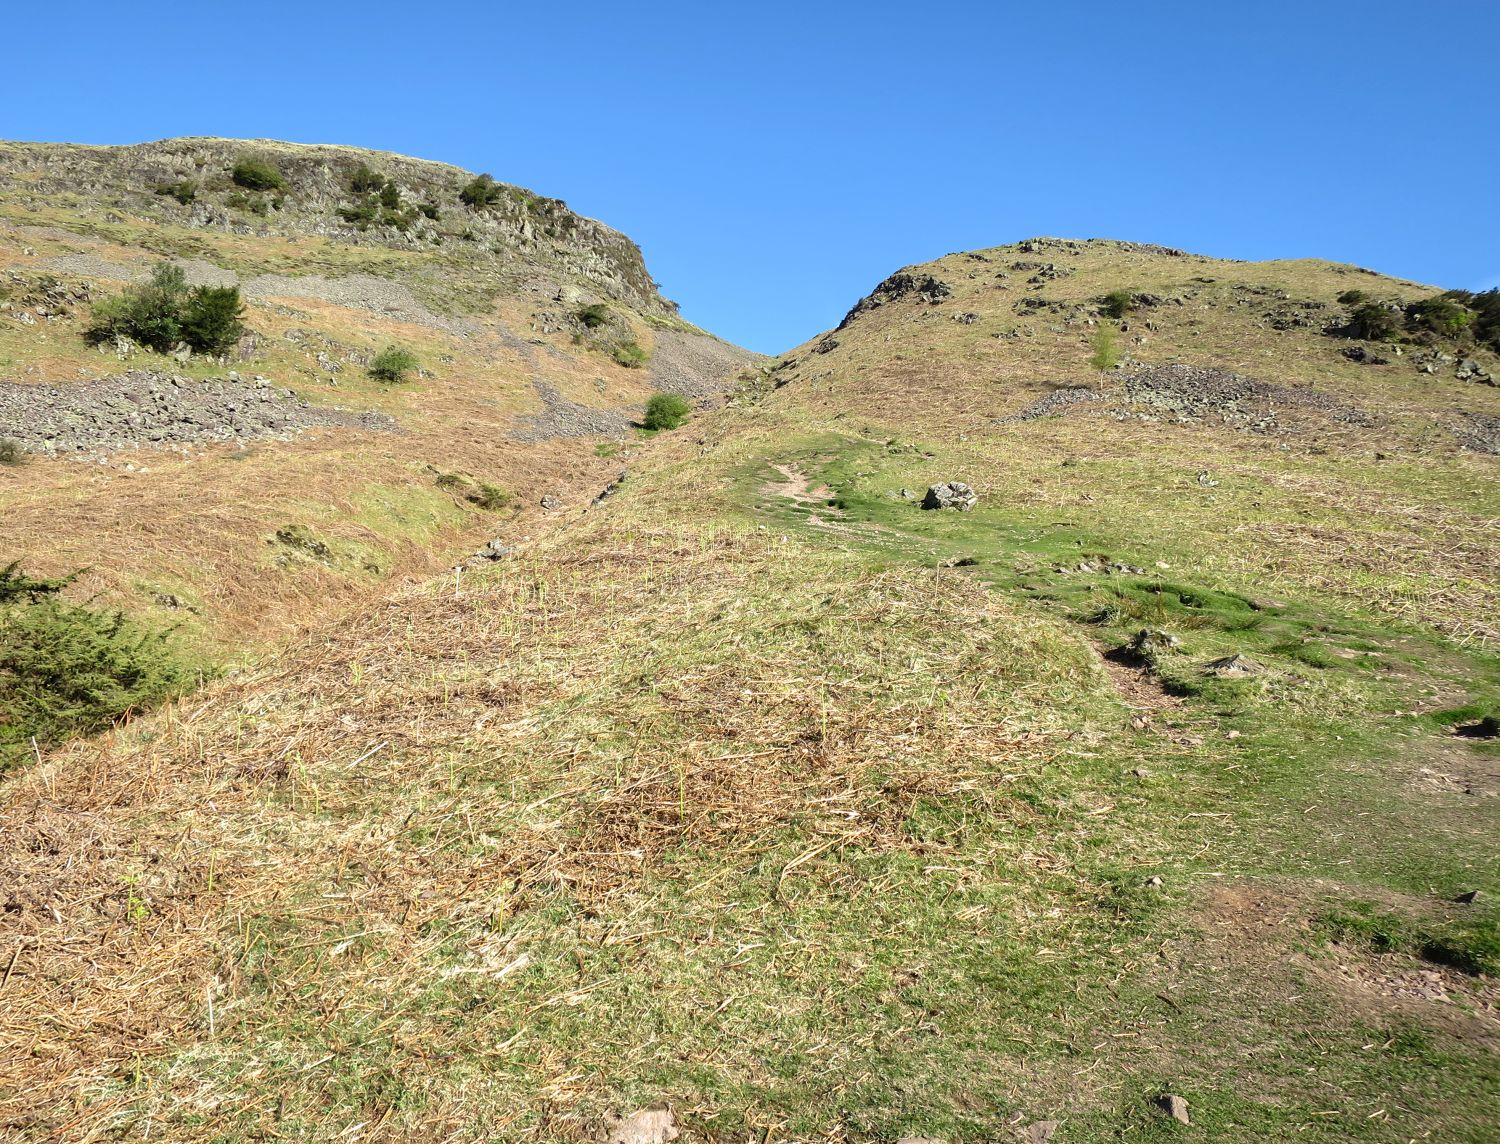
Seen from the base of the shoulder, a scree gully provides access to the summit. This route has now benefitted from being paved.
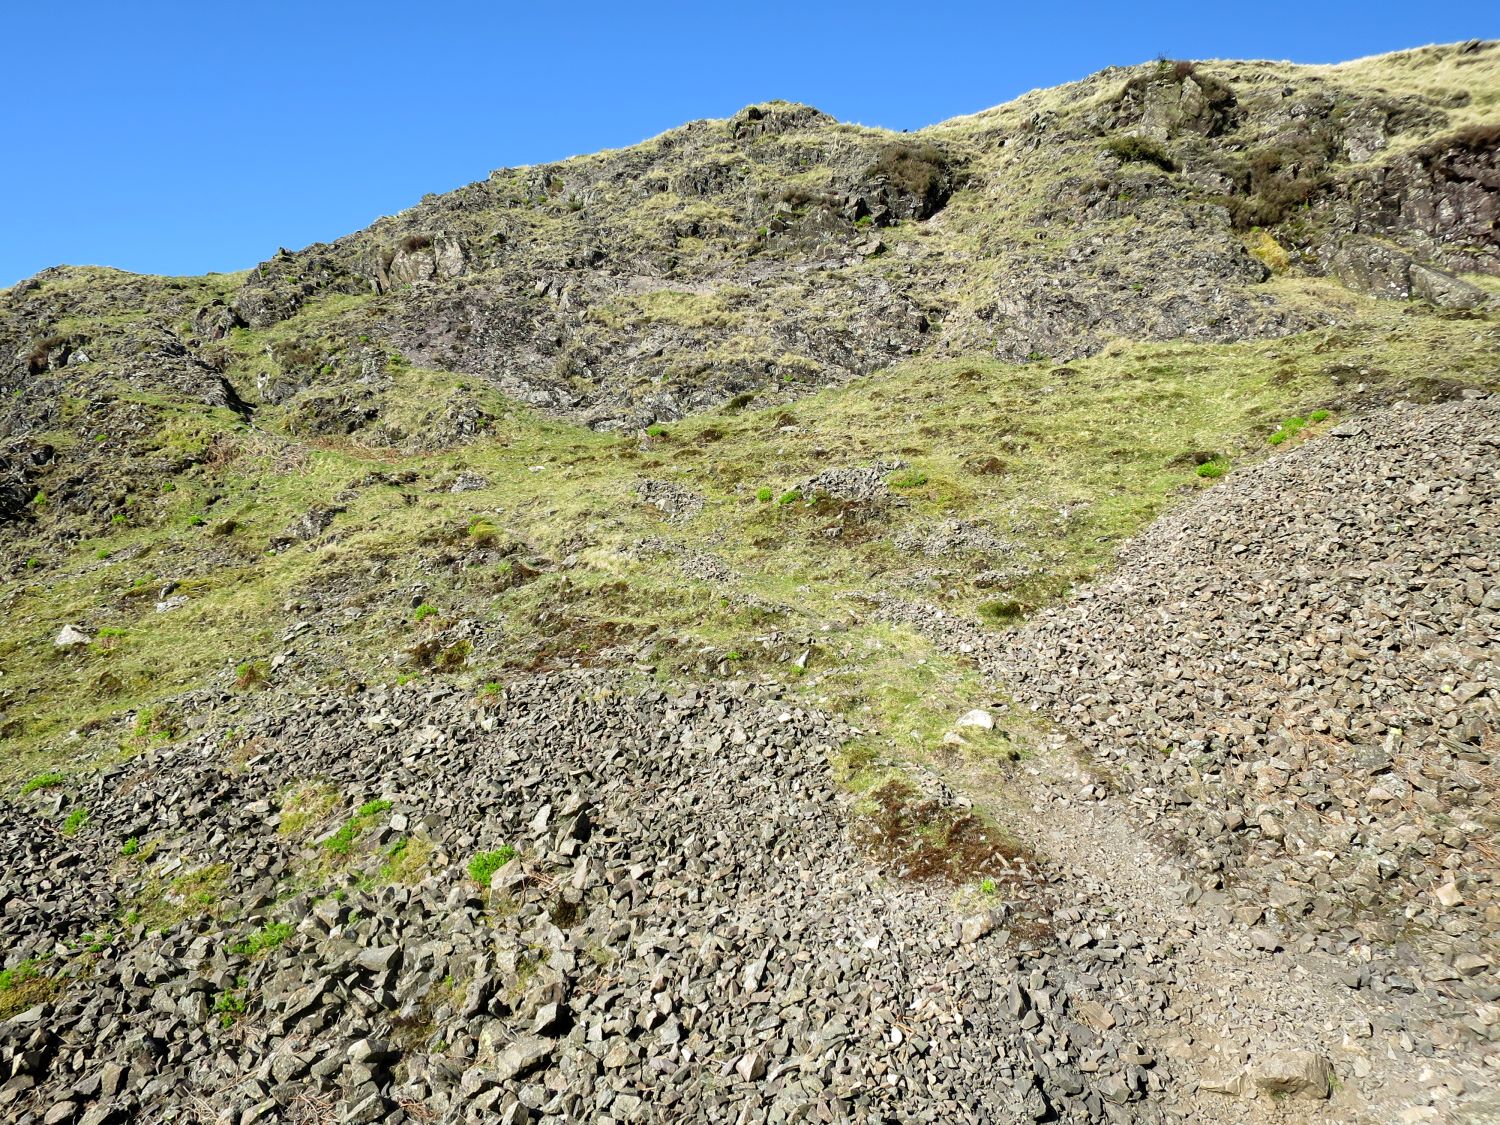
Before reaching the top of the gully, you have an option to take this rake on the left, which provides a more interesting final ascent to the summit.
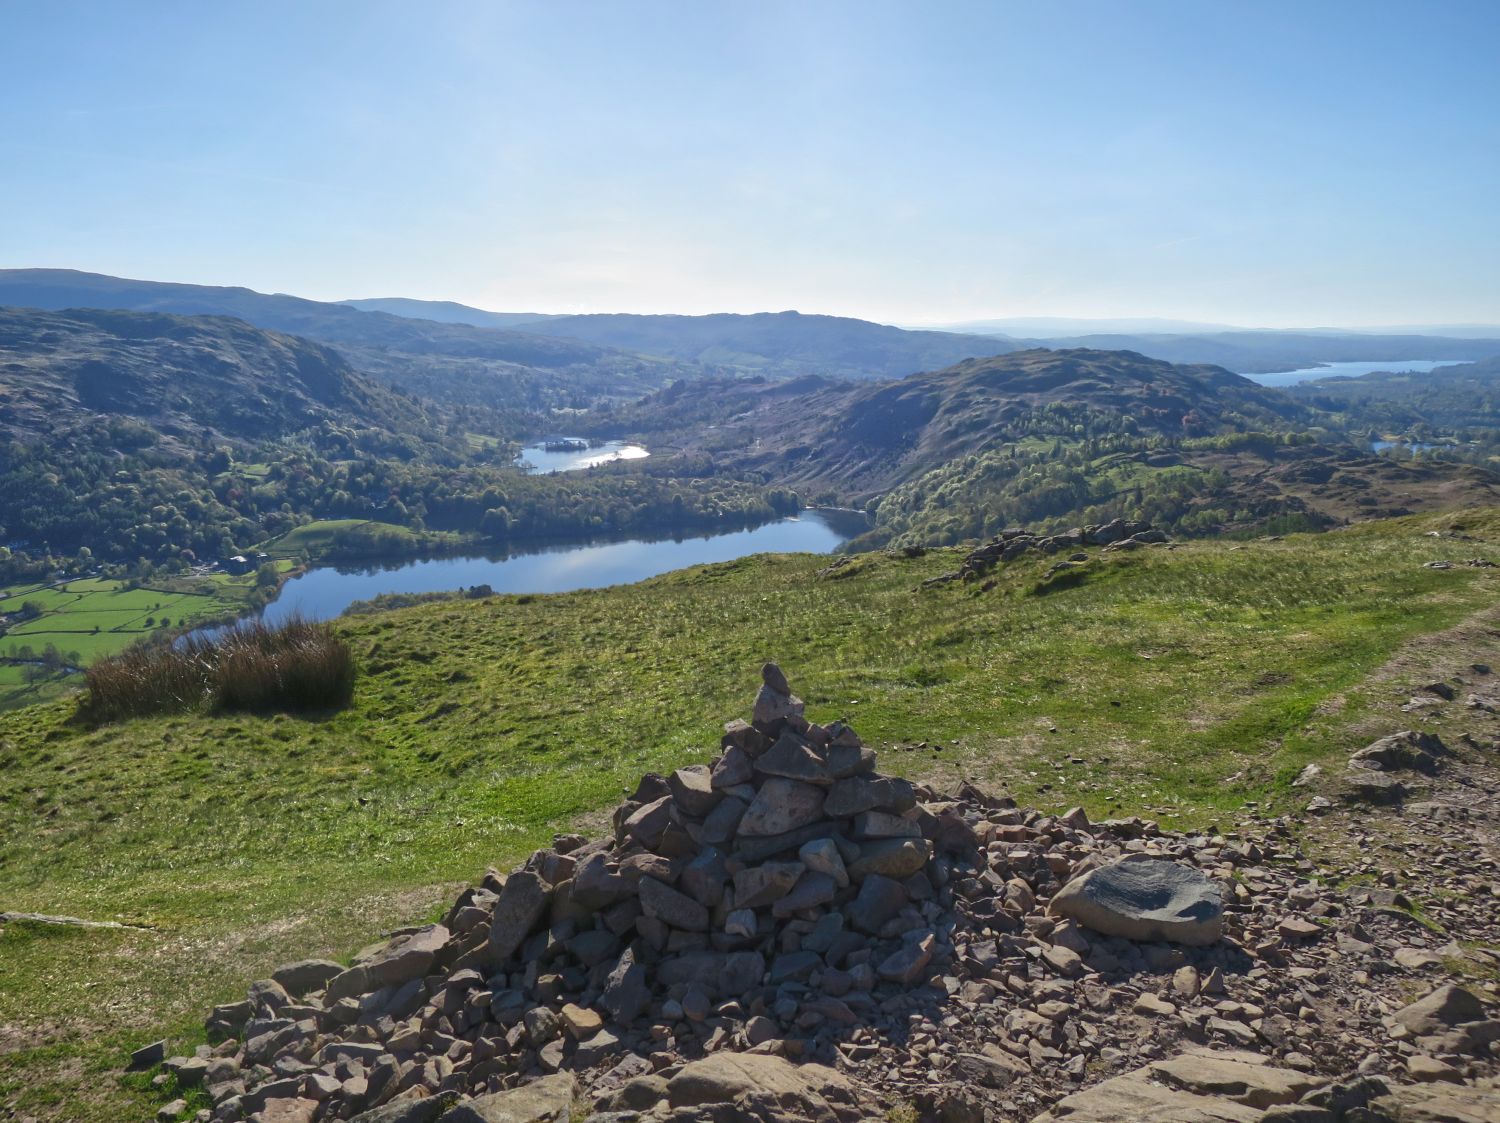
Looking east from the summit you are rewarded with a grand view of the lakes of Windermere, Rydal and Grasmere. Loughrigg Fell is seen dividing the vales of the Rothay and Brathay, and is the beginning of the lengthy, broken ridge of fells that end at High Raise, the highest point — most of which we are climbing on this route.
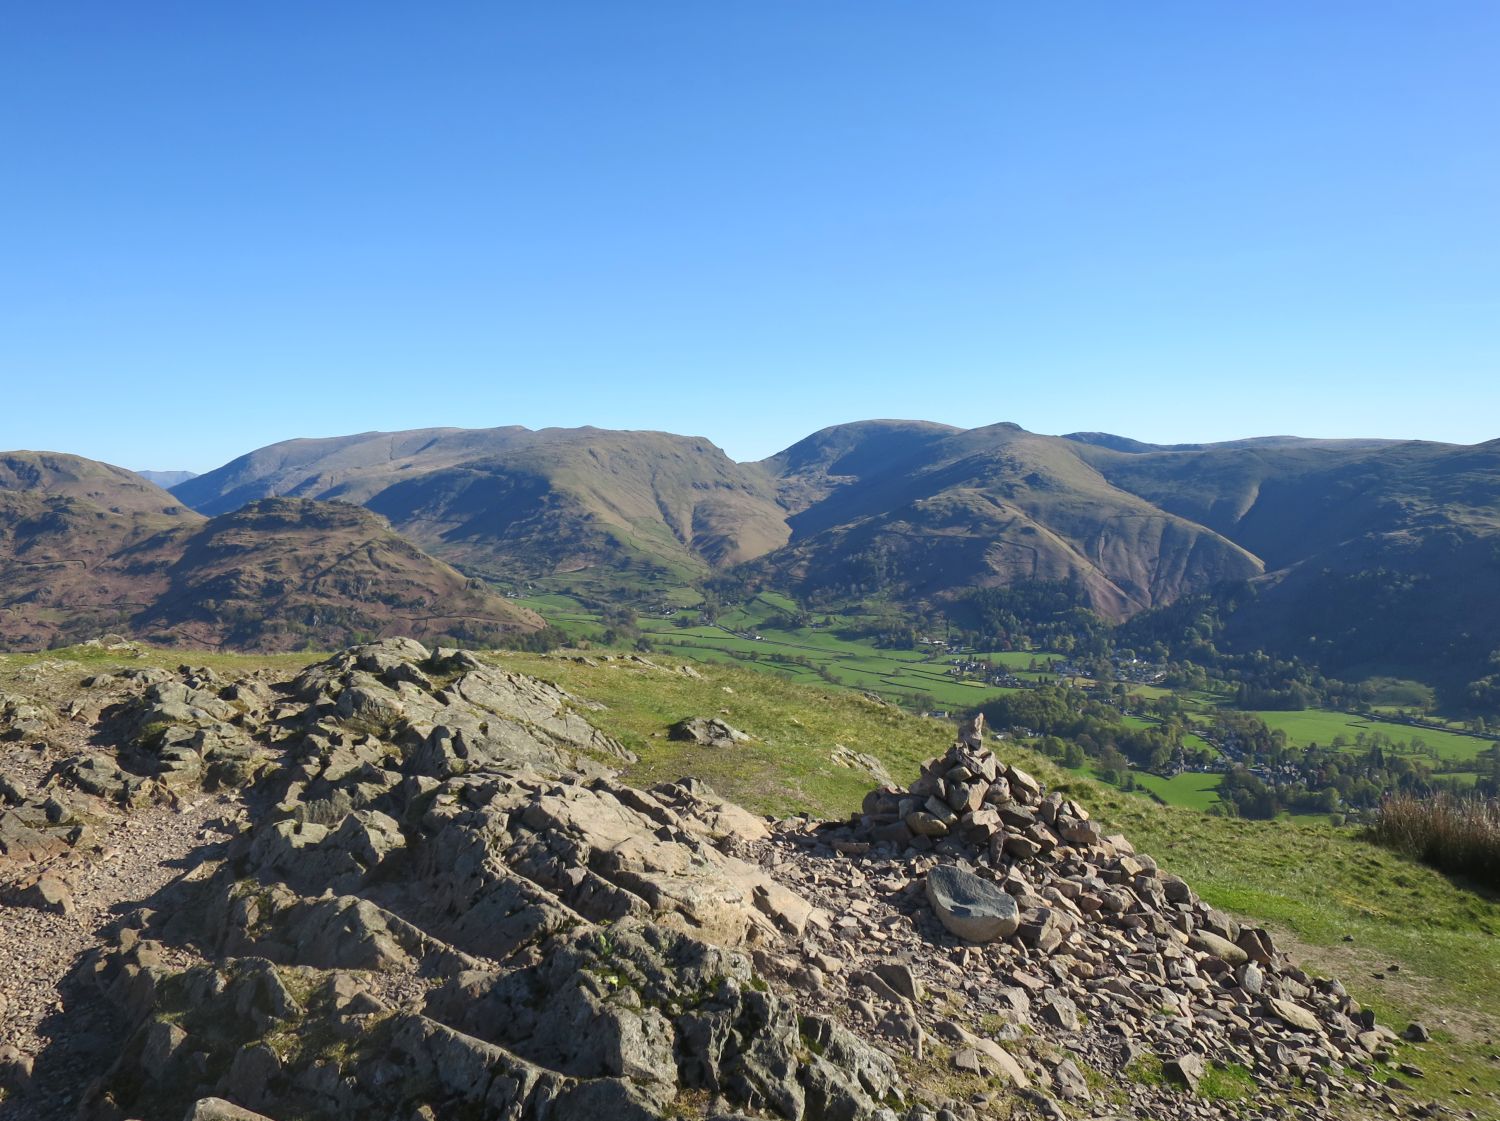
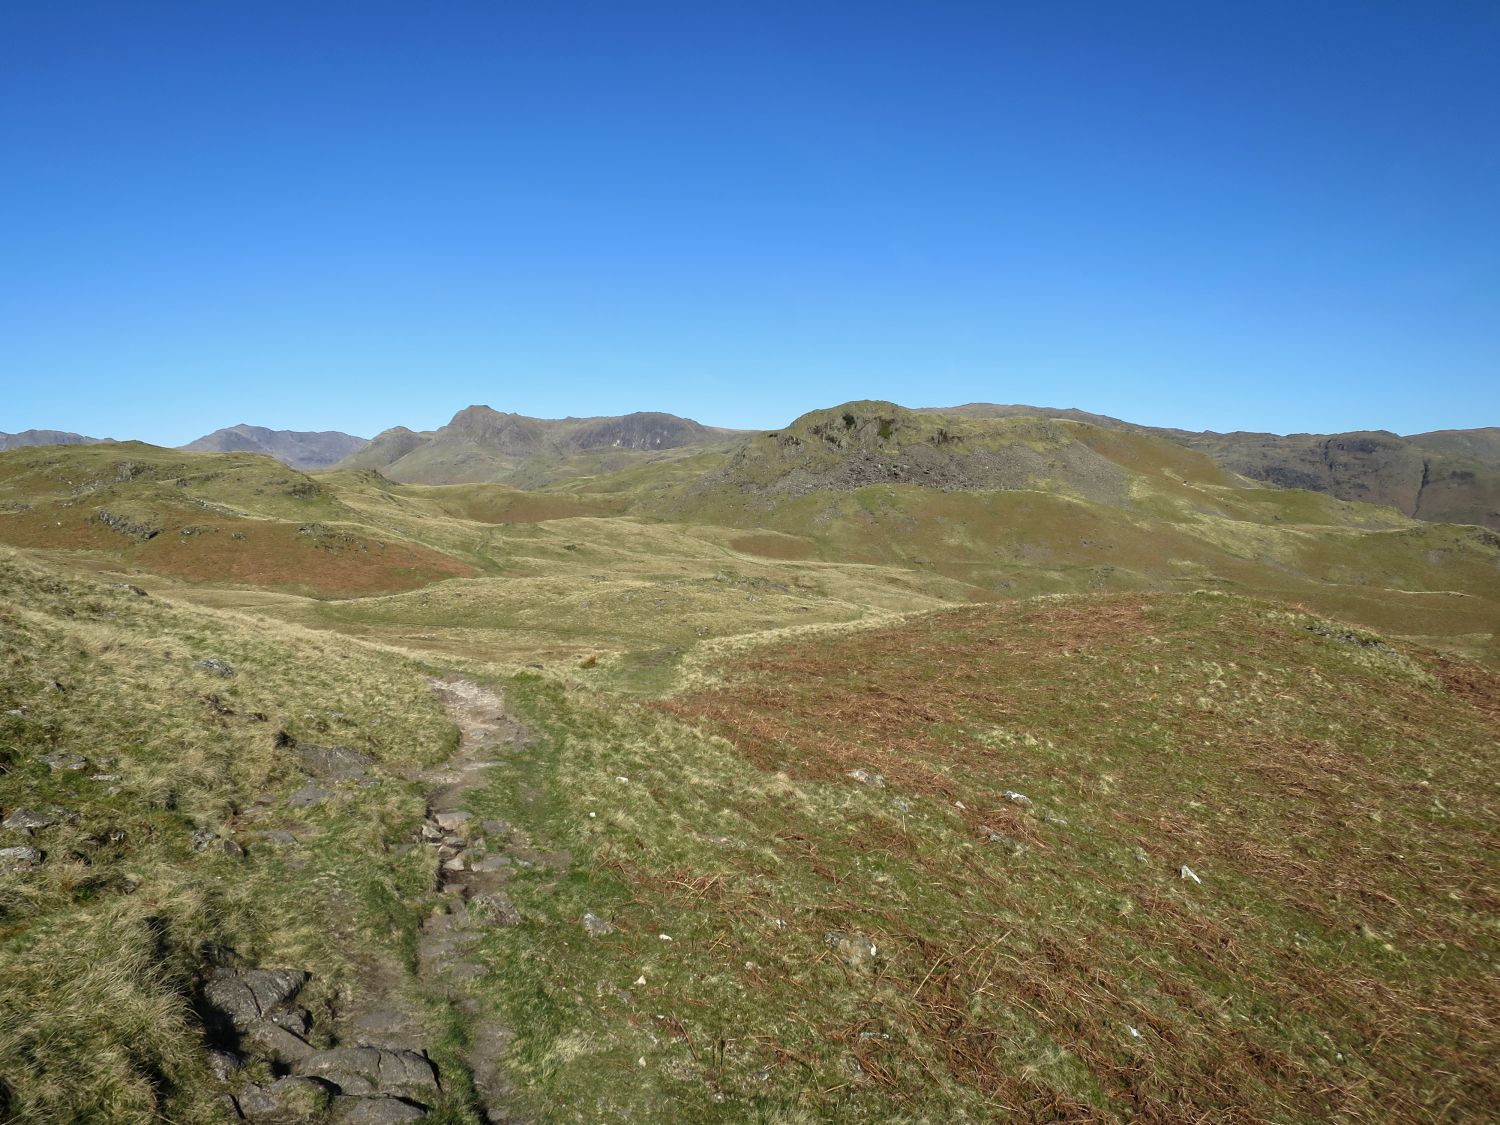
From the summit all the way to Blea Rigg, the path meanders and, at times, branches to confuse the walker. On a clear day this is not a problem — in fact, it’s a pleasure throughout and encourages a fellwalker to return another day to explore more. Most of the time the path simply meets again, while on other occasions it’s a diversion to a bump or small tarn. However, in thick mist the reason for walking this ridge becomes questionable.
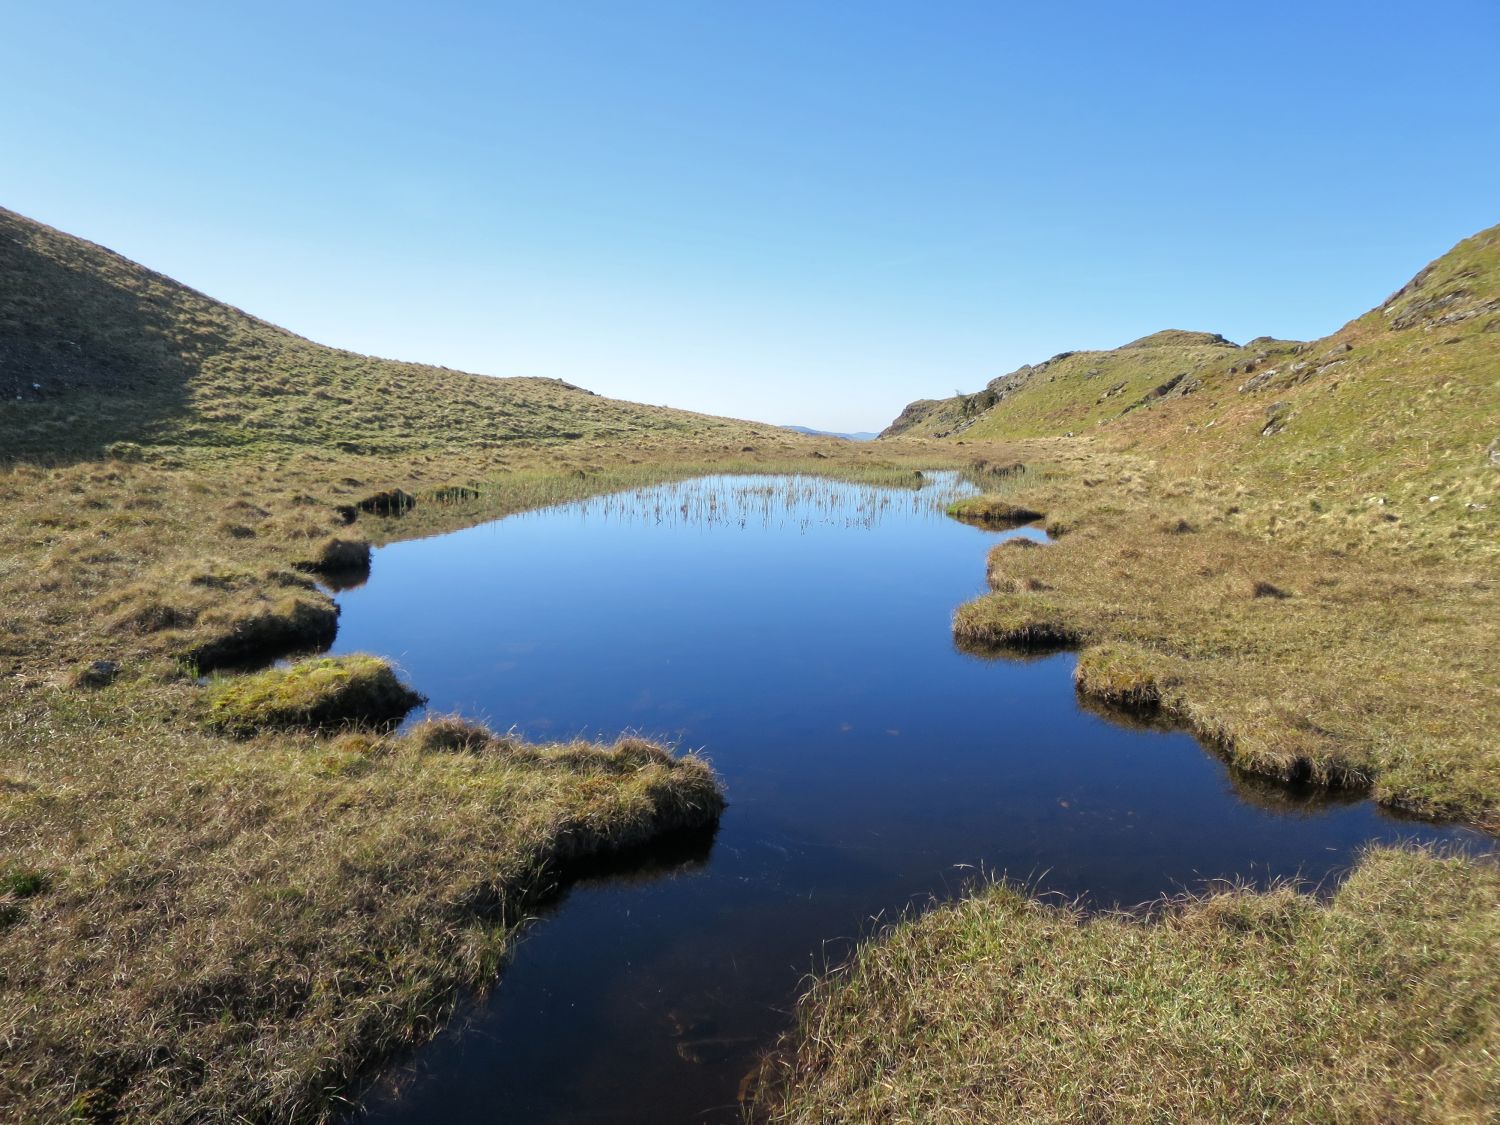
Our first tarn on this walk — and there will be many — is Silver How Tarn, a slim body of water nestled on a grassy col between rocky knolls.
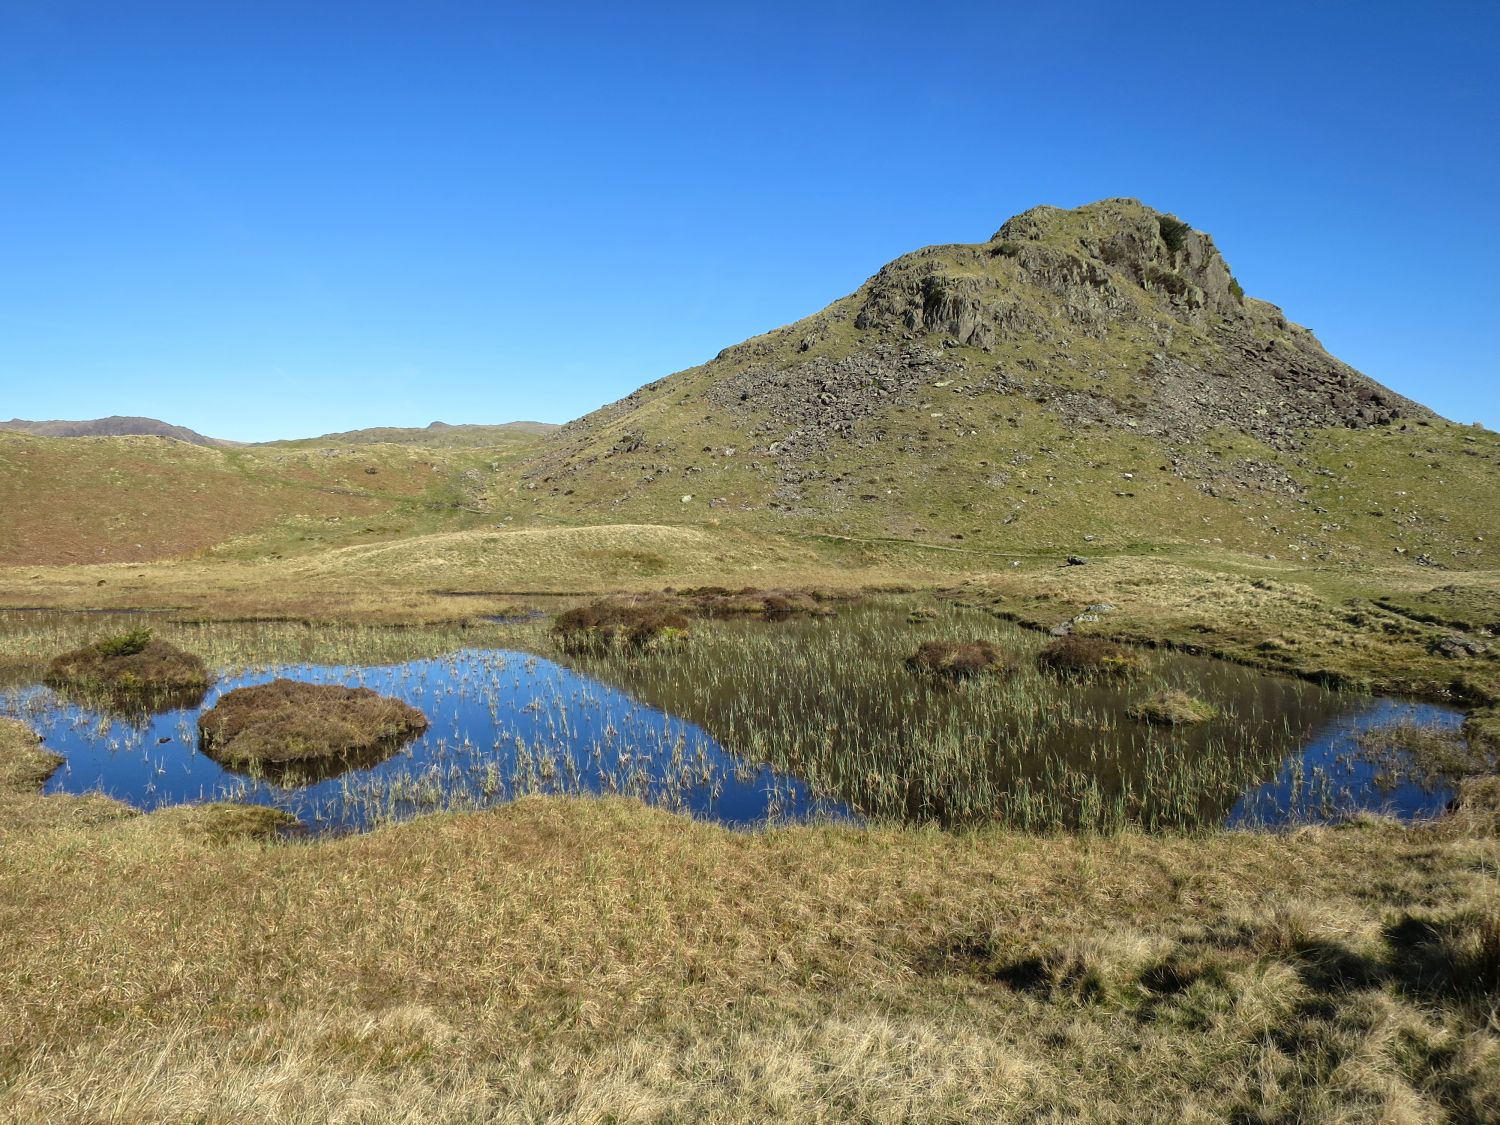
Here you can see the path on the other side of the tarn, and where it rises over the shoulder on the left of Lang How’s southern buttress.
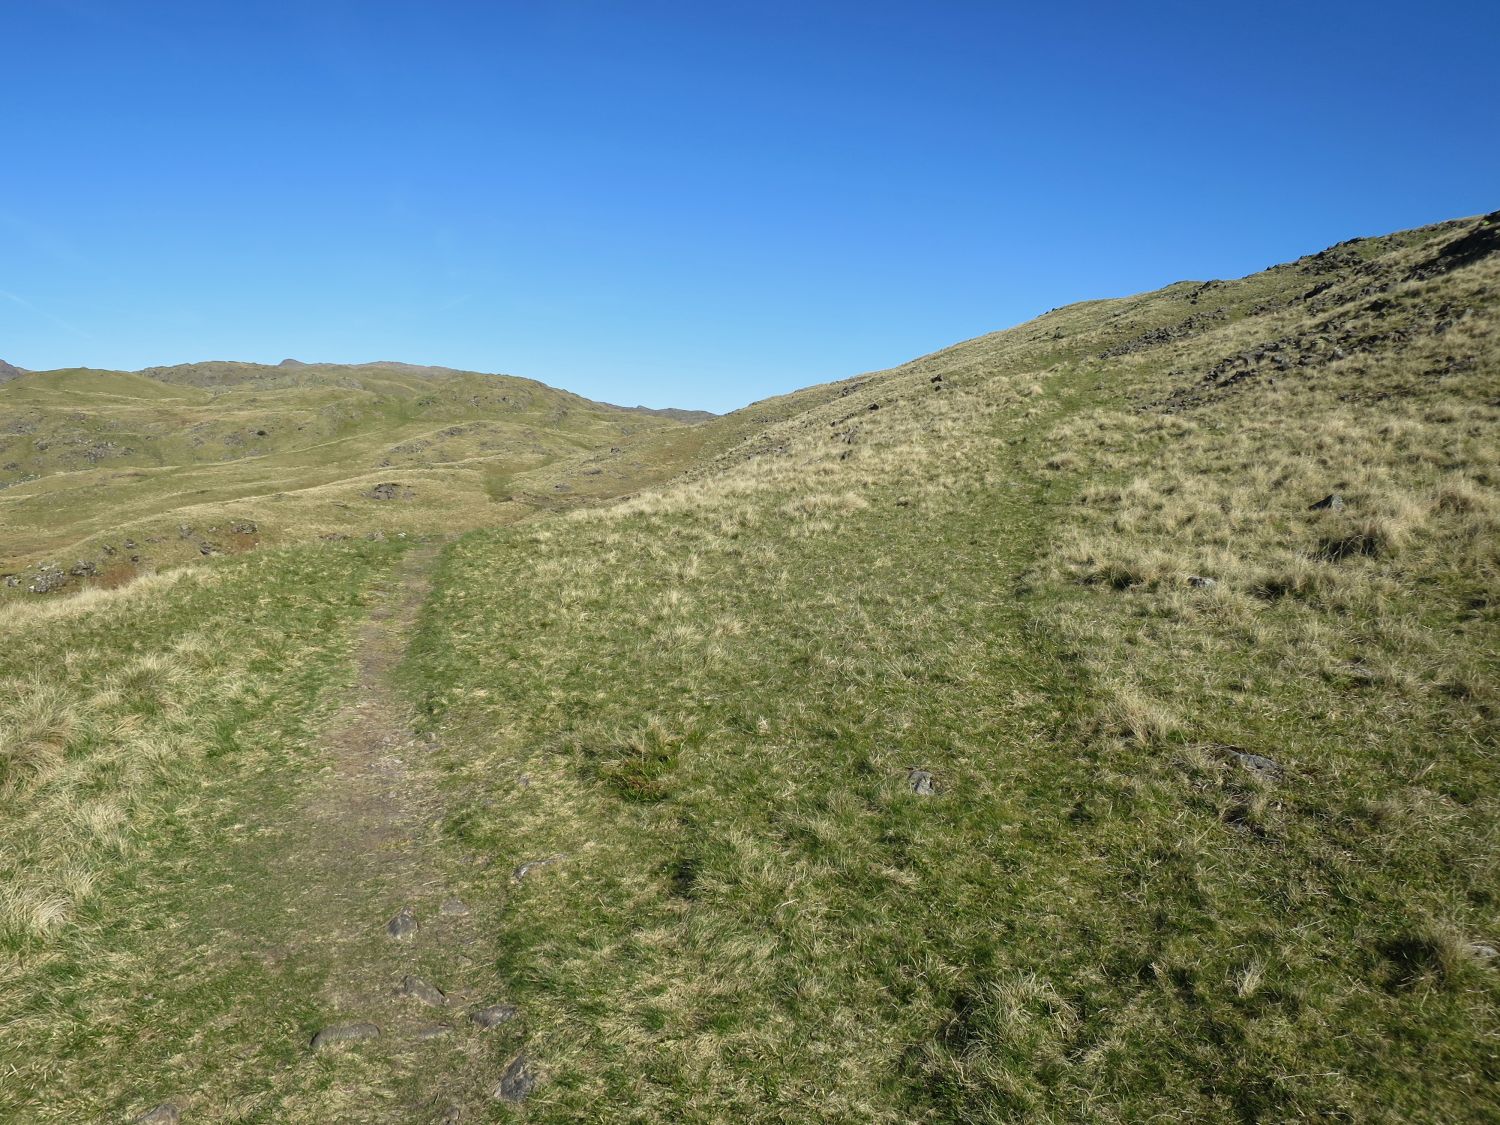
From the shoulder, leave the main path and follow this faint path to the summit of Lang How.
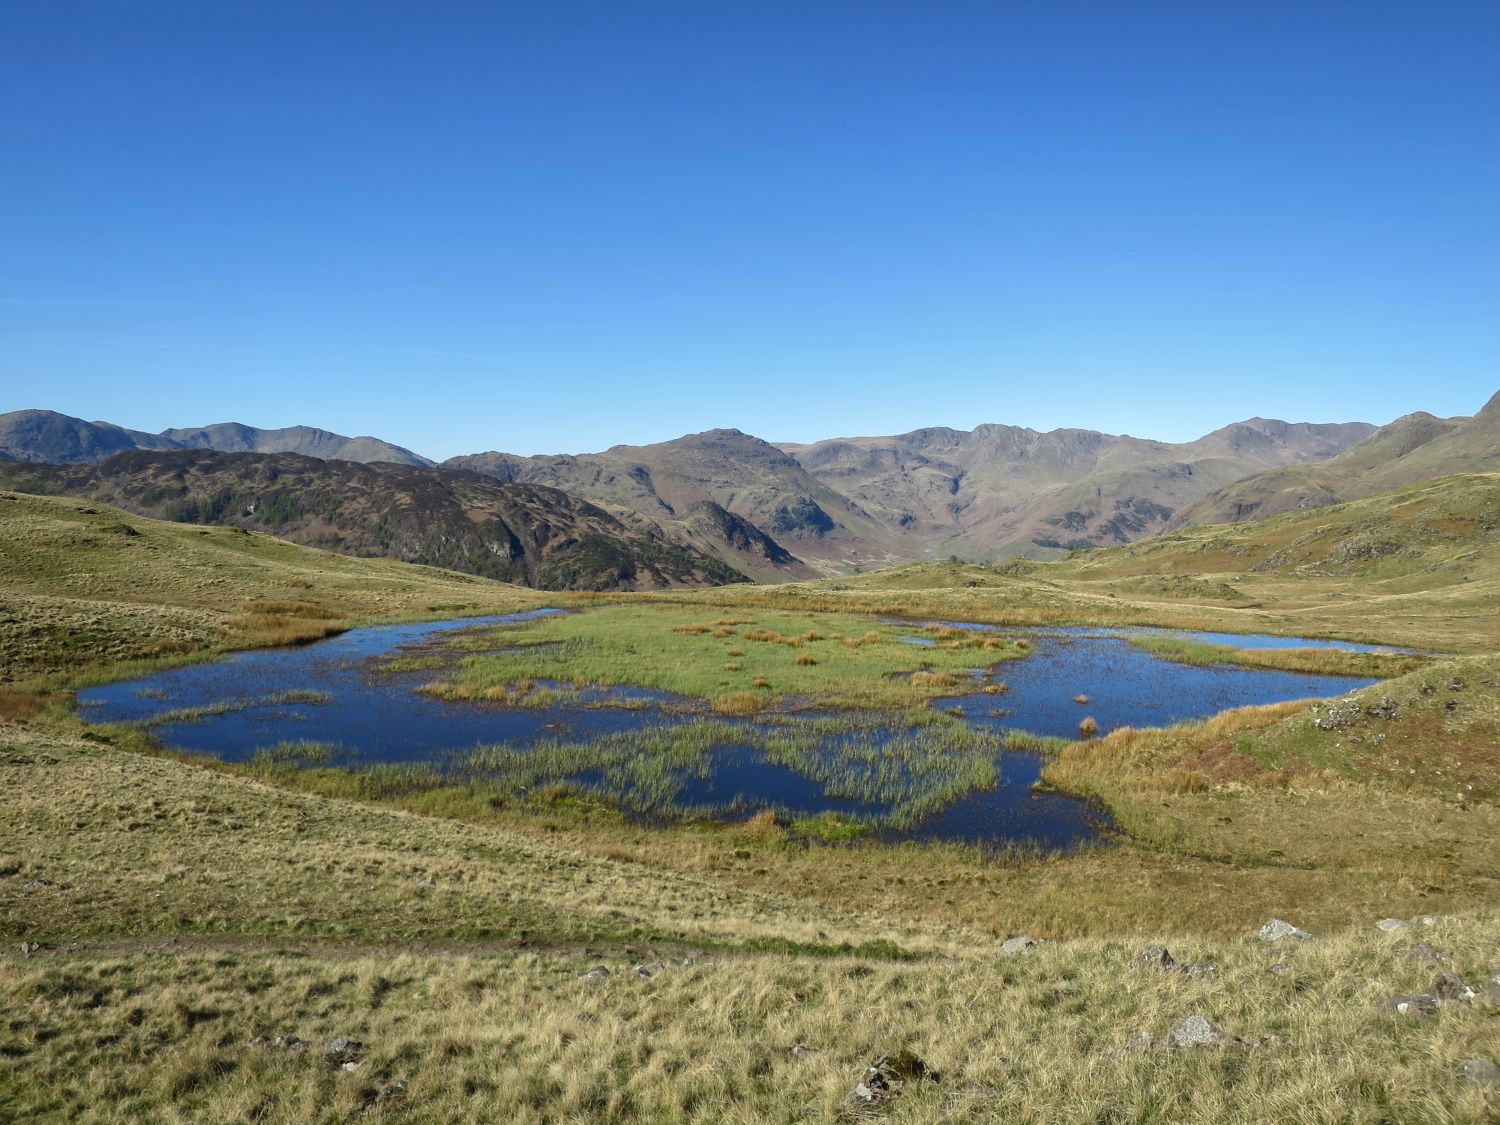
Youdell Tarn, named after a previous owner of Robinson Place, John Youdell, is not, so to speak, a mountain tarn formed in the traditional way. Instead, it was created as a result of many decades of collecting peat.
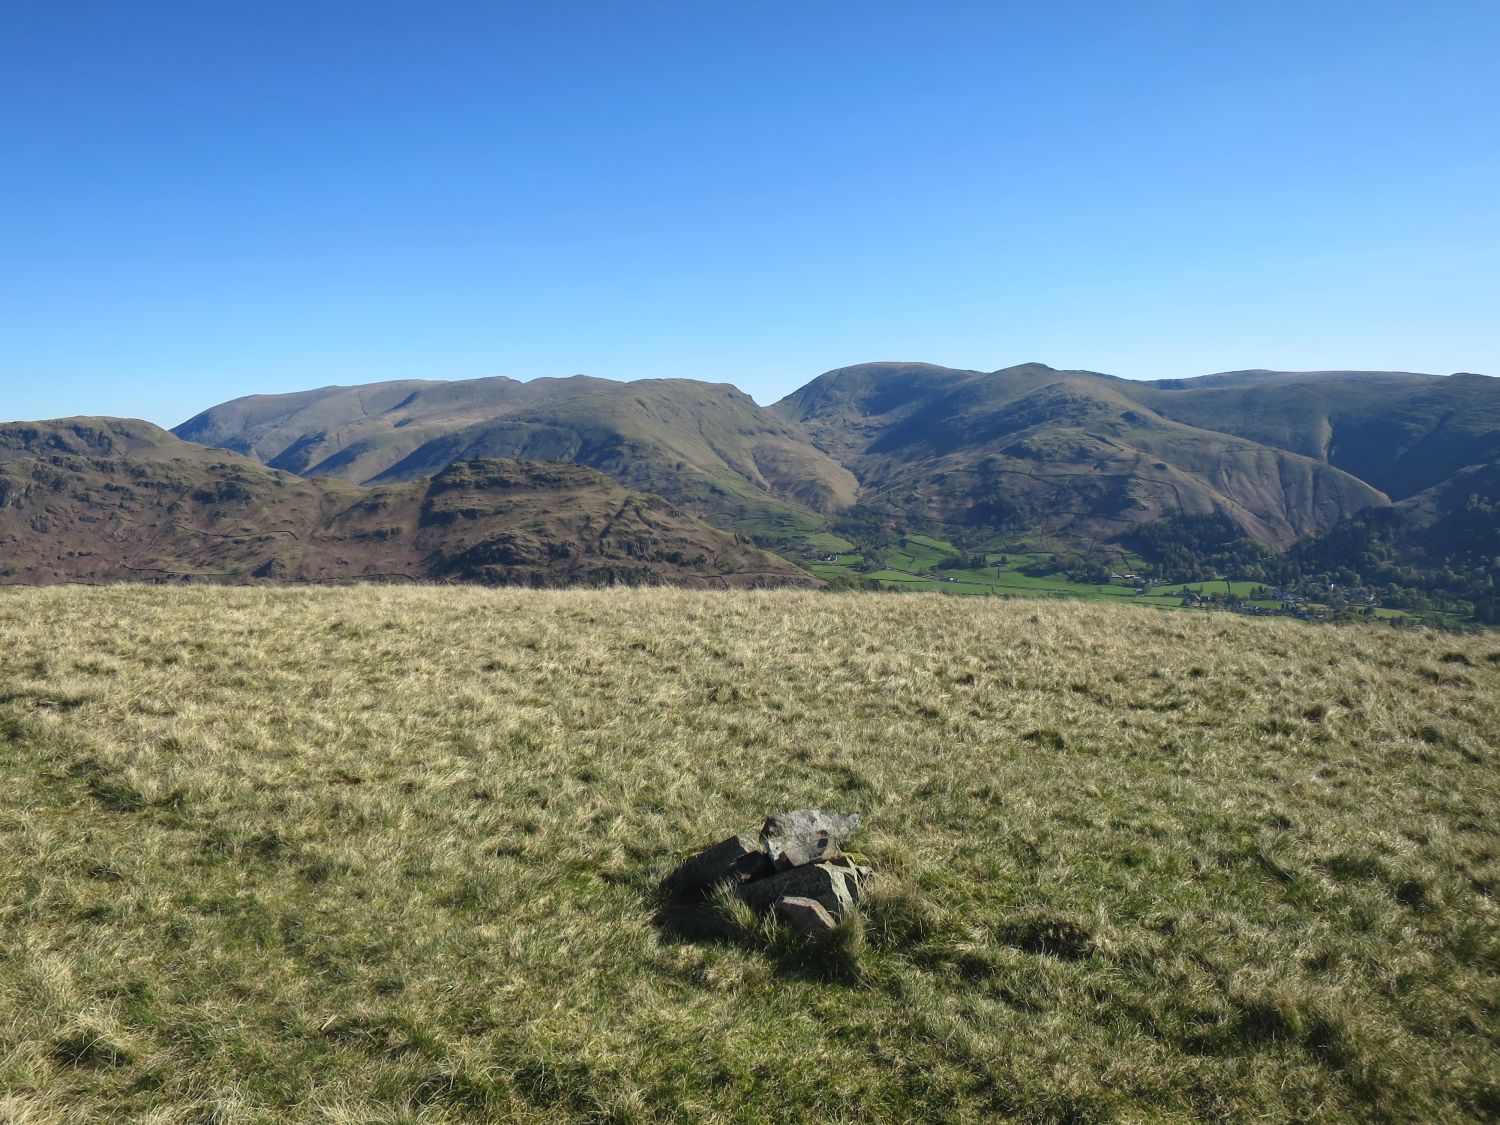
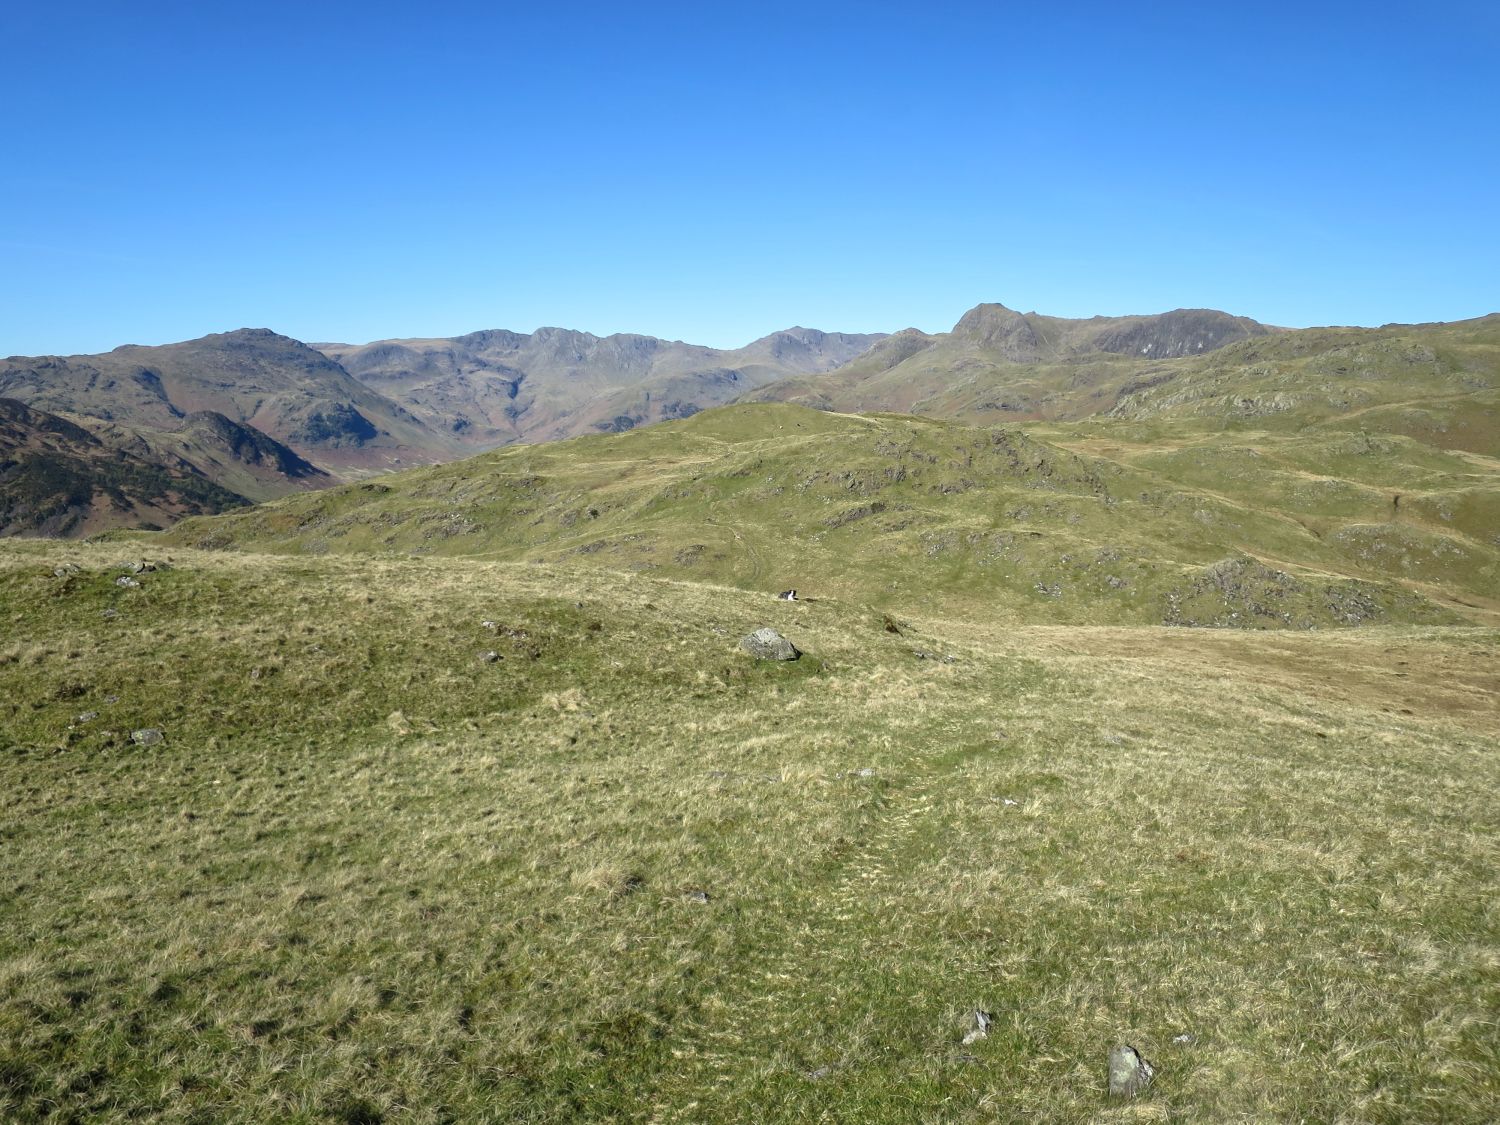
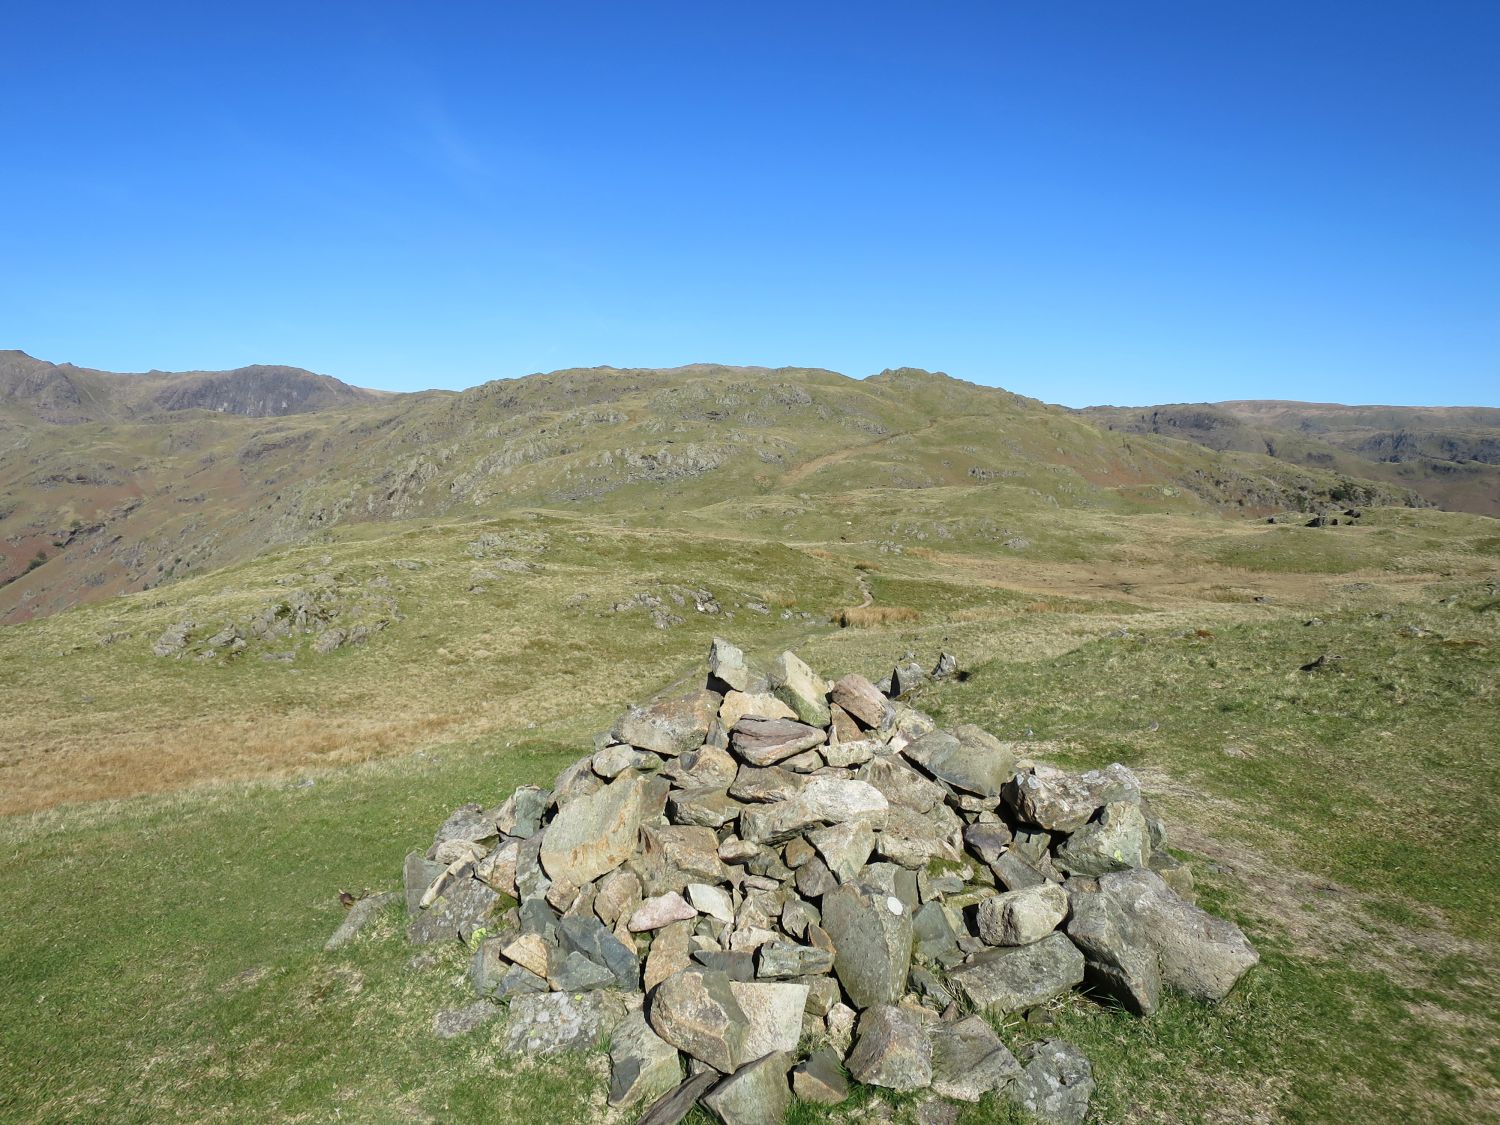
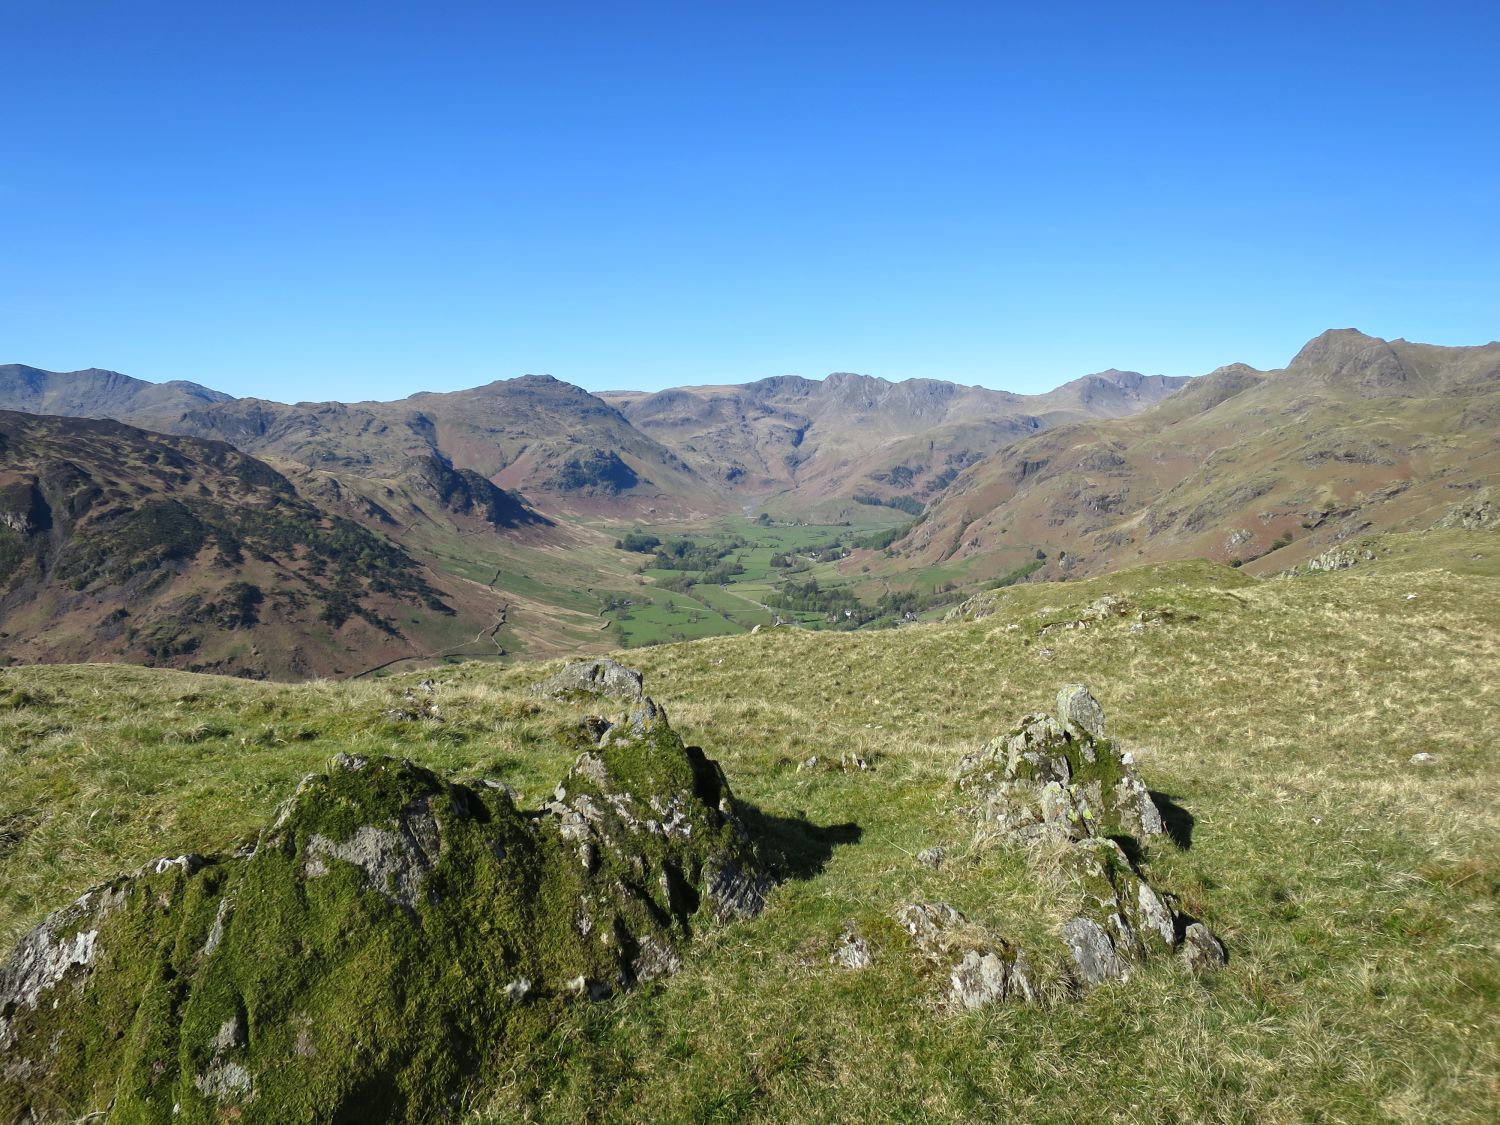
On a clear day like this, the views are fantastic, especially over to the fells that surround Great Langdale — none of which dominate the scene but do so collectively.
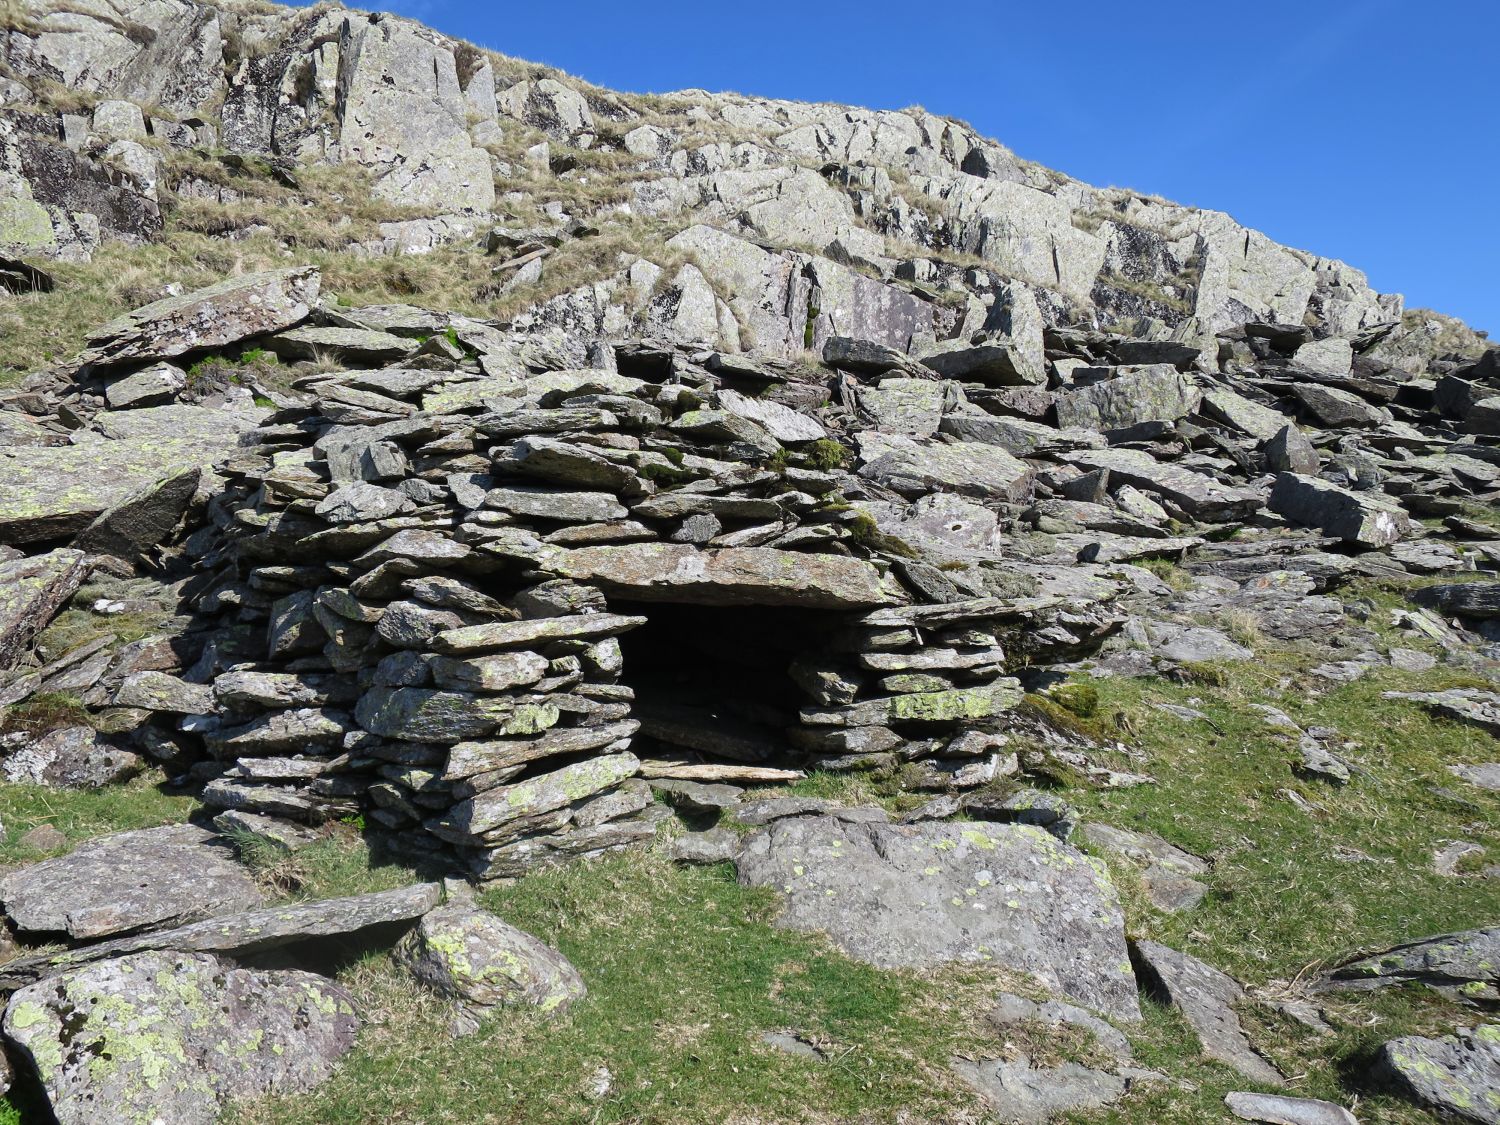
“The half-way shelter (above the Langdale descent) is not for the squeamish.” Silver How 10
— Alfred Wainwright
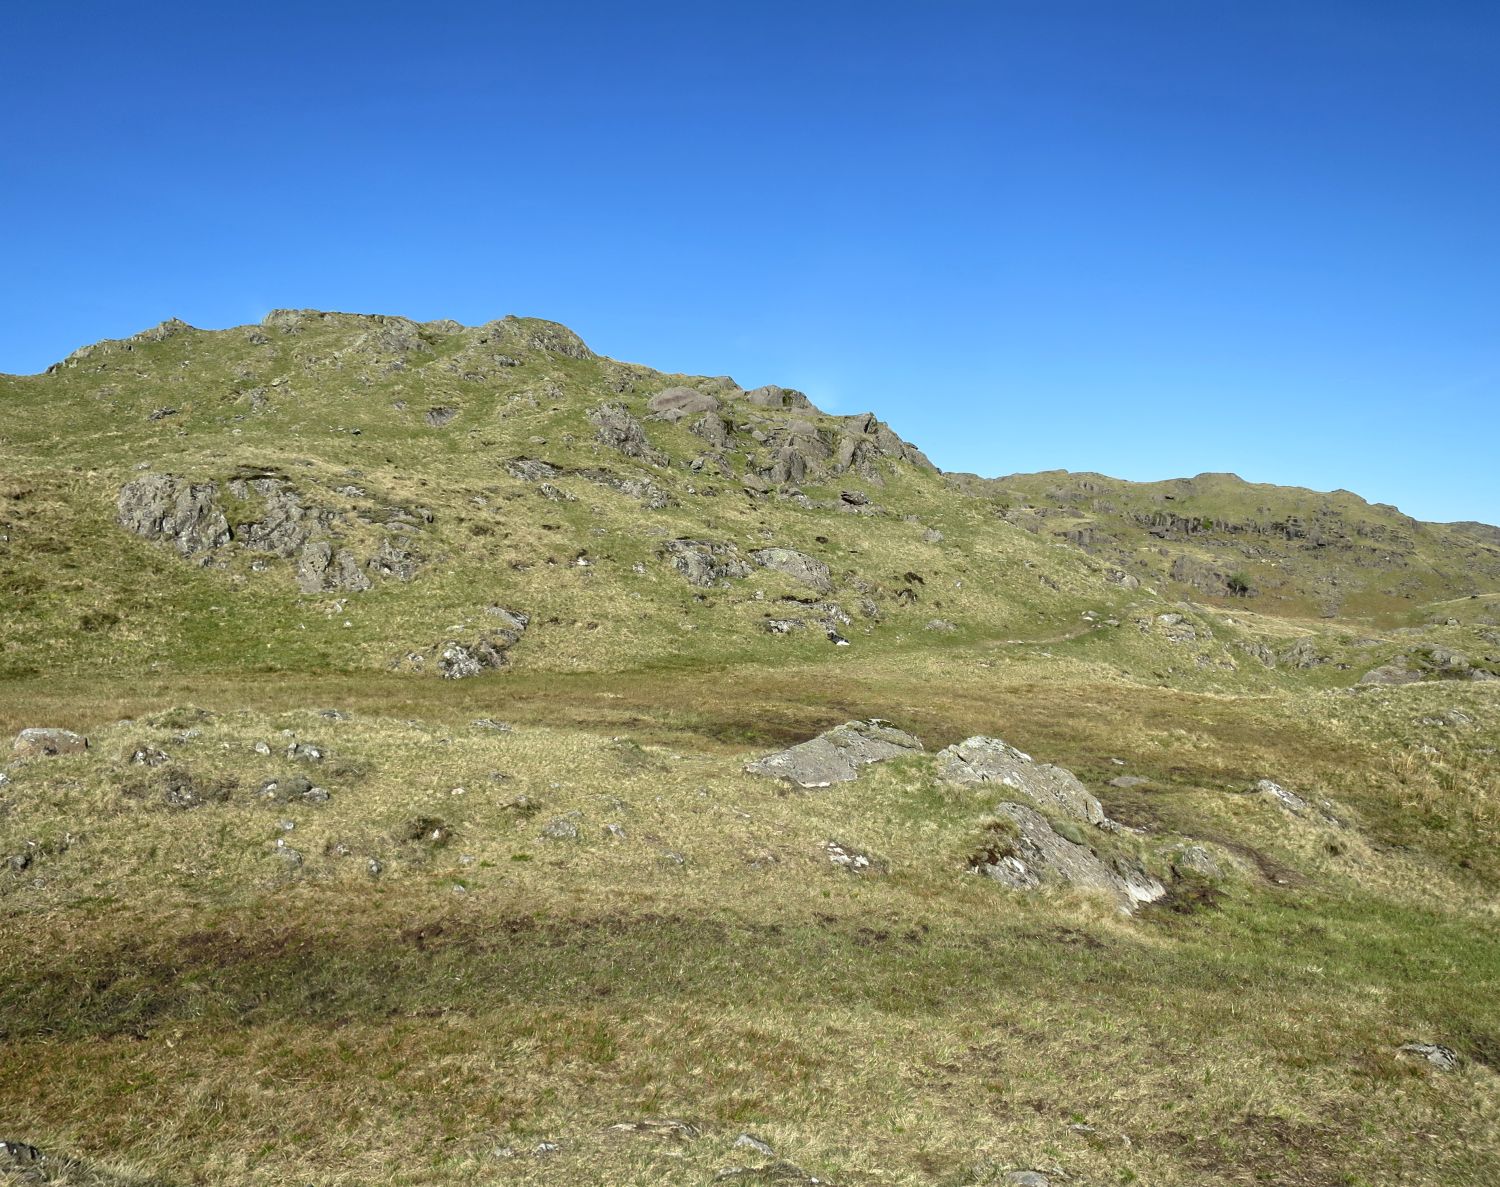
Here on the right you can see where the path skirts around the shoulder of Little Castle How, and then traverses between both fells. It is this shoulder, however, that provides a way to the top of the first of three summits that are closely clustered together.
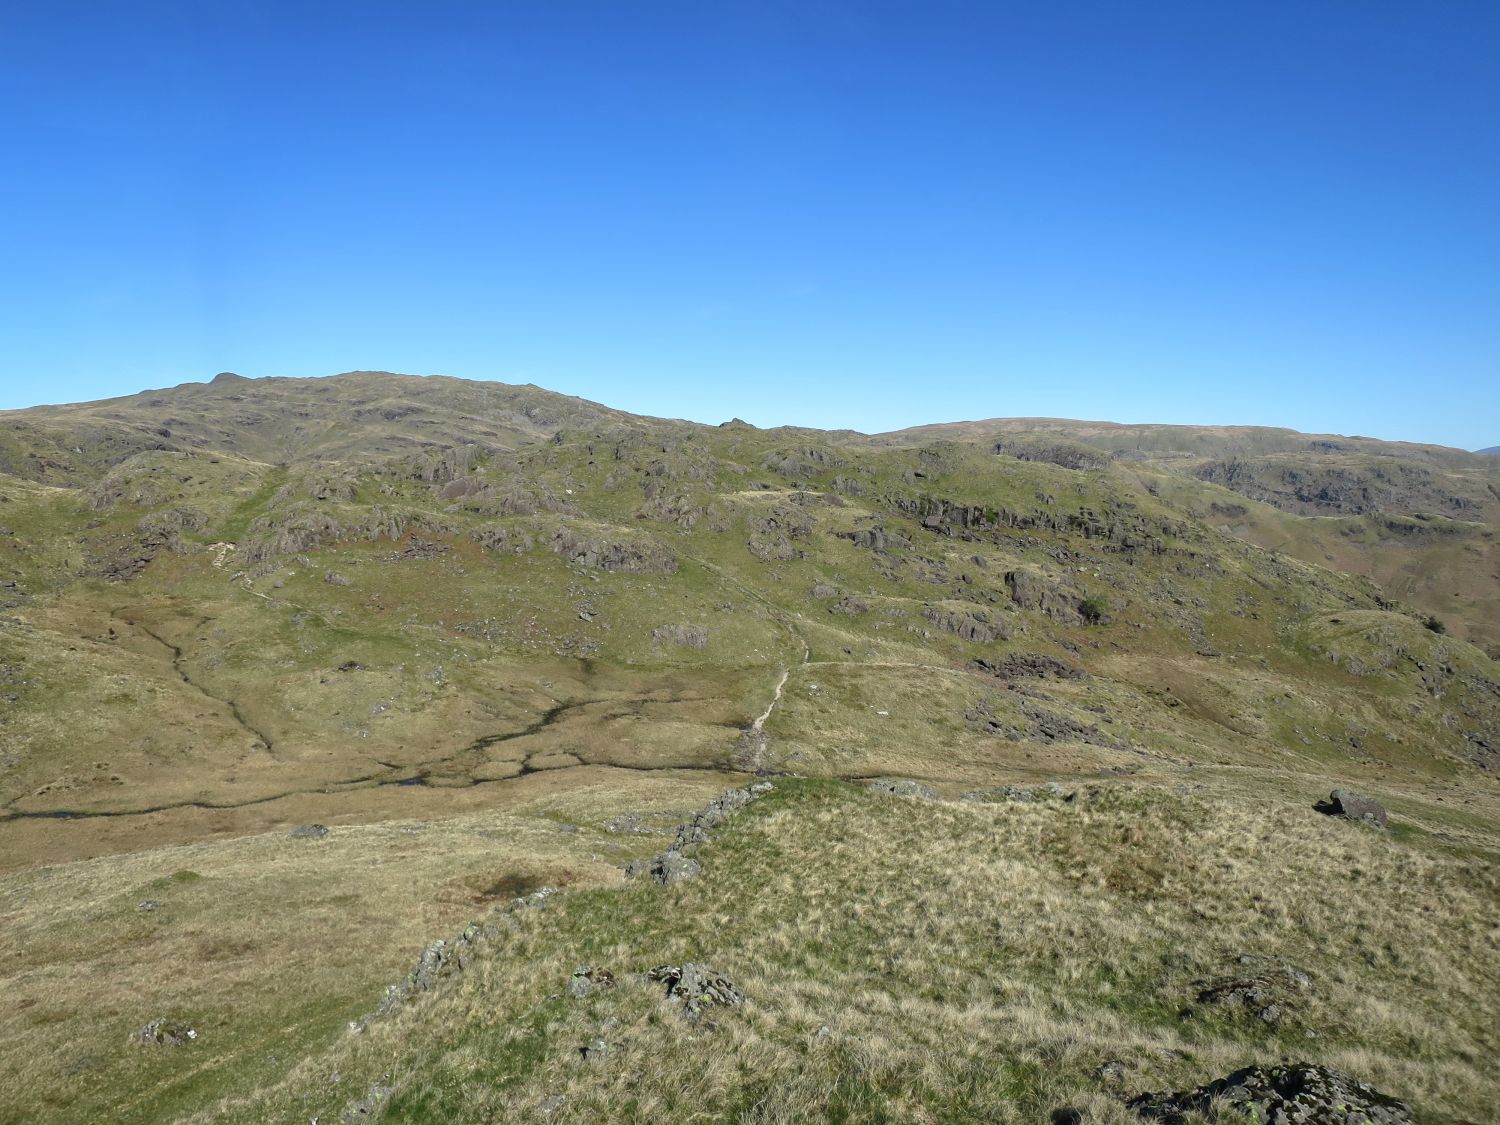
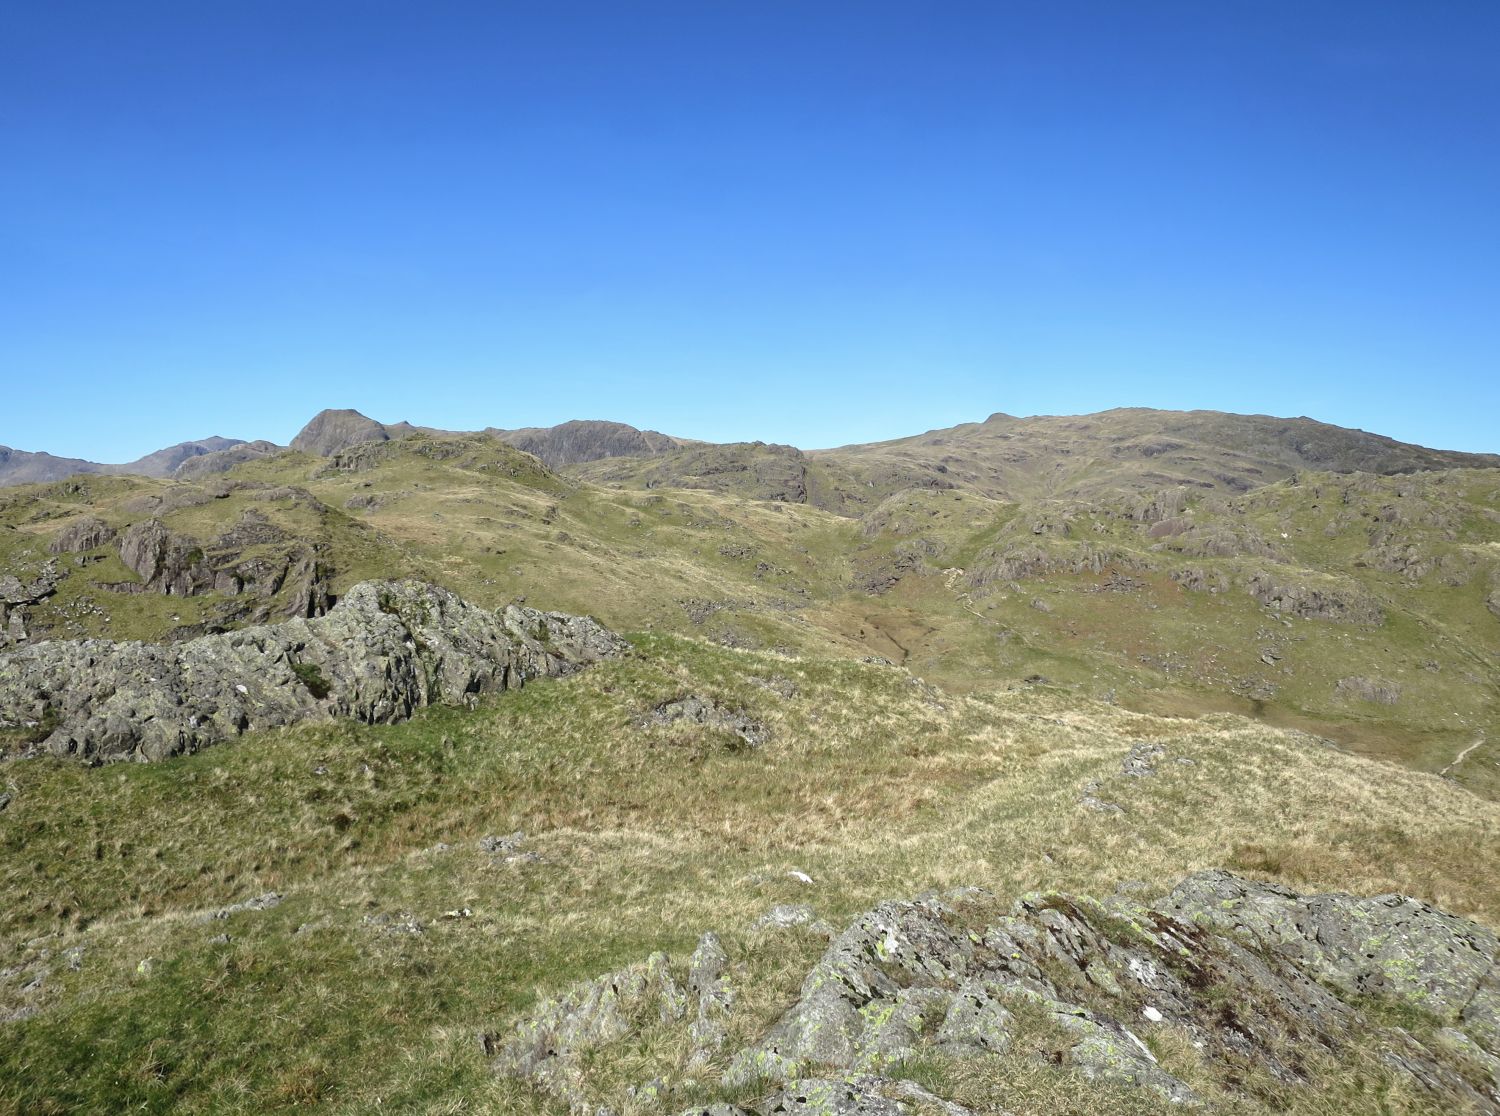
There’s much to see from this little summit: at the back we have Bowfell, Harrison Stickle, Pavey Ark, Sergeant Man (nipple) and Codale Head — the latter two we’ll be visiting, which are at the end of our journey on this ridge. Across the middle of the photo we have Raw Pike and Great Castle How, which are connected by a small ridge. The main path to Blea Rigg goes over this ridge, but instead we’ll take a more direct, but indistinct route over to Raw Pike on the left.
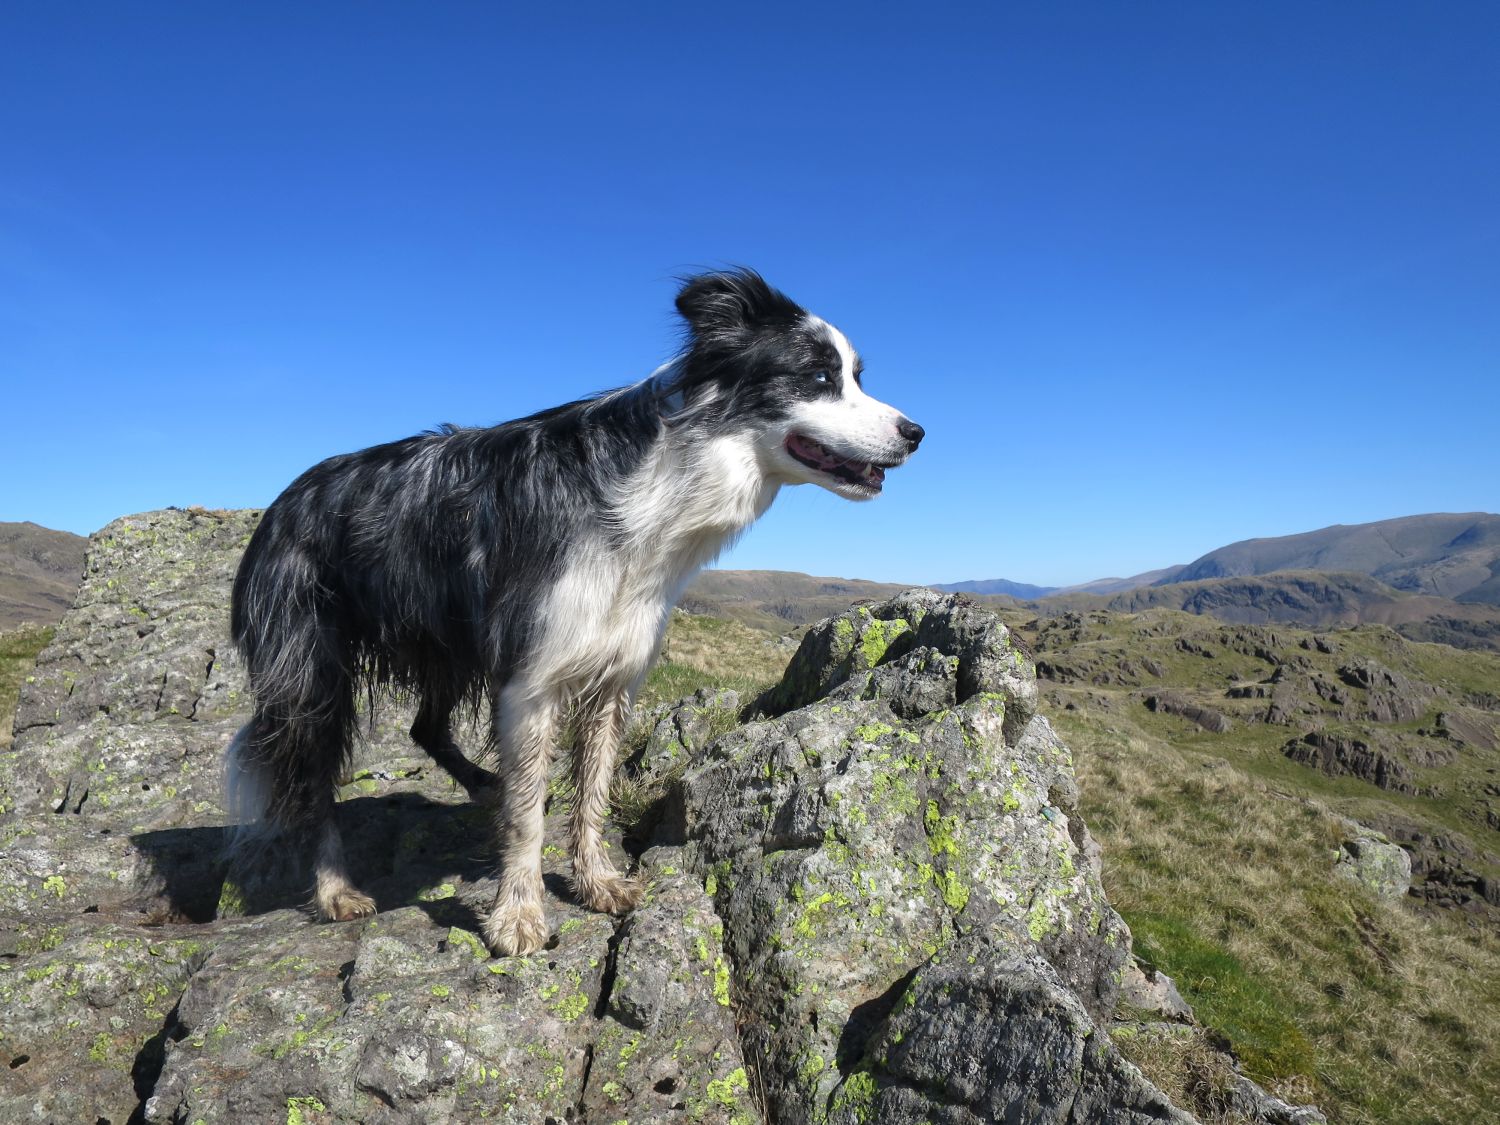
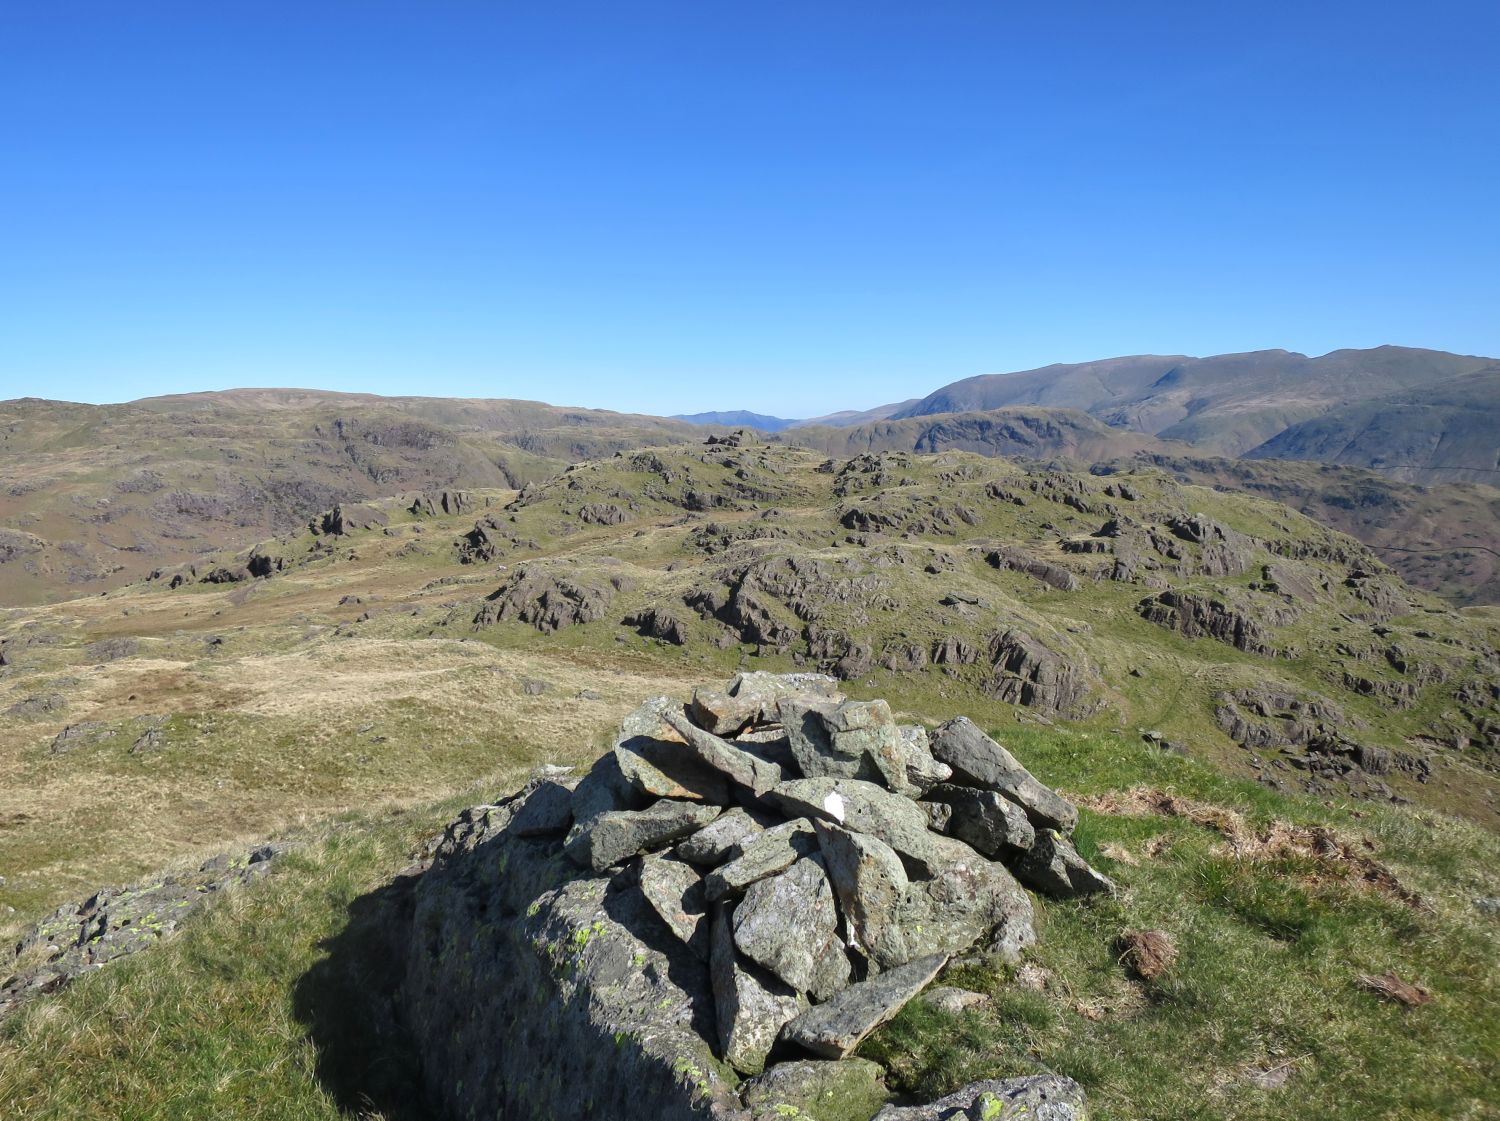
The connecting ridge can be seen here on the left, which provides an easy approach to Great Castle How. This is the best order to climb these three summits when traversing the ridge from east to west.
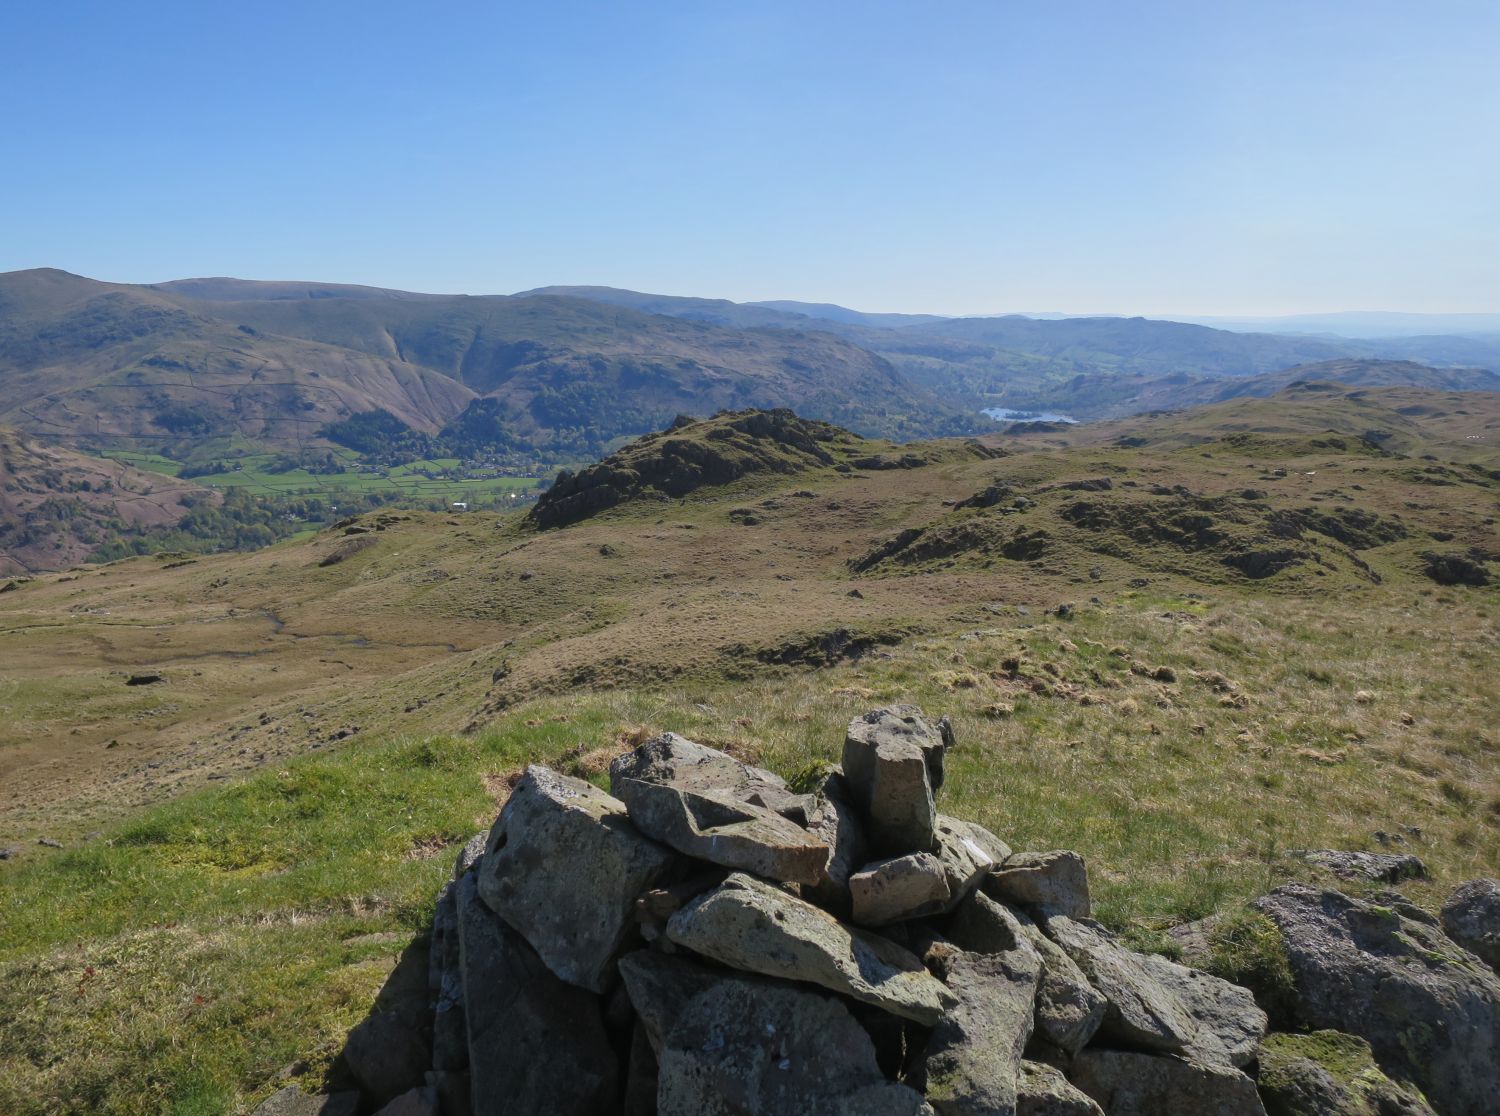
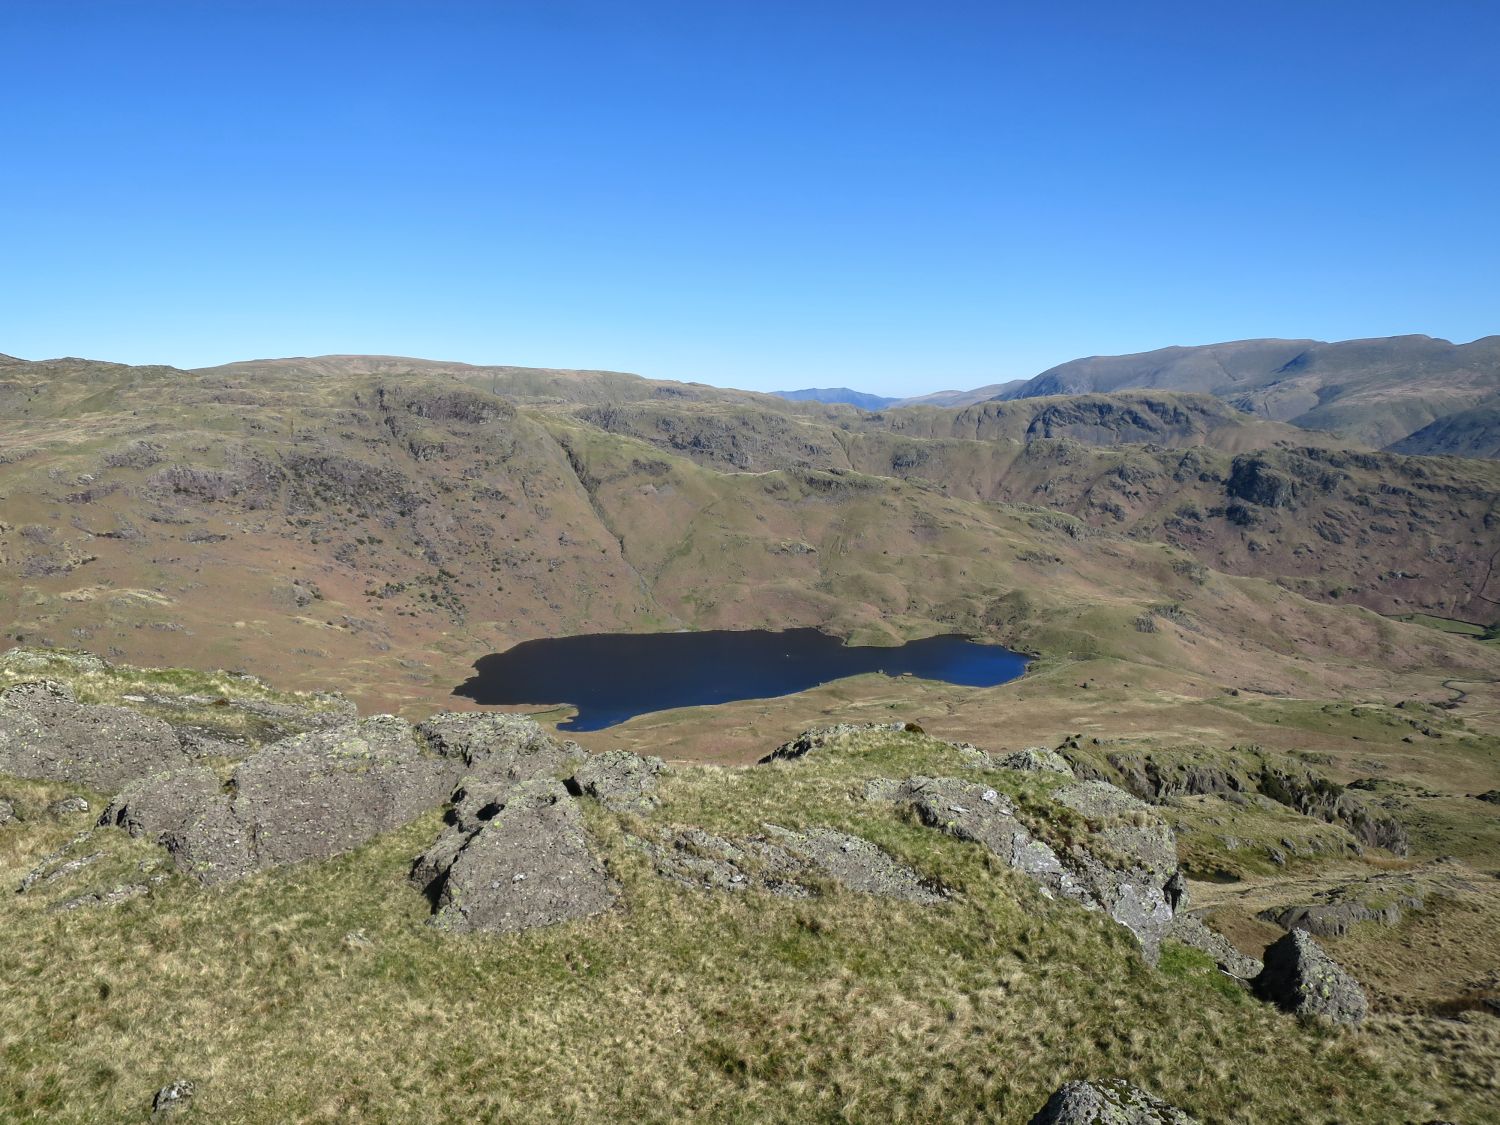
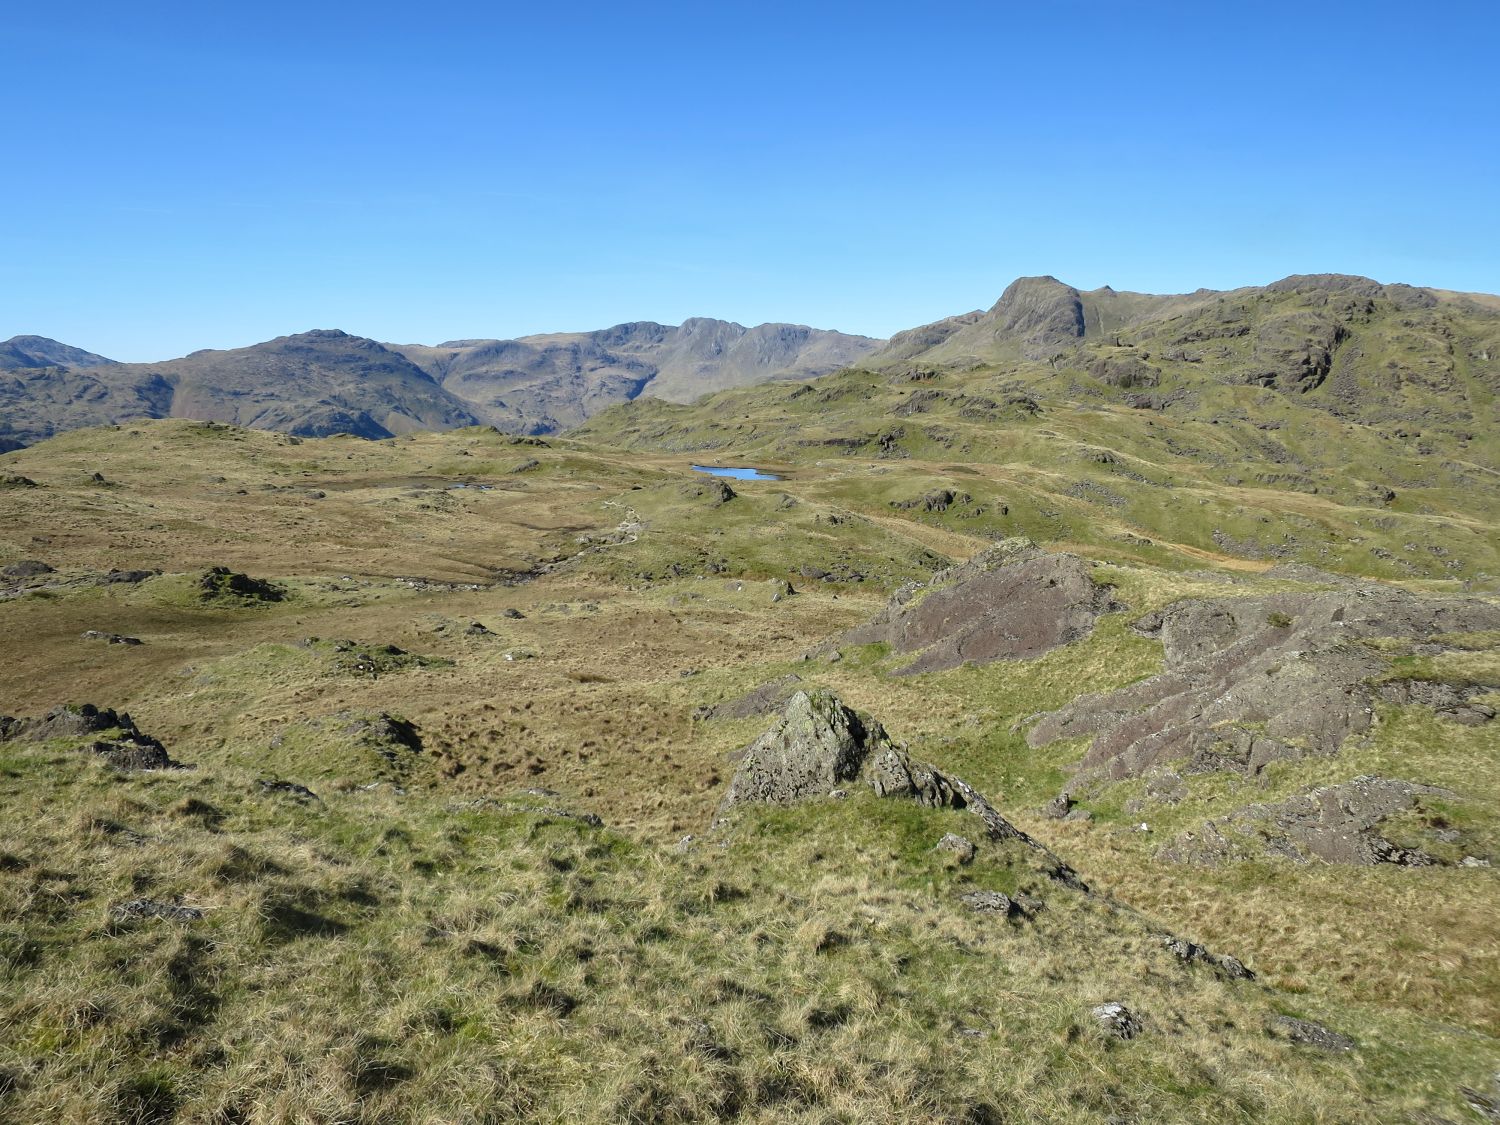
Rather than returning to the connecting ridge, it is far more practical to head direct for the tarns from the summit. The route is pathless but easy to follow over grassy and rock terraces.
Blea Rigg is seen here over on the right, with Harrison Stickle towering over its shoulder.
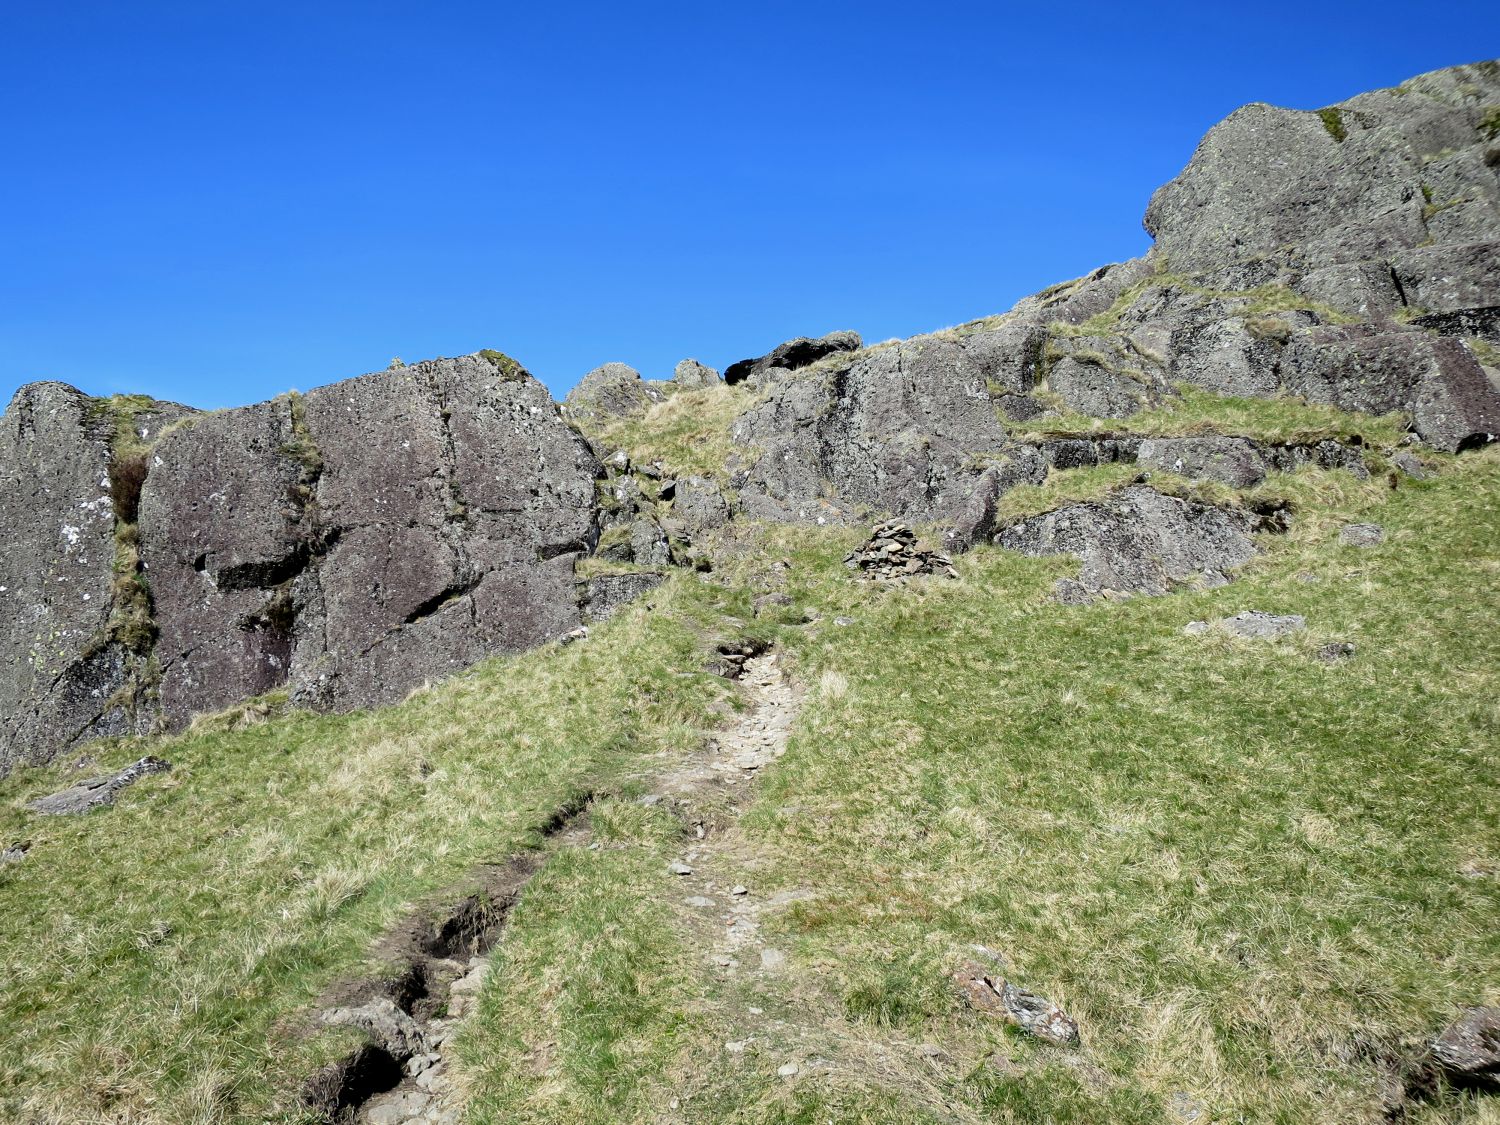
A cairned path meanders its way up the rock terraces.
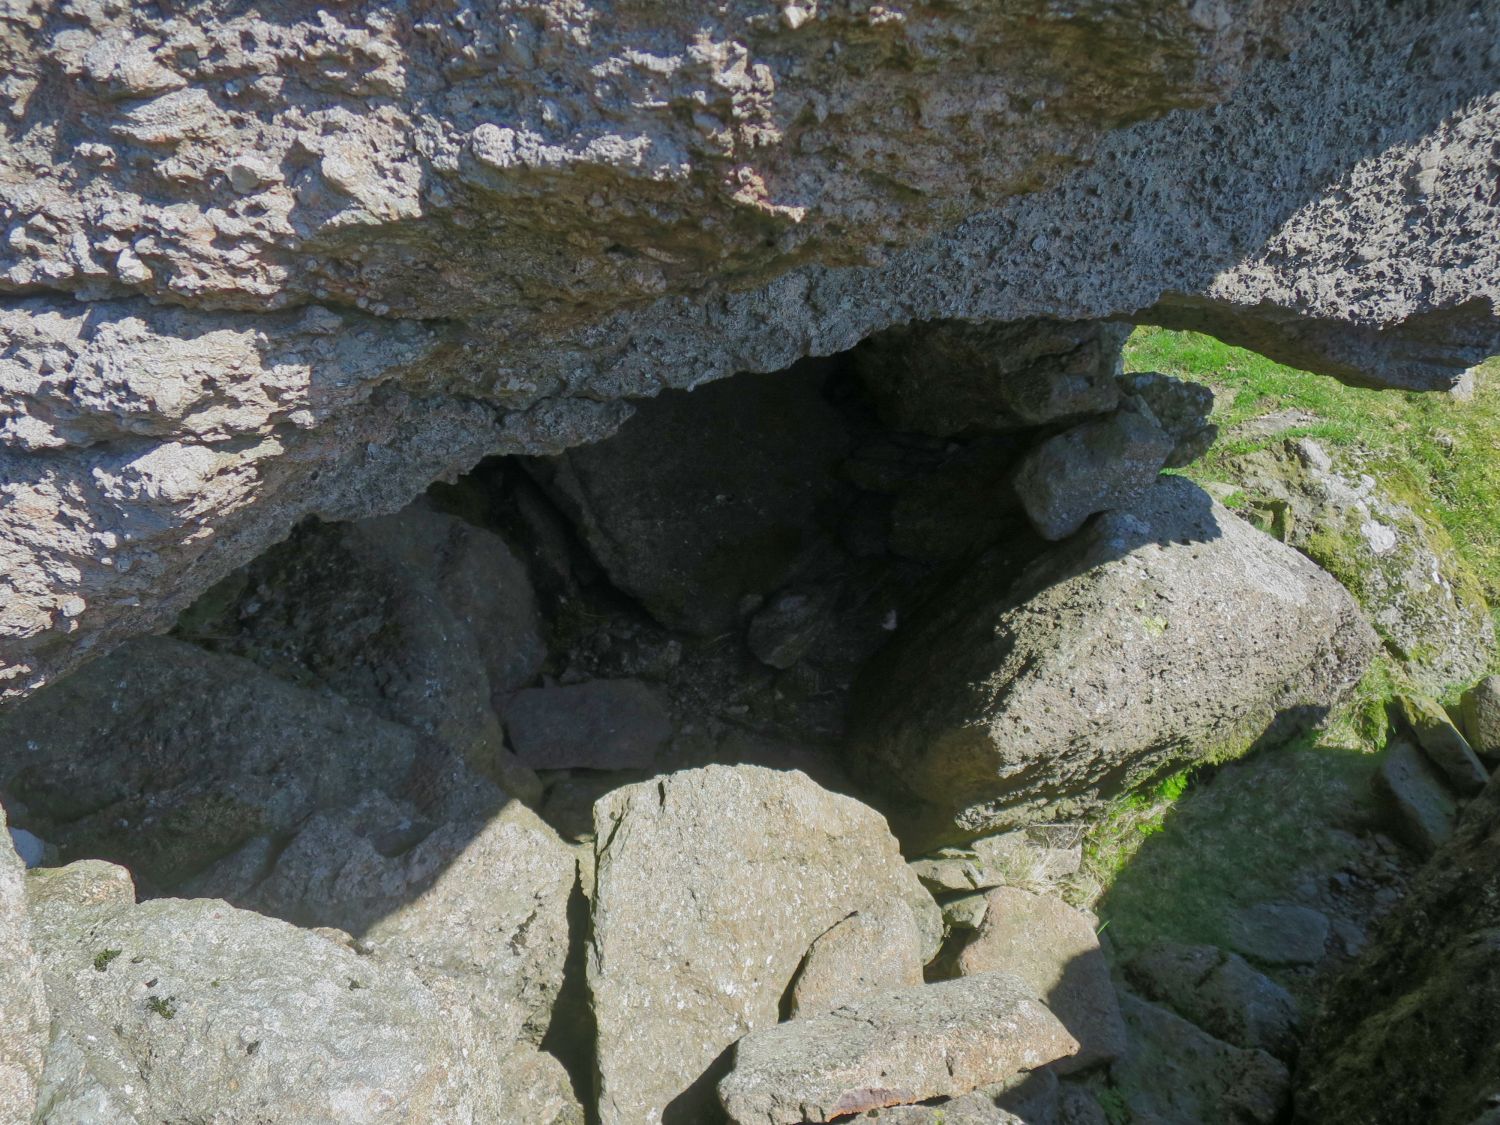
“This useful refuge is situated at the base of the prominent rocky tor 150 yards west of the summit-cairn. It cannot be seen from the path. The accommodation is strictly limited.” Blea Rigg 12
— Alfred Wainwright
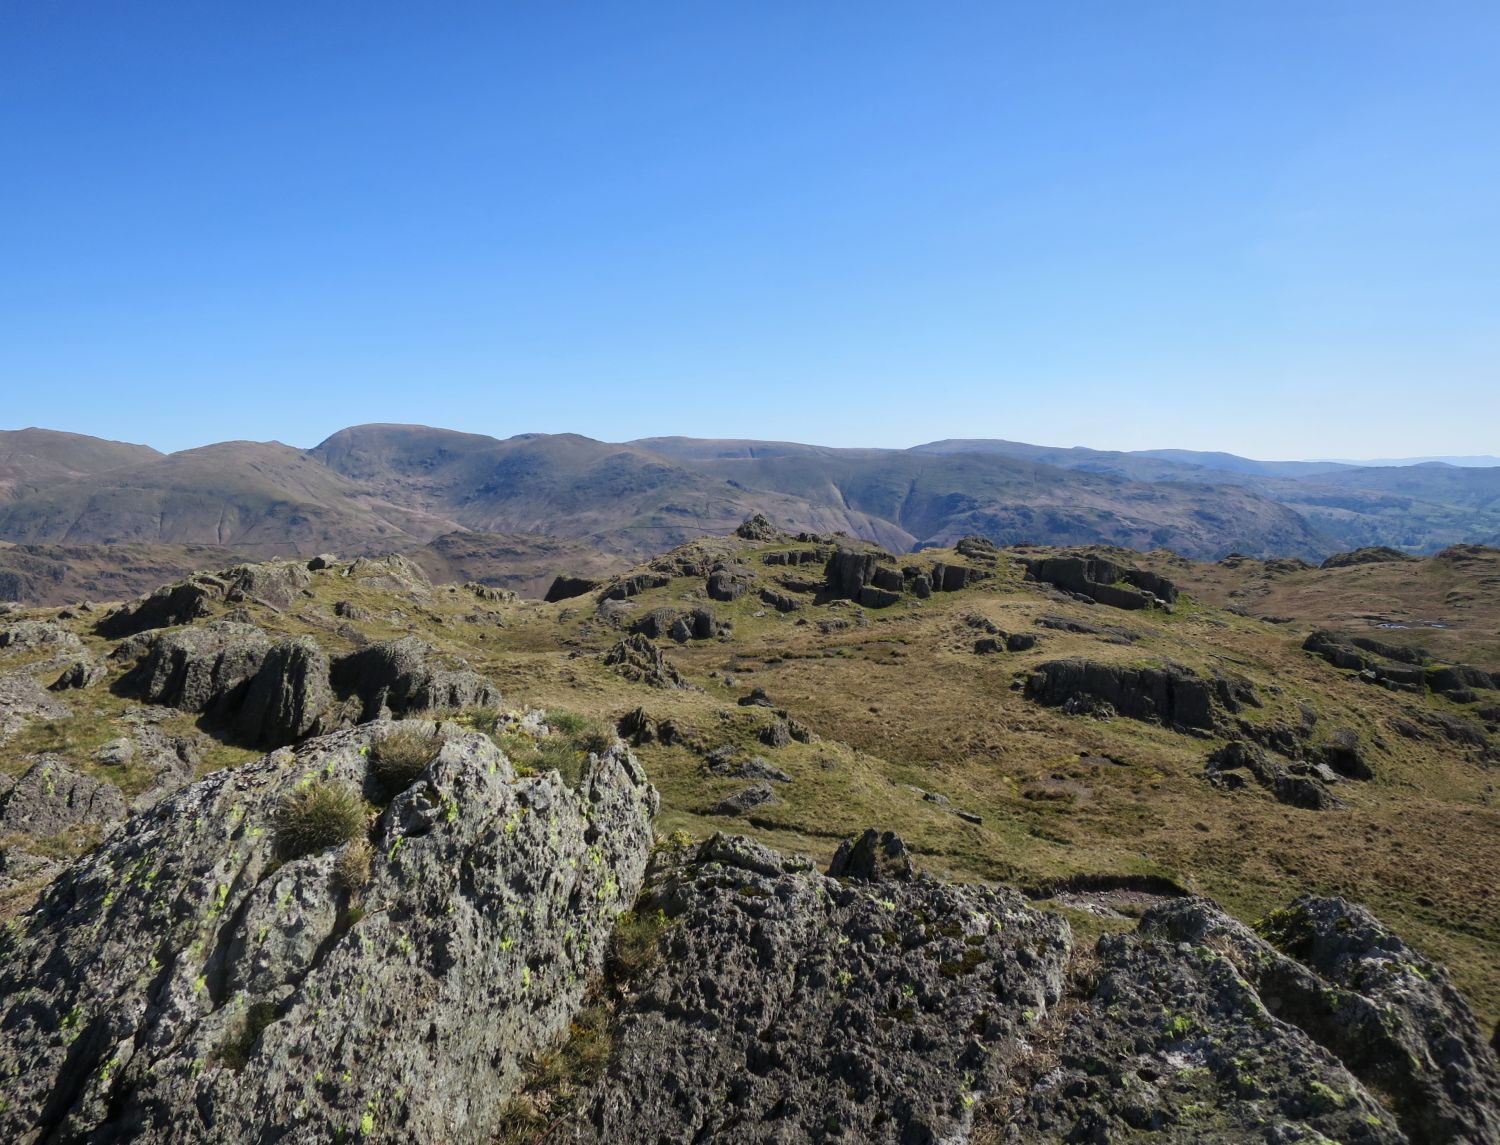
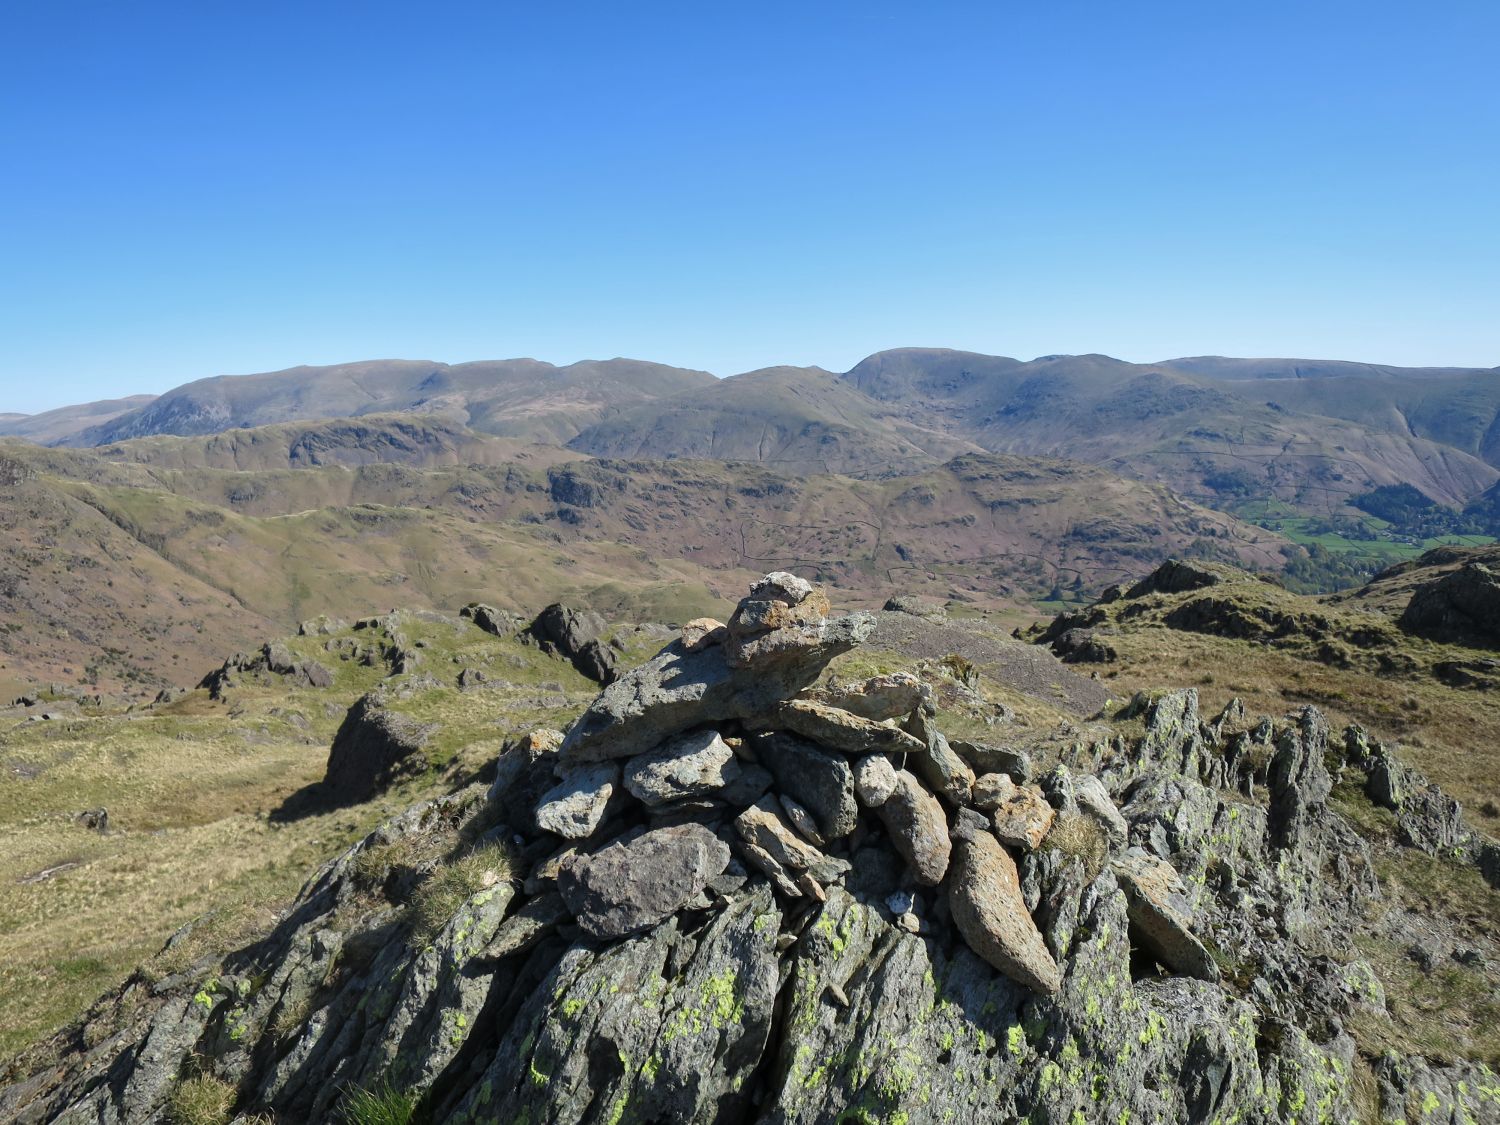
“Although Blea Rigg is traversed on the popular ridge-walk from Silver How to Sergeant Man it gets little attention and the cairn, surmounting a rocky bluff, is often passed unnoticed.” Blea Rigg 9
— Alfred Wainwright
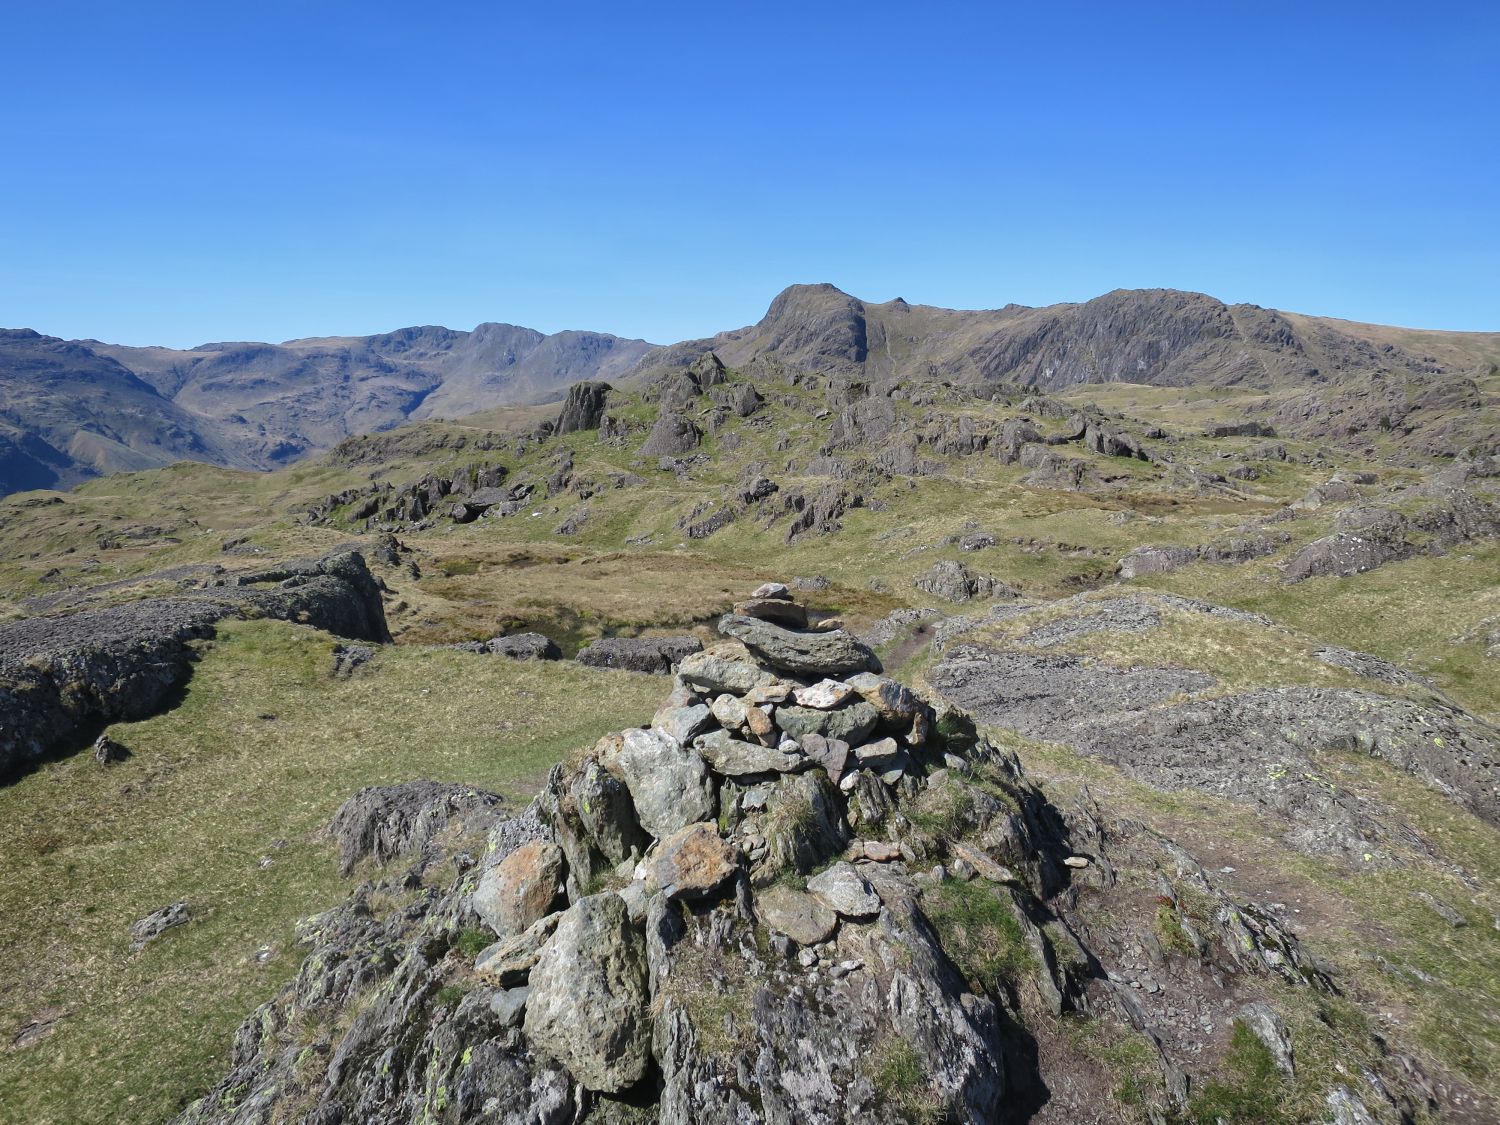
The rocky tor over to the west looks higher when viewed from the main summit cairn.
“The view is good, although it contains none of the Scafell group nor the western fells. Prominent in an interesting panorama, due west, is the striking outline of Harrison Stickle and Pavey Ark: these heights are, however, better seen from several other points further along the ridge, westwards.” Blea Rigg 10
— Alfred Wainwright
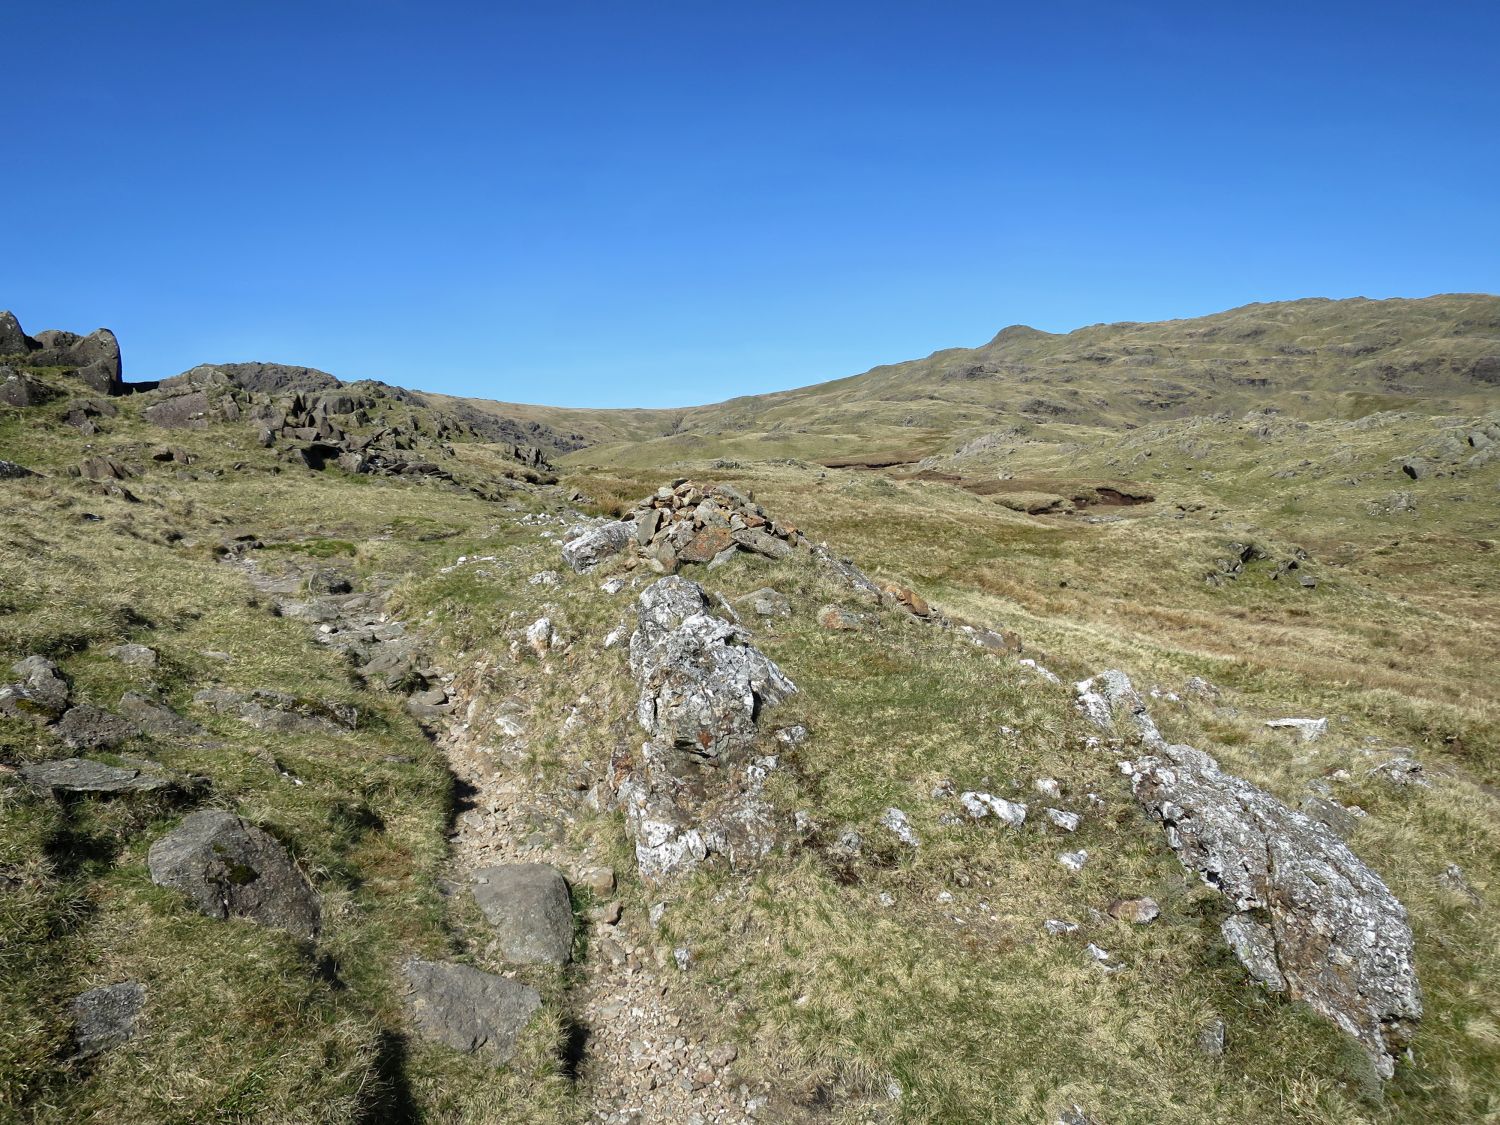
A small but surprising sight of quartz stones can be seen along the traverse path, just below the main summit tor.
From leaving Blea Rigg there’s a confusing network of paths, but the direction is obvious and easy throughout to Sergeant Man.
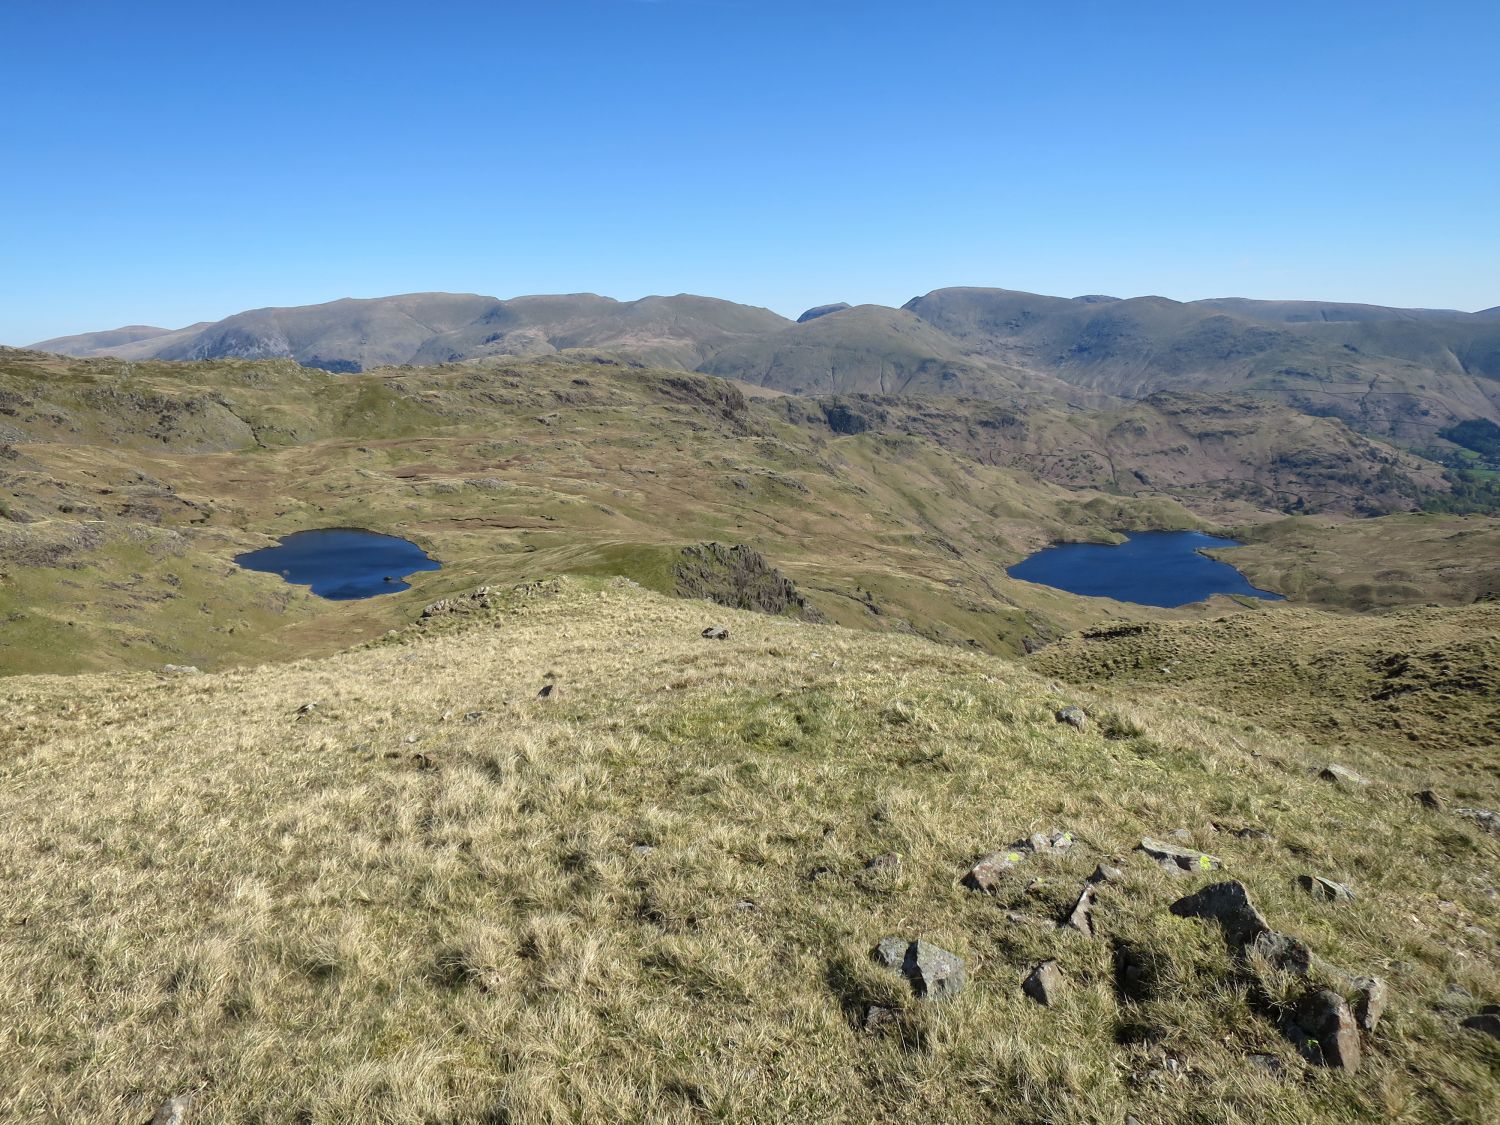
“Two narrow grass trods (indistinct) leave the main path to follow the ridge, which is very wide. The route is easy and undulating to the ‘crossroads’ (cairns in profusion here), then climbs in an area of low crags. The path is not clear, but is amply cairned.” Blea Rigg 11
— Alfred Wainwright
The Central Fells
Blea Rigg 11
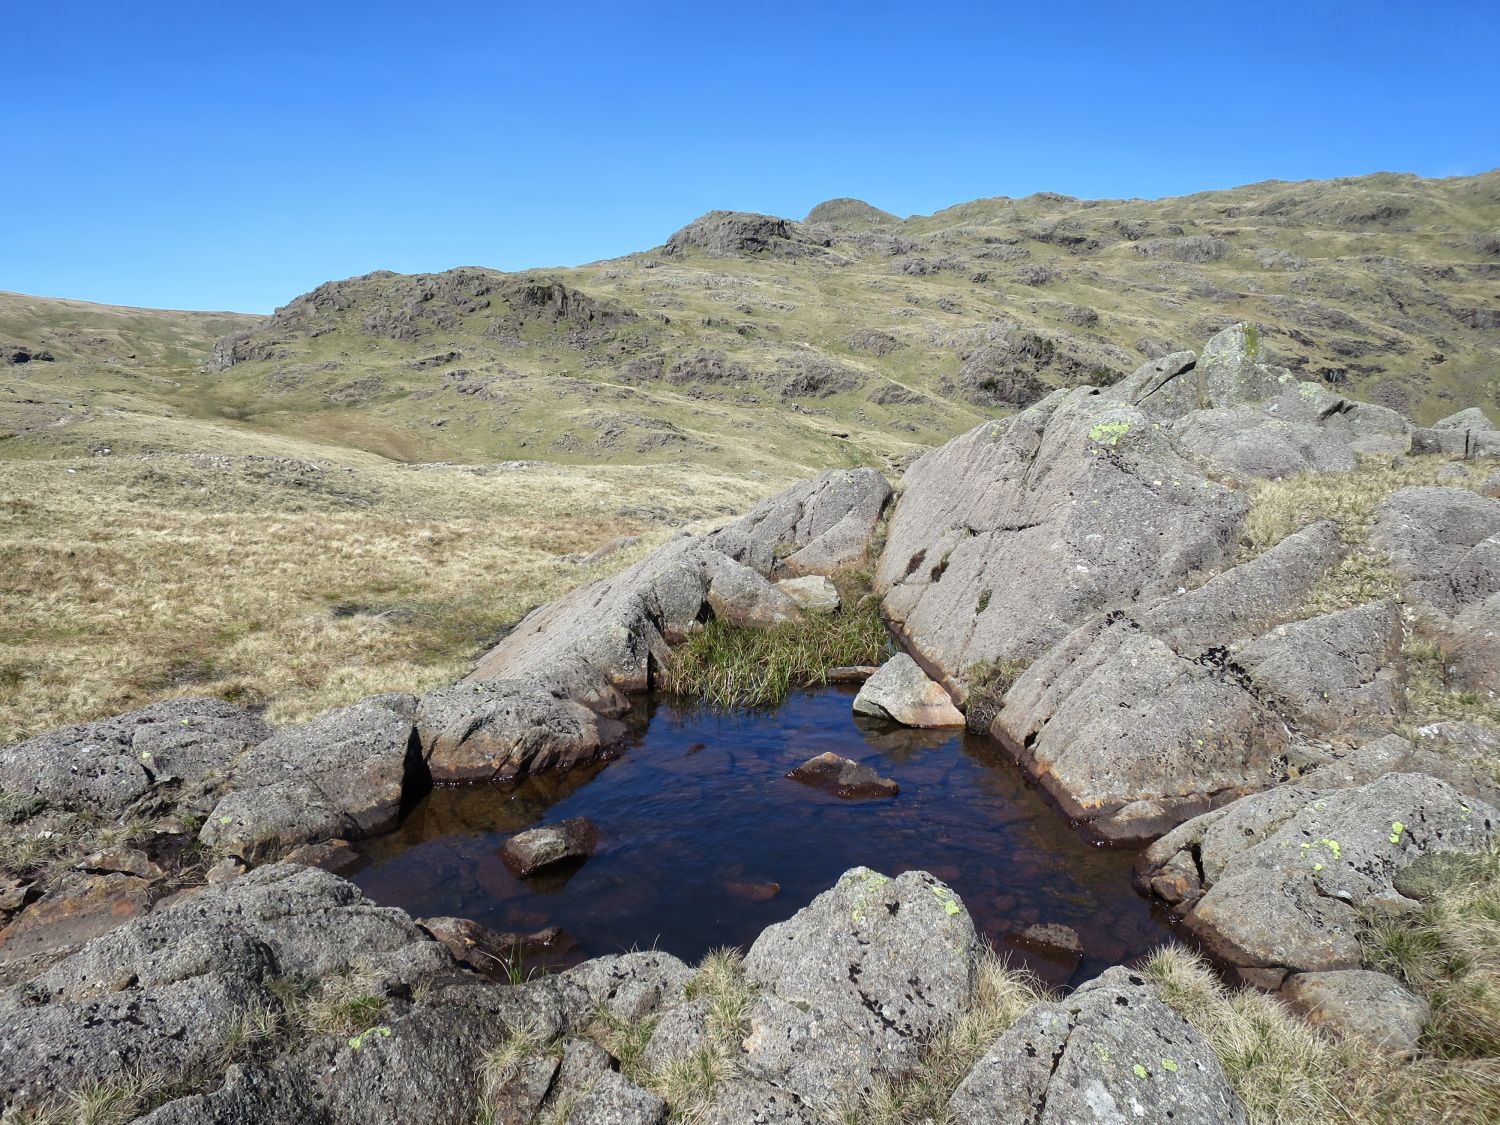
“The rock-pool on the ridge and the route beyond”
“A few yards to the right of the ridge-path, about a furlong short of the ‘crossroads’, is a miniature pool entirely enclosed in an outcrop of handsome rock. This is a delightful natural feature (a great favourite of the author) and all gardener-walkers who see it must covet it for their backyards at home.” Blea Rigg 11
— Alfred Wainwright
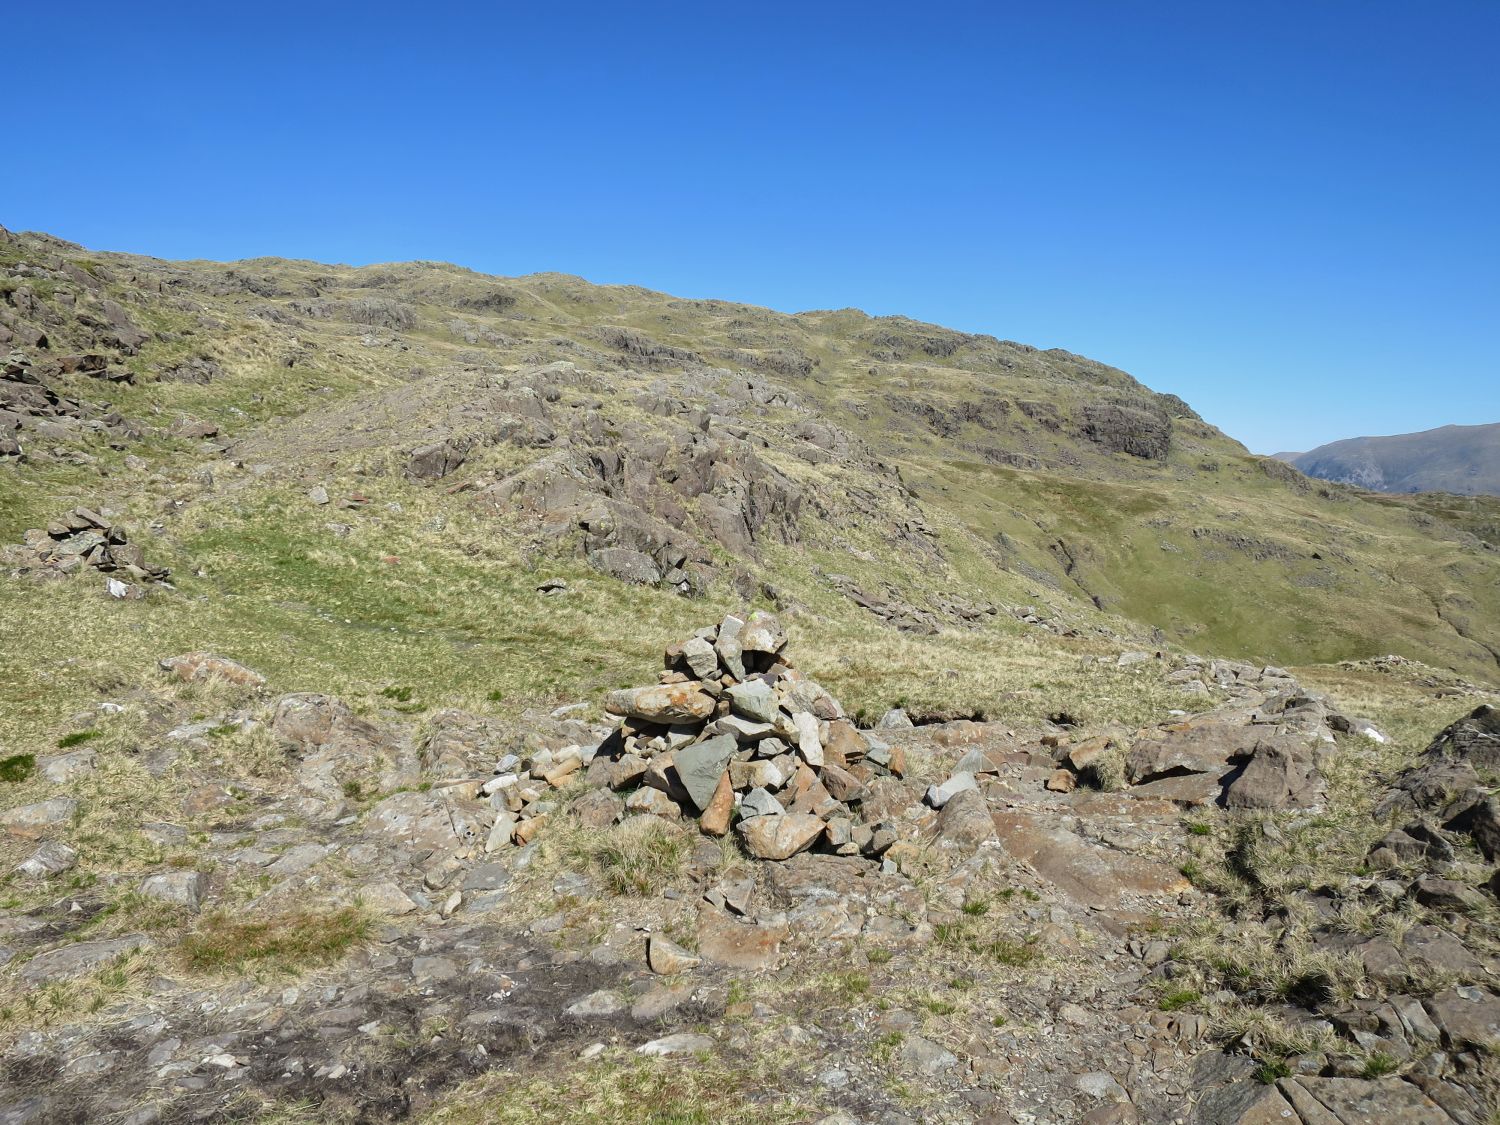
This is the well-known ‘crossroads’ where routes from Dungeon Ghyll and Grasmere via Easedale Tarn join the main ridge-path to Sergeant Man.
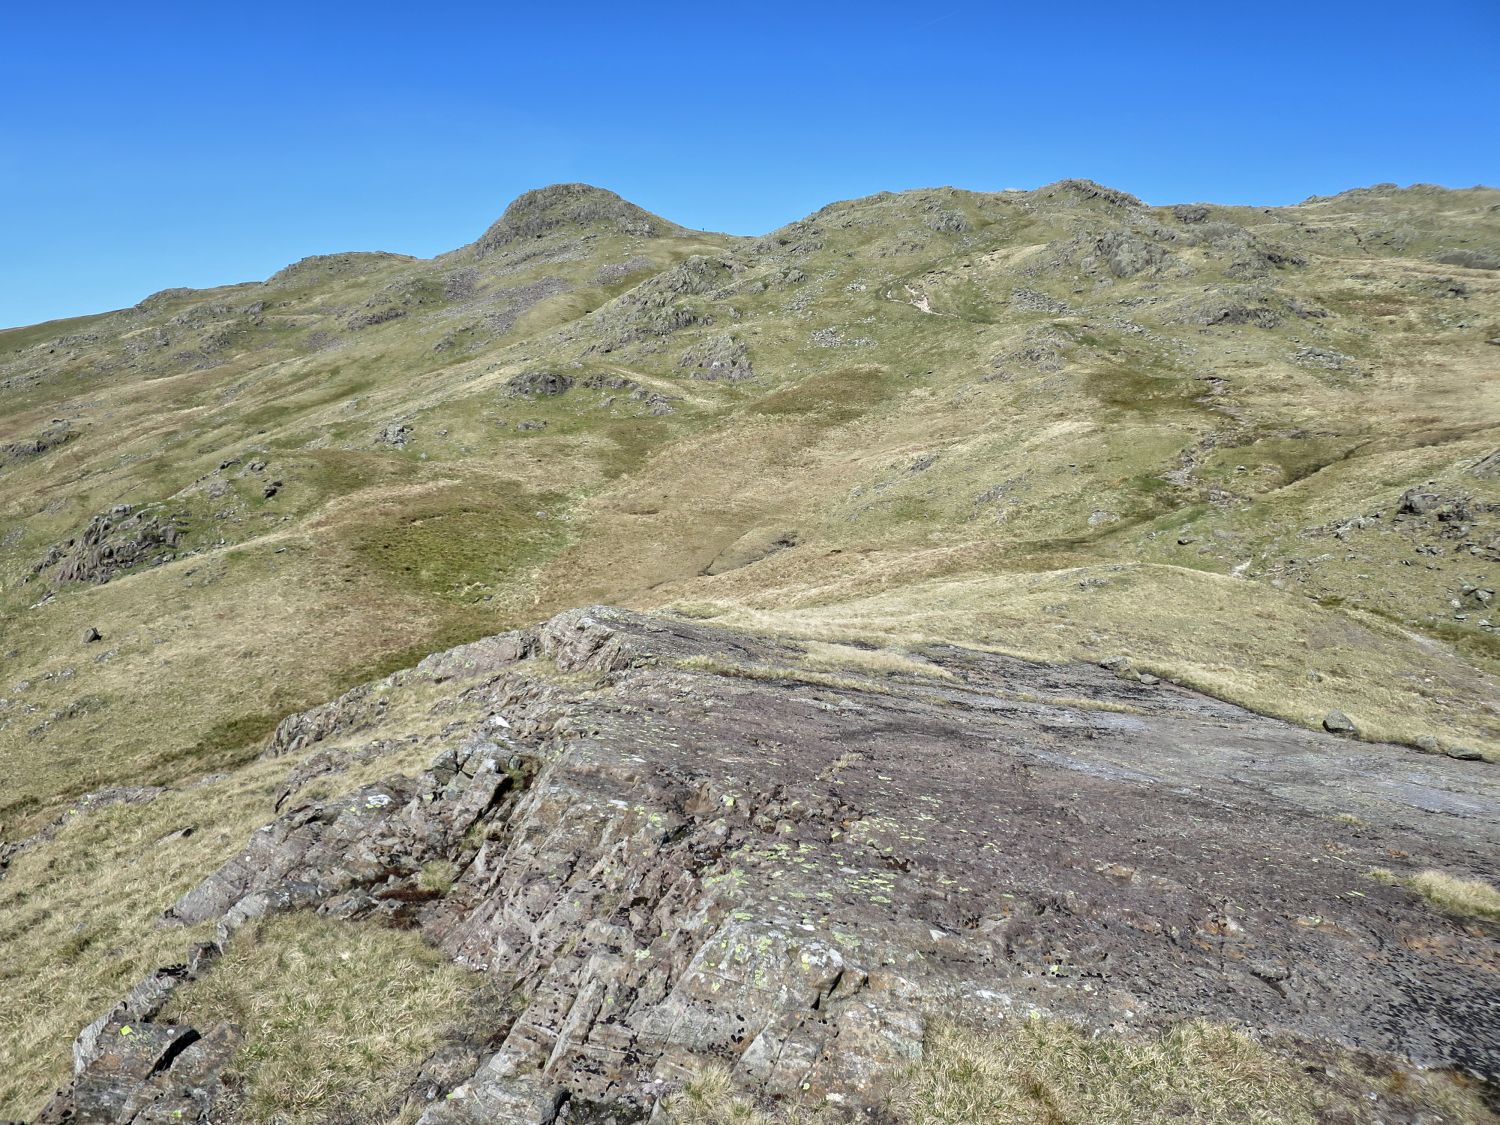
“Here the path passes a 50-foot rock slab with a cairn oddly set in the middle. Its easy gradient makes it climbable by walking.” Sergeant Man 5
— Alfred Wainwright
Sadly, the cairn is no longer in place, but remnants of it can be seen at the foot of the slab.
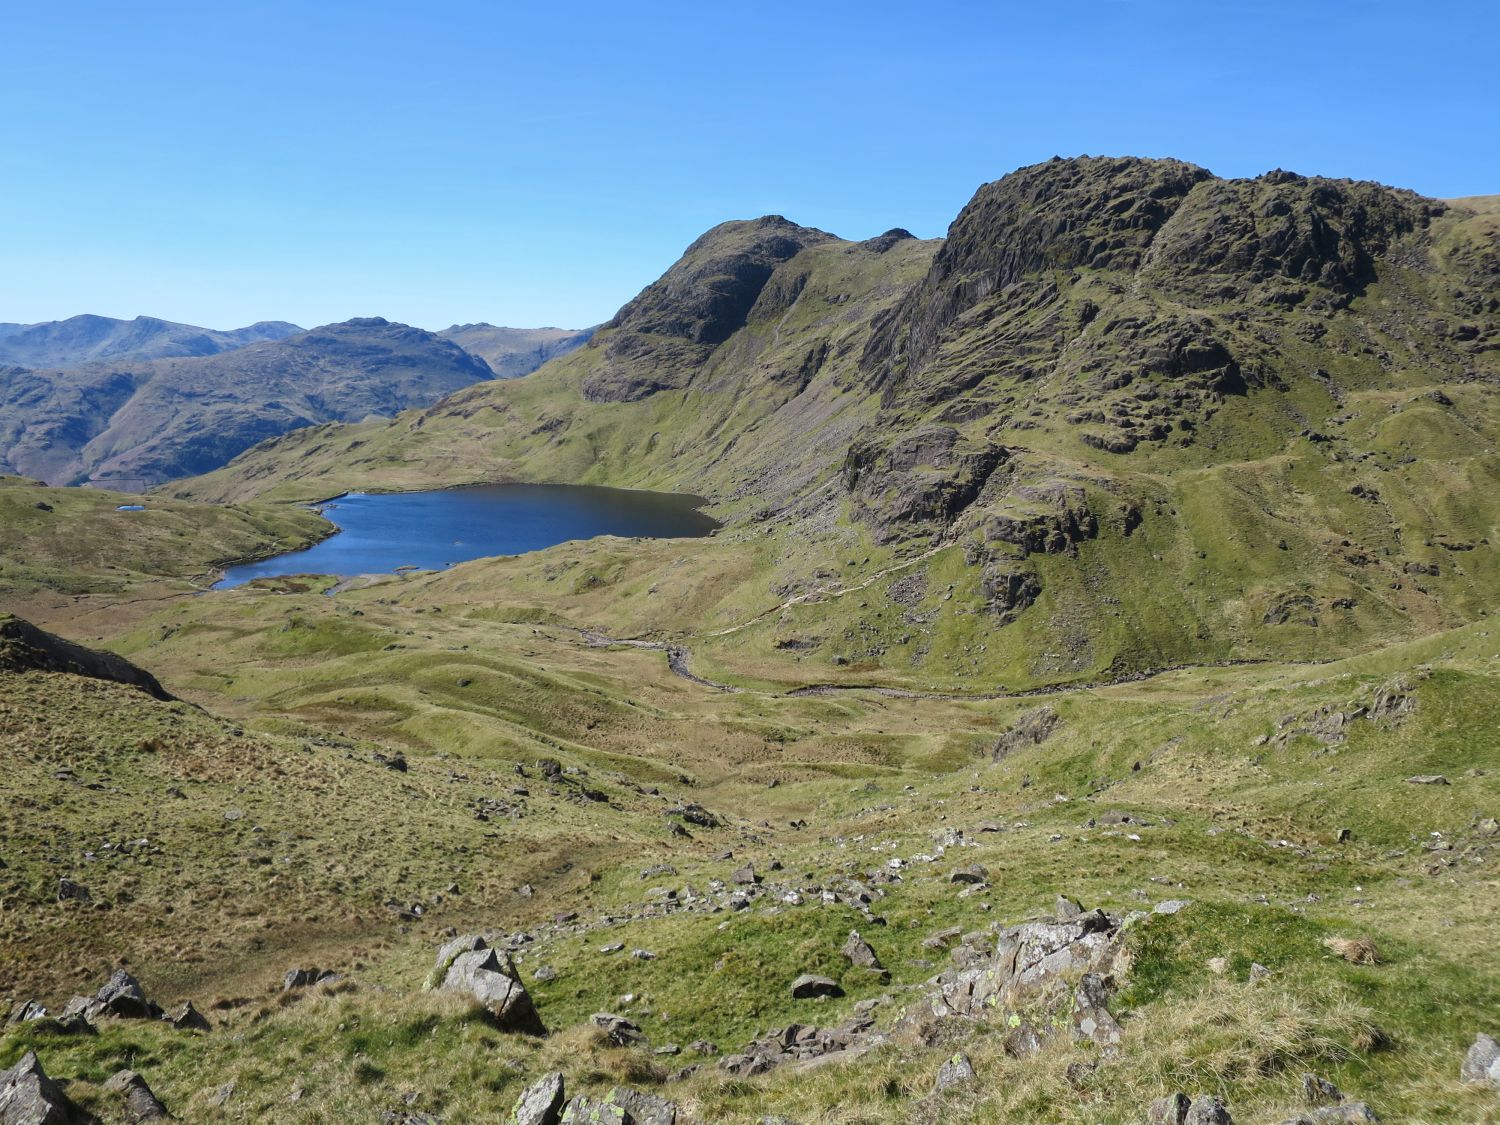
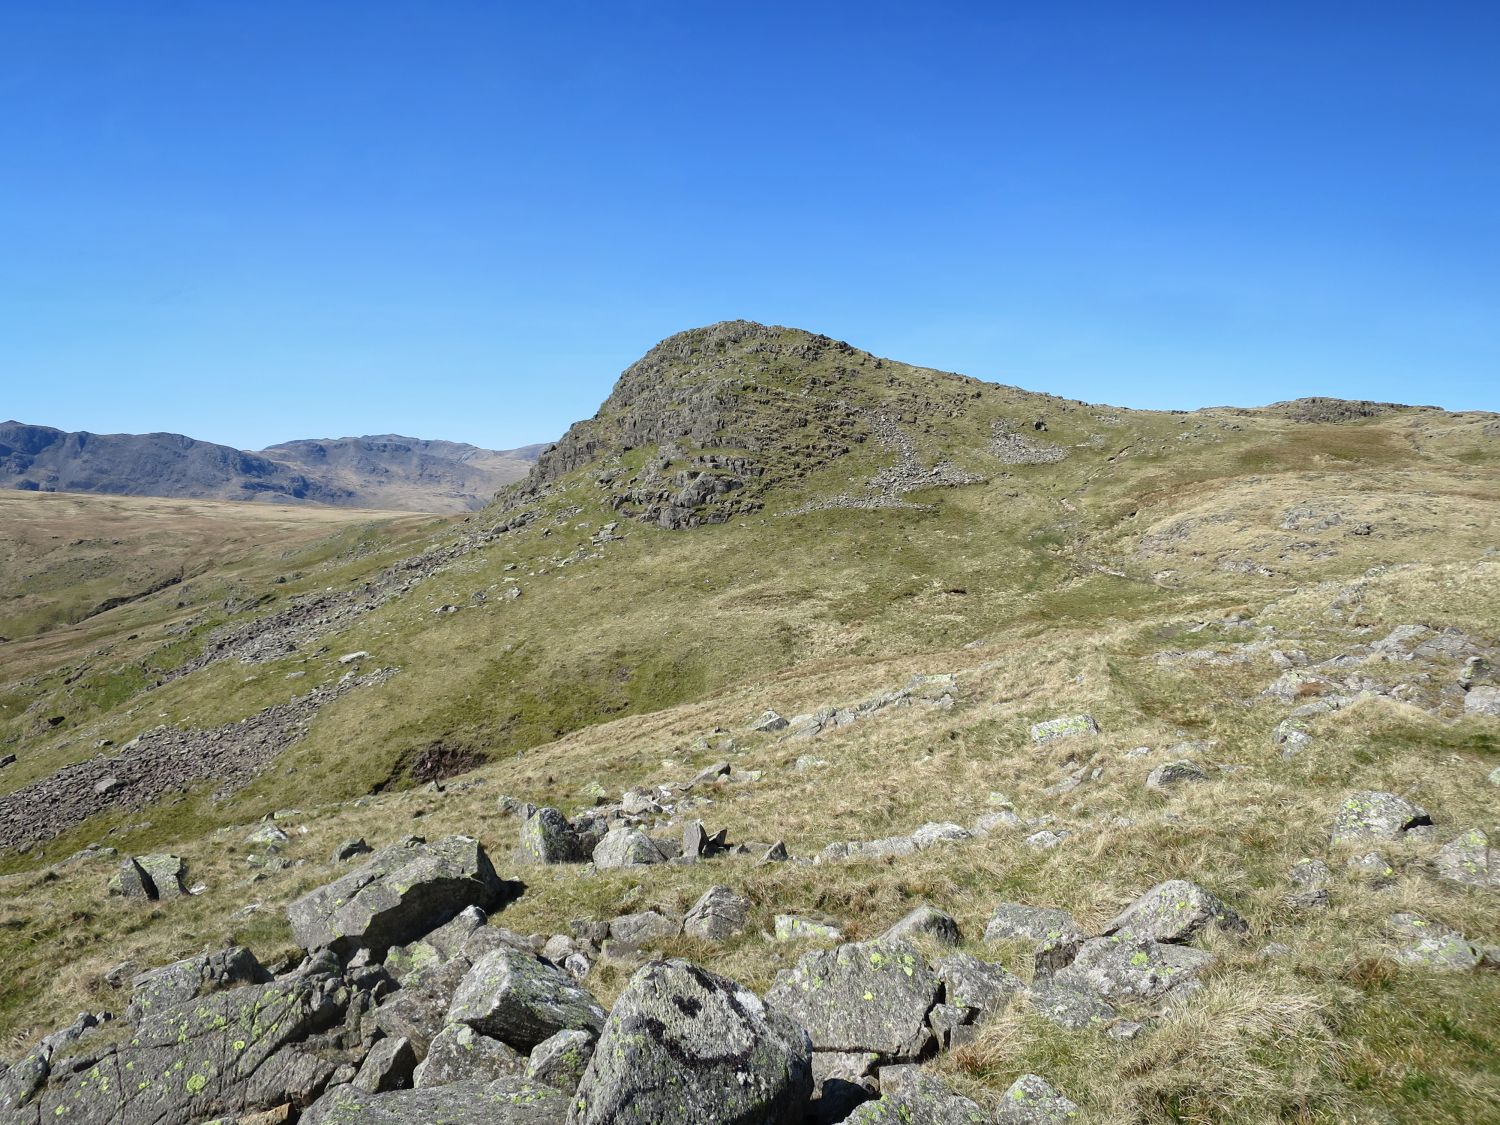
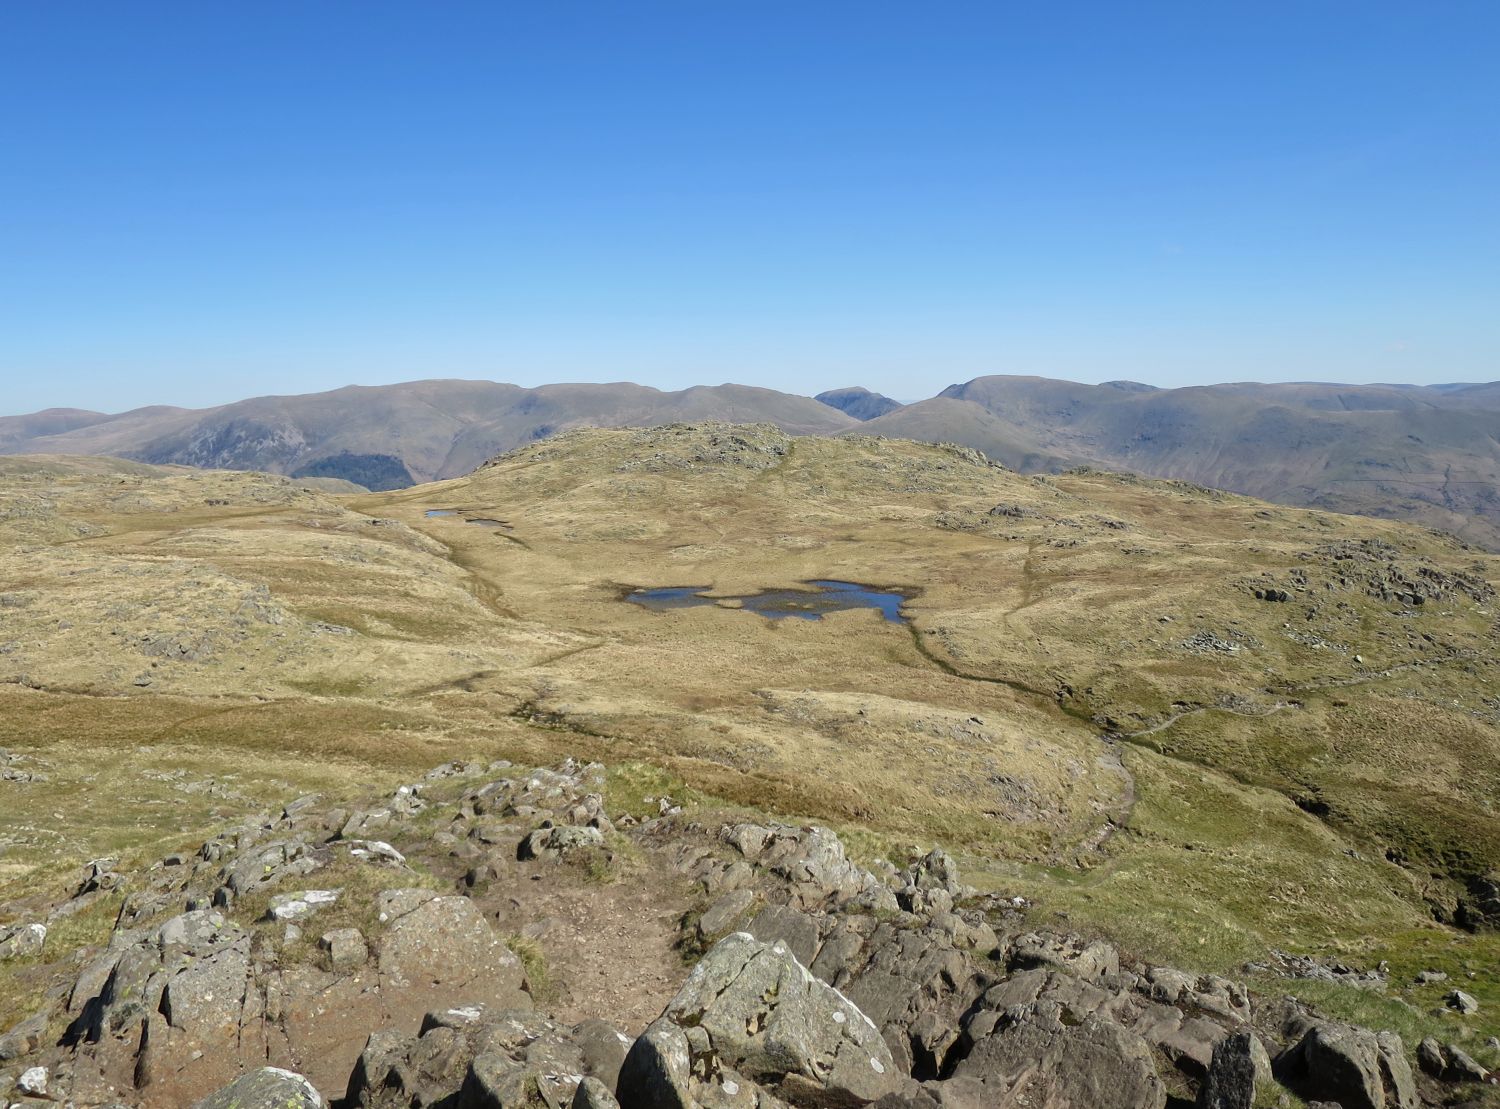
“The stones around the cairn have been scratched white by the nailed boots of visitors, testifying to the popularity of this summit.” Sergeant Man 8
— Alfred Wainwright
“In clear weather Sergeant Man is, however, a good viewpoint and the tarns provide pointers to the distant summits. The summit of Helvellyn appears beyond the twin tarns of Codale Head….” The Tarns of Lakeland VOL.2: East
— John and Anne Nuttall
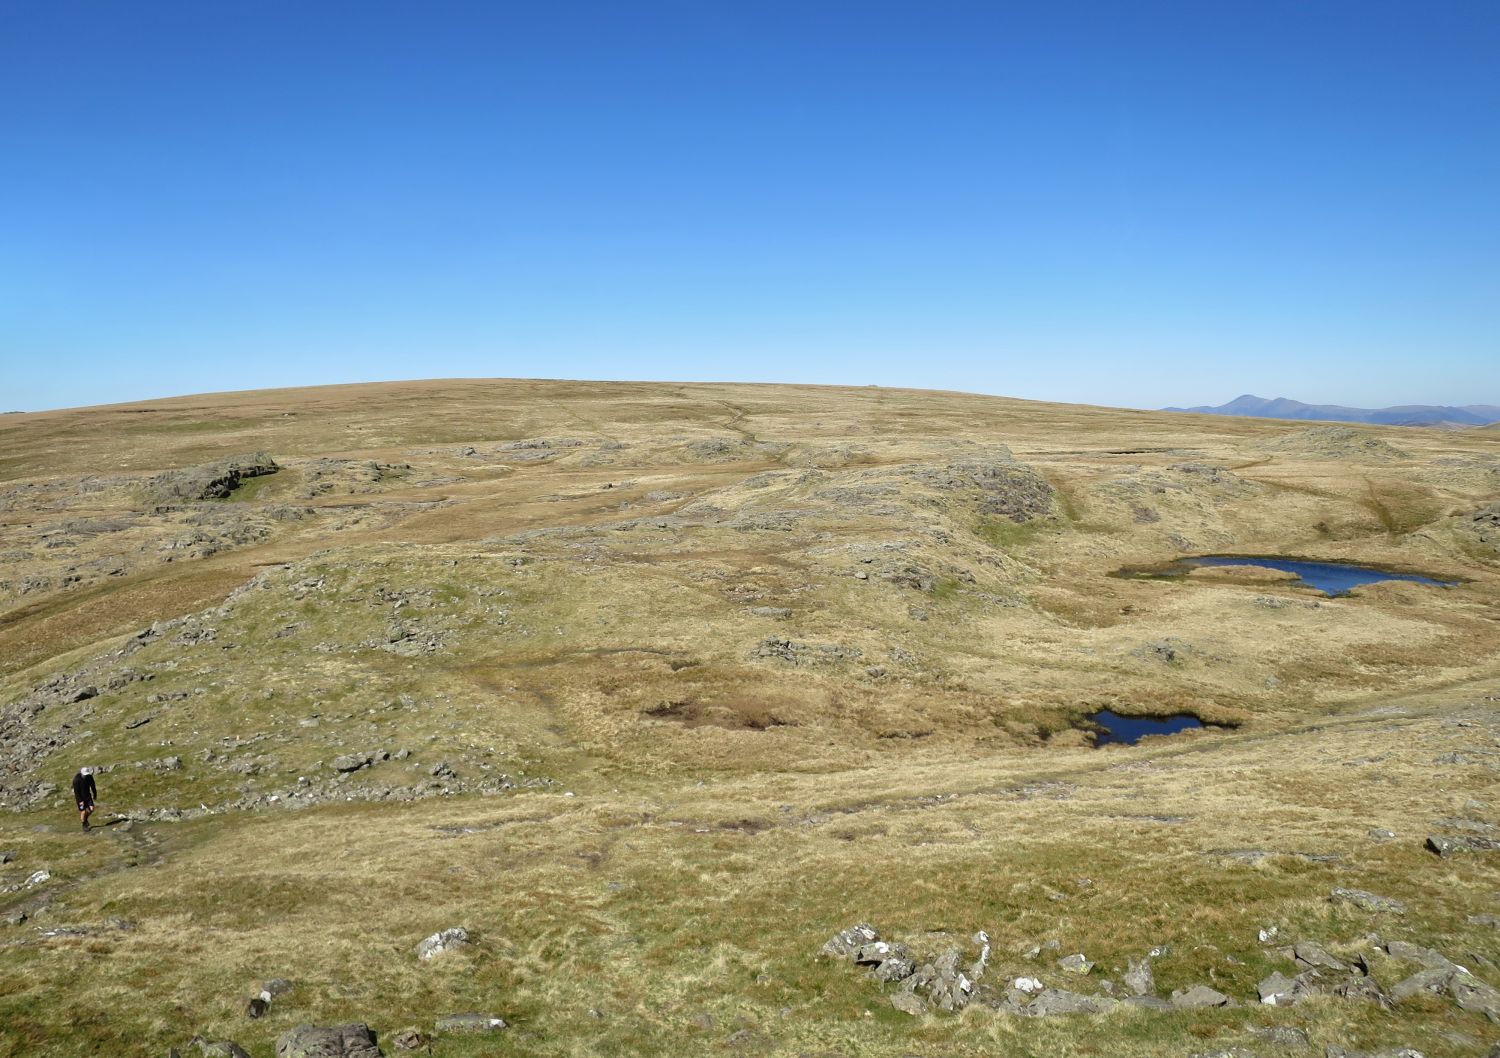
“There is swampy ground on the top of the fell, and many small tarns. Sergeant Man is distinctive in having a stream within a furlong of the cairn, a point for specialists in mountain bivouacs to note.” Sergeant Man 8
— Alfred Wainwright
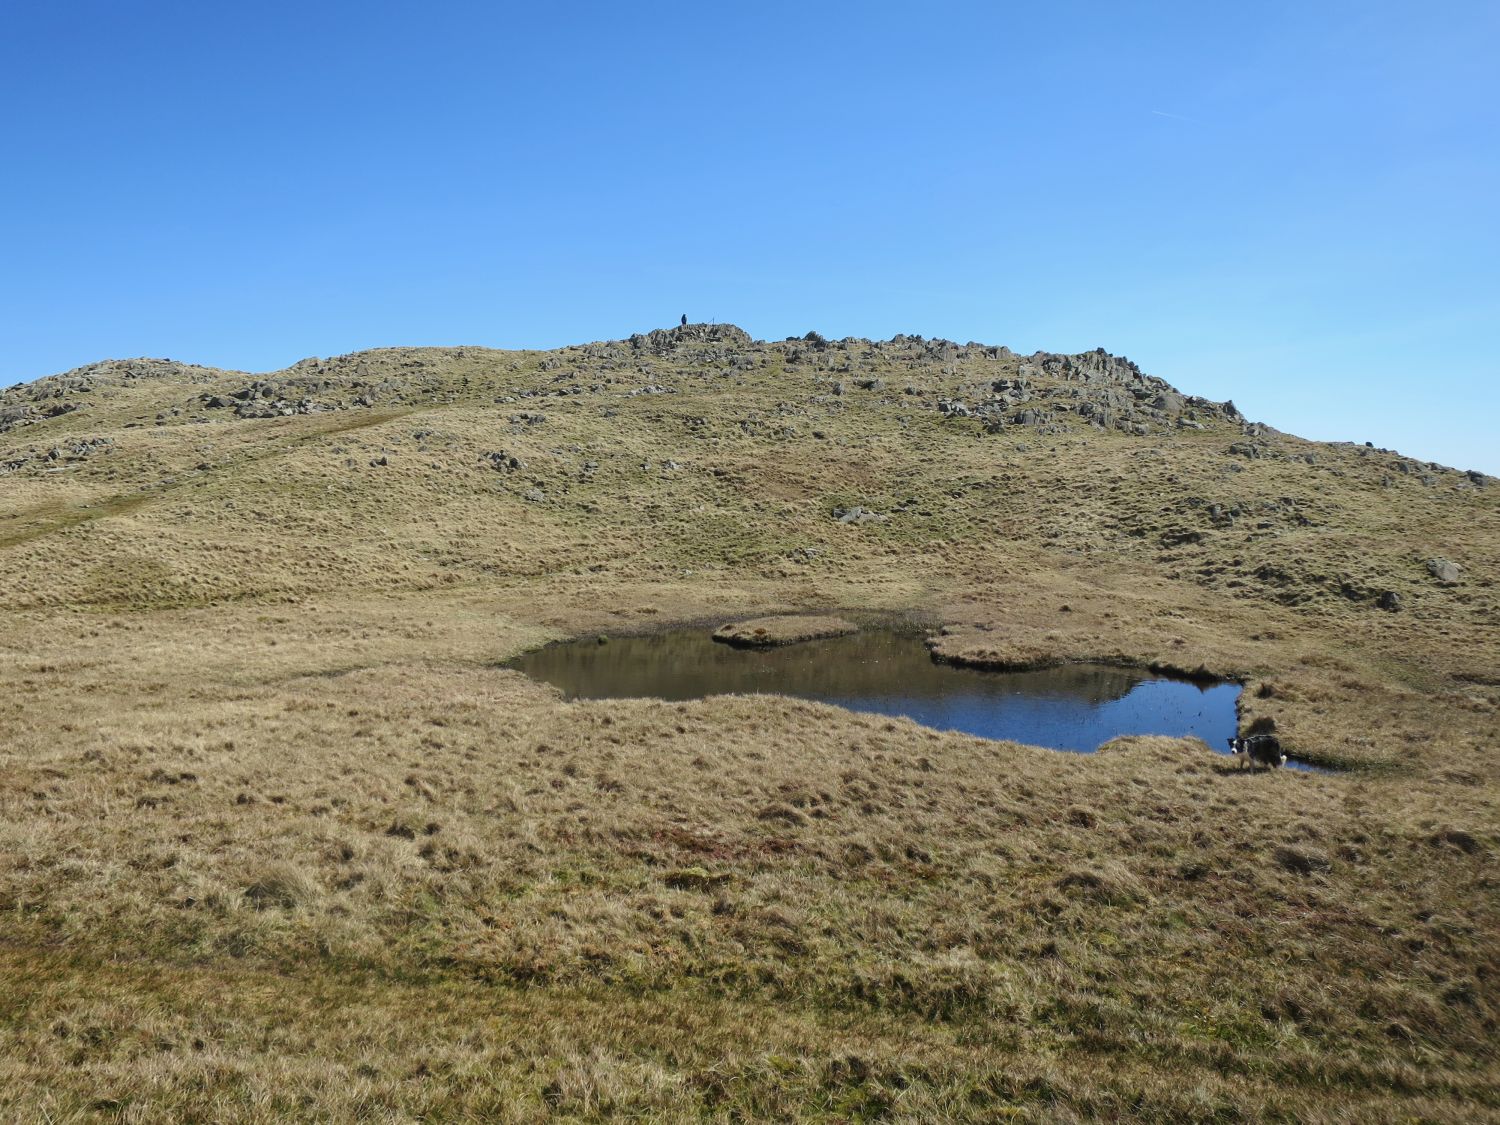
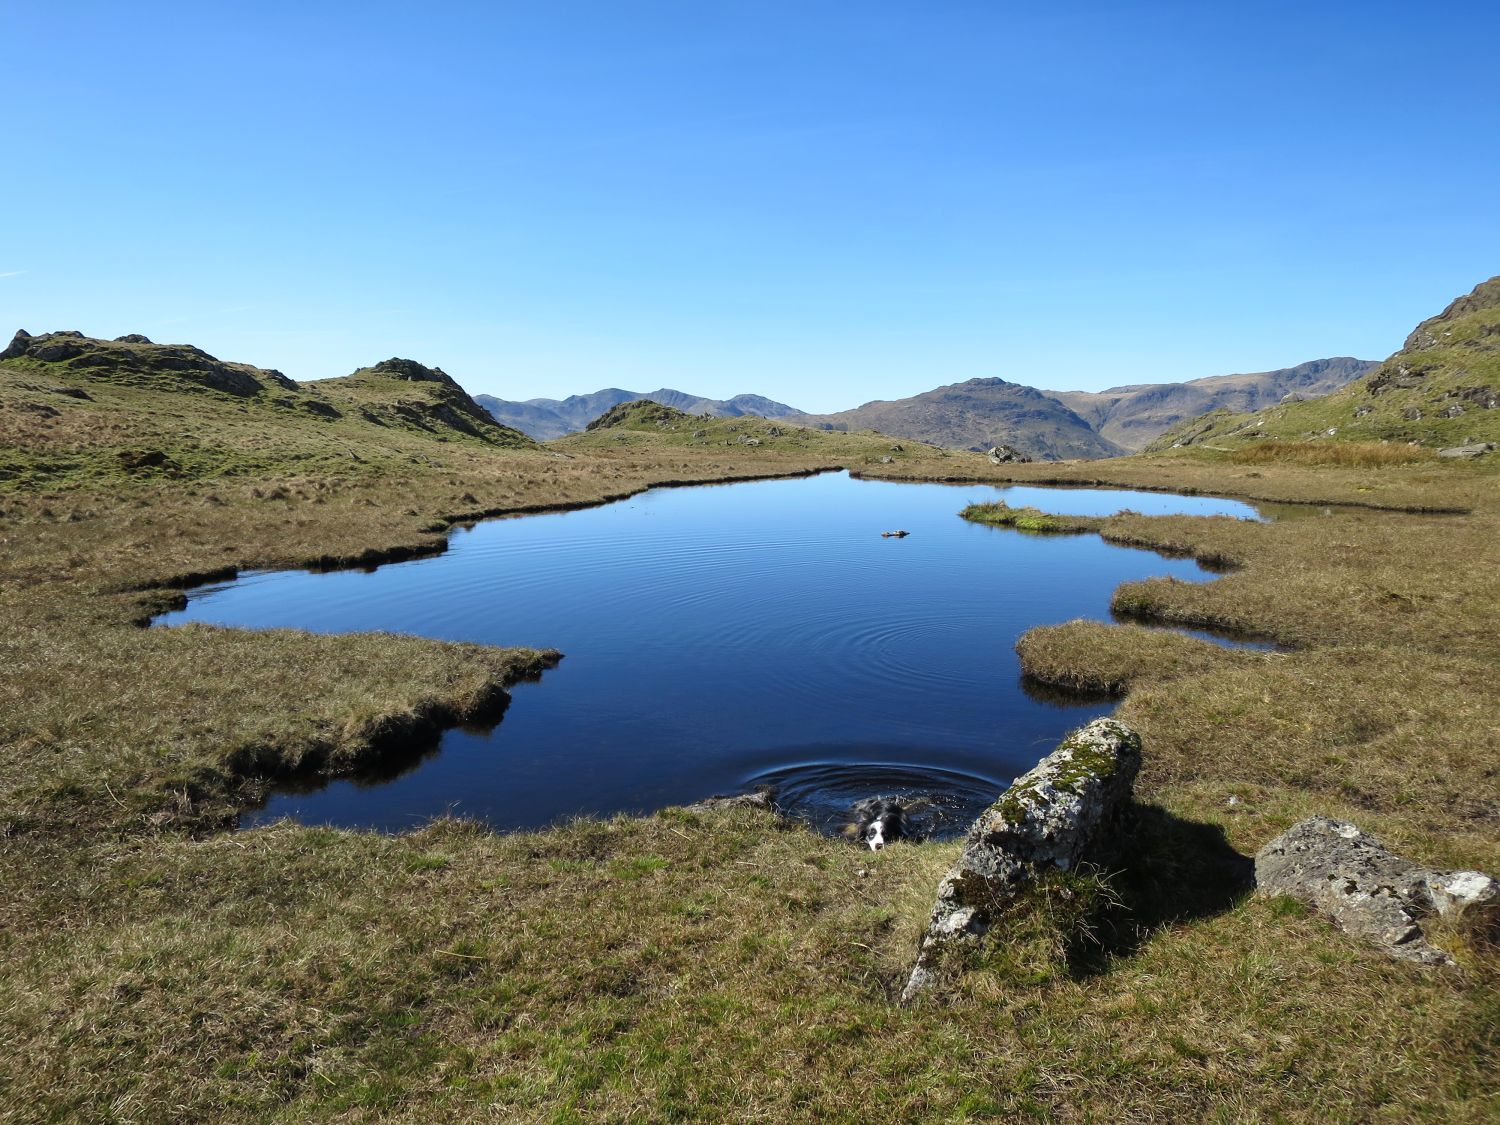
Tika has to explore another tarn, doesn’t he? He’s in tarn paradise on this walk!
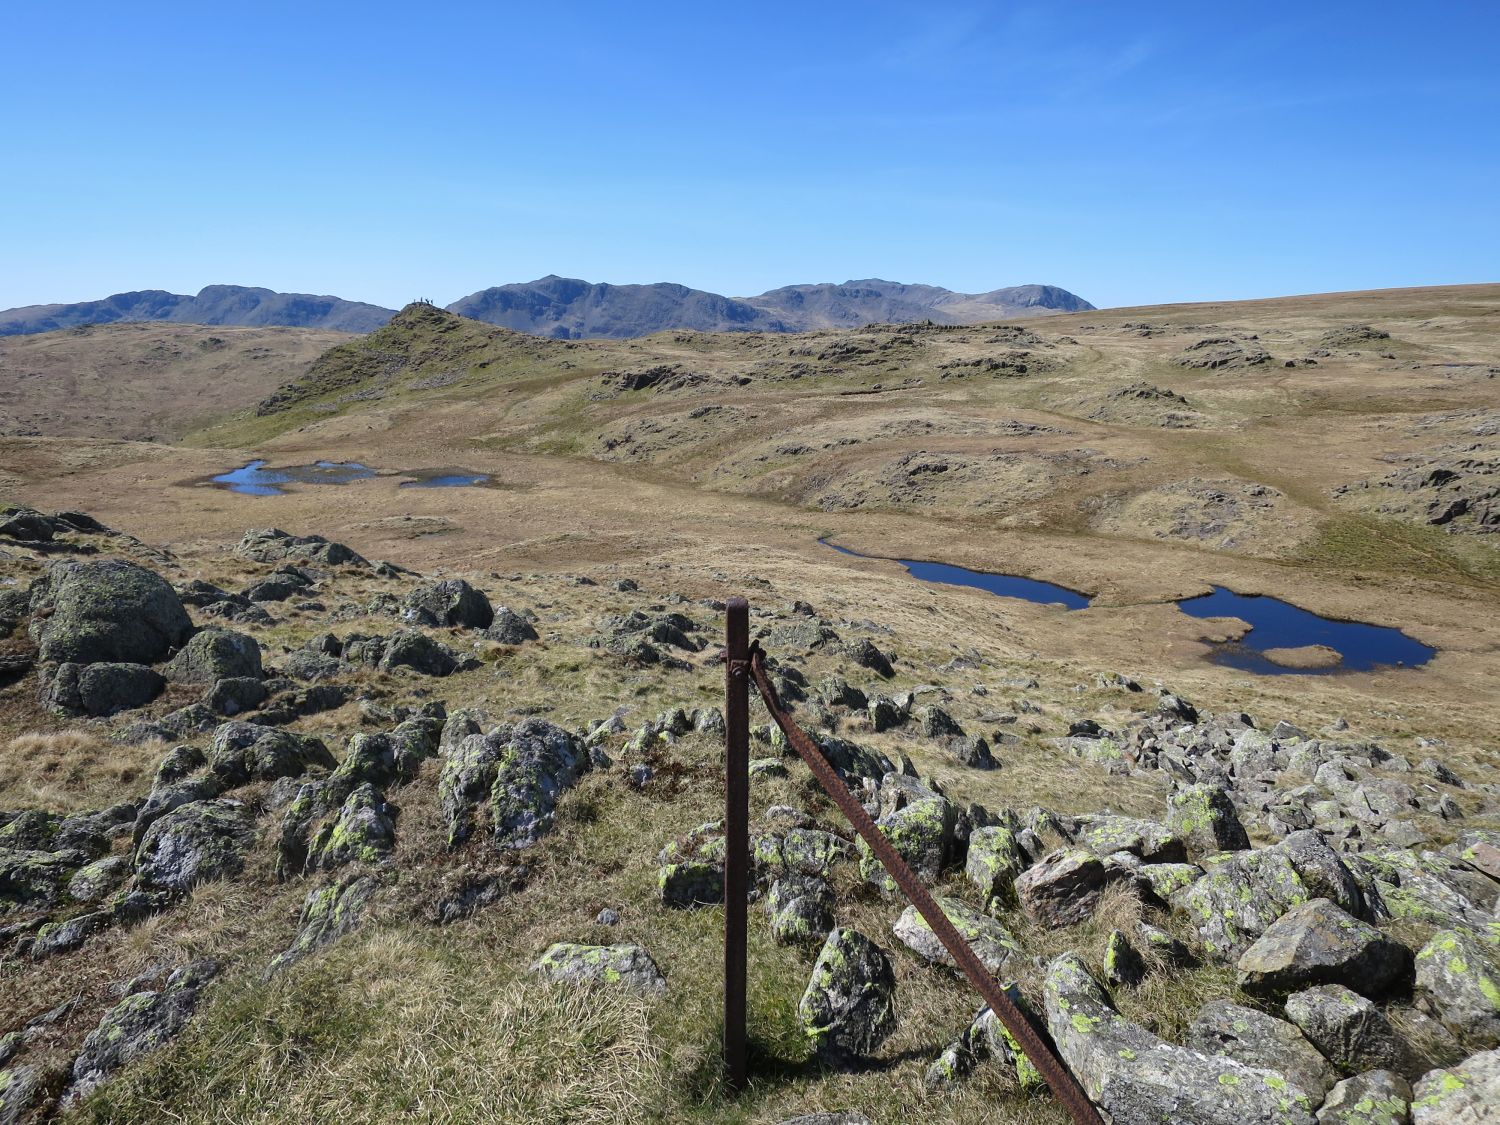
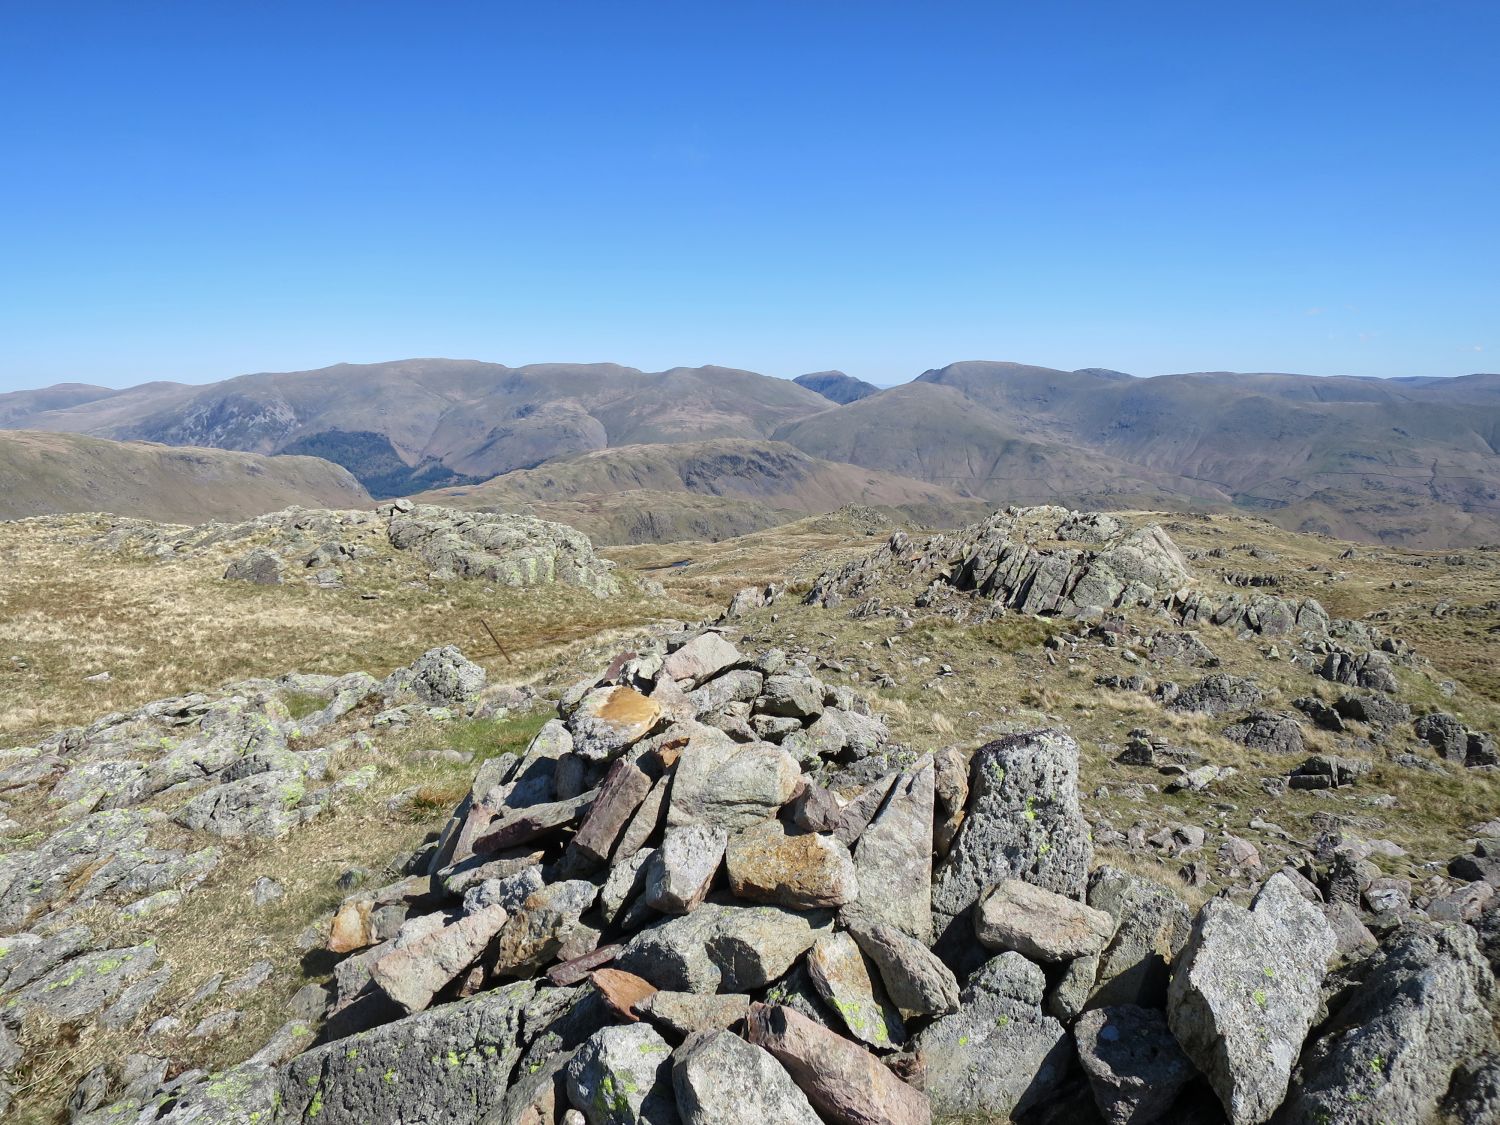
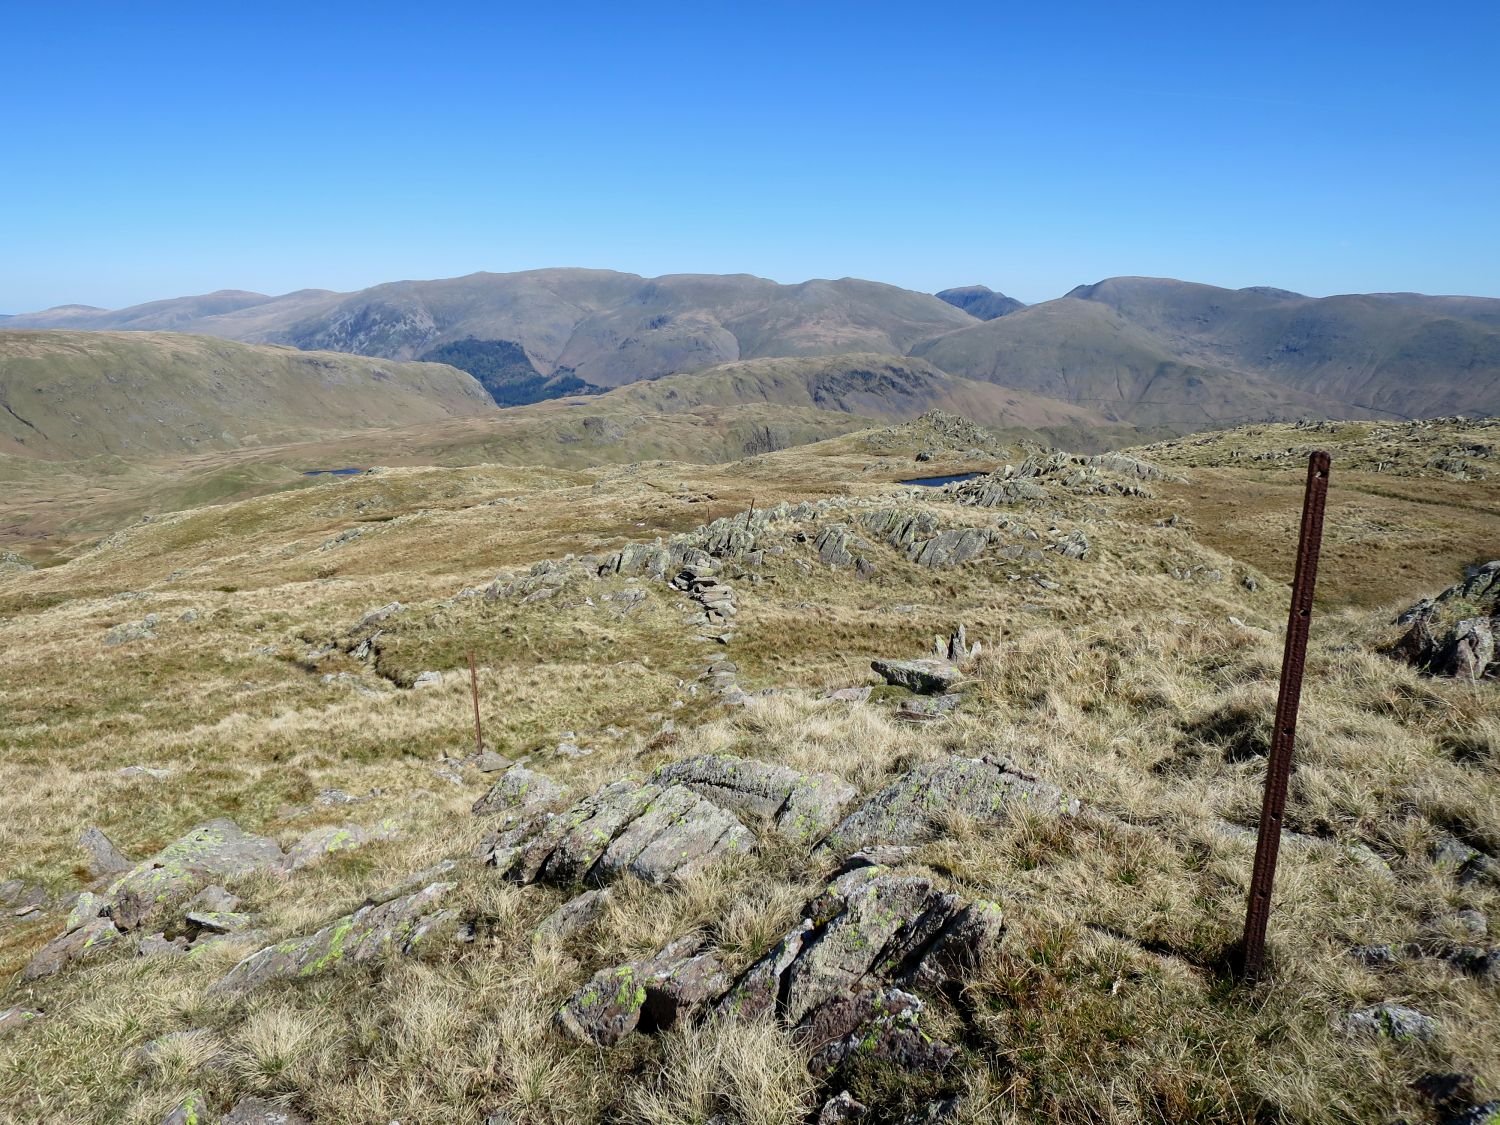
We now follow the old boundary fence down to the head of Far Easedale and the Coast to Coast path. This is a delightful route over and around rocky mounds, and along the way there are many tarns to visit, some of which are disappointingly unnamed.
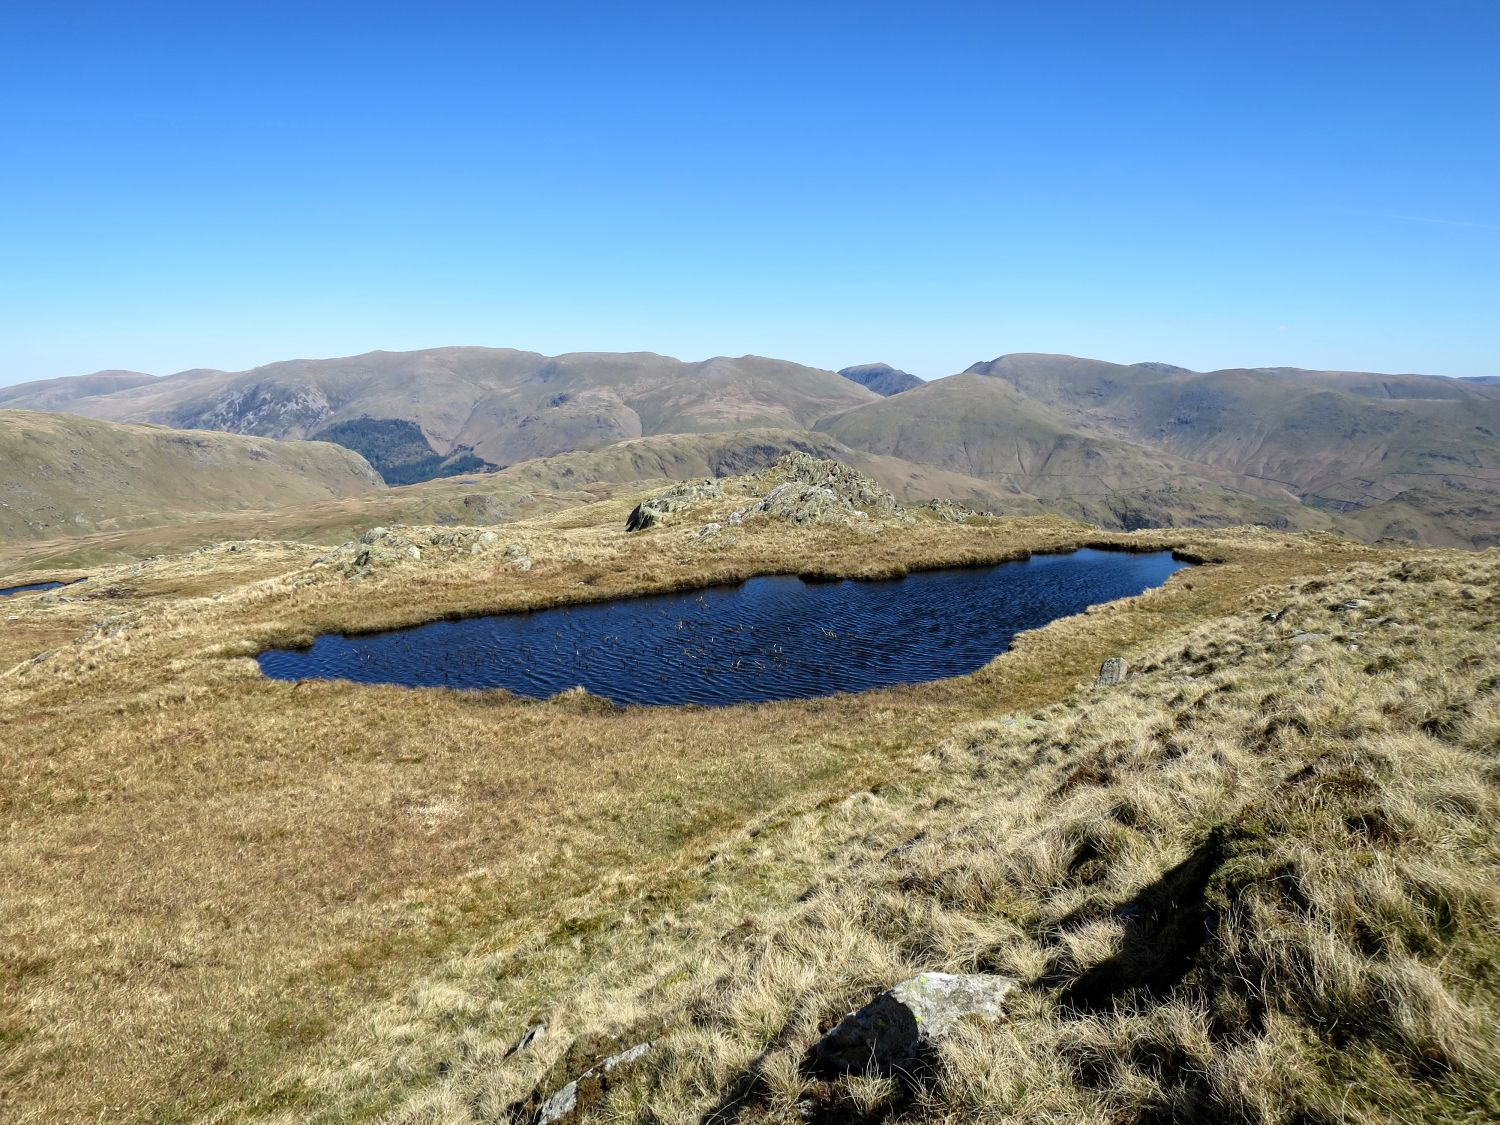
The first tarn you come across on the route down, just to the right of the path, is neatly tucked away on a shelf behind a low crag.
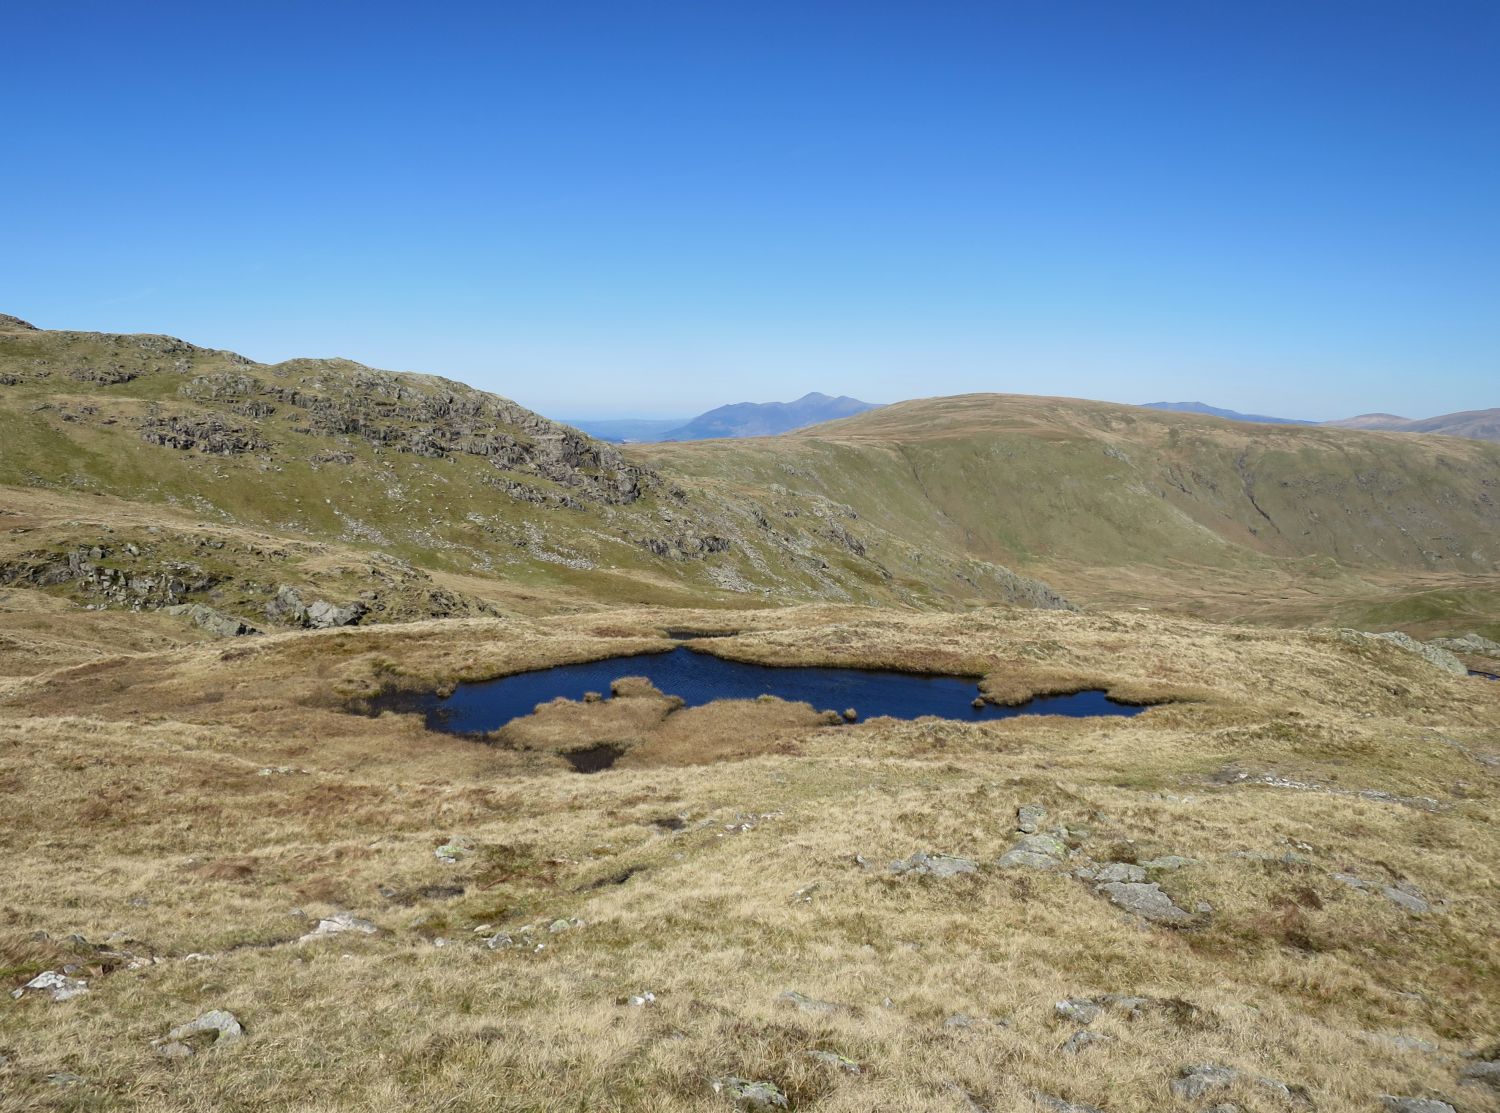
Now arriving at the second tarn, which is to the left of the path and only a short distance from the first tarn.
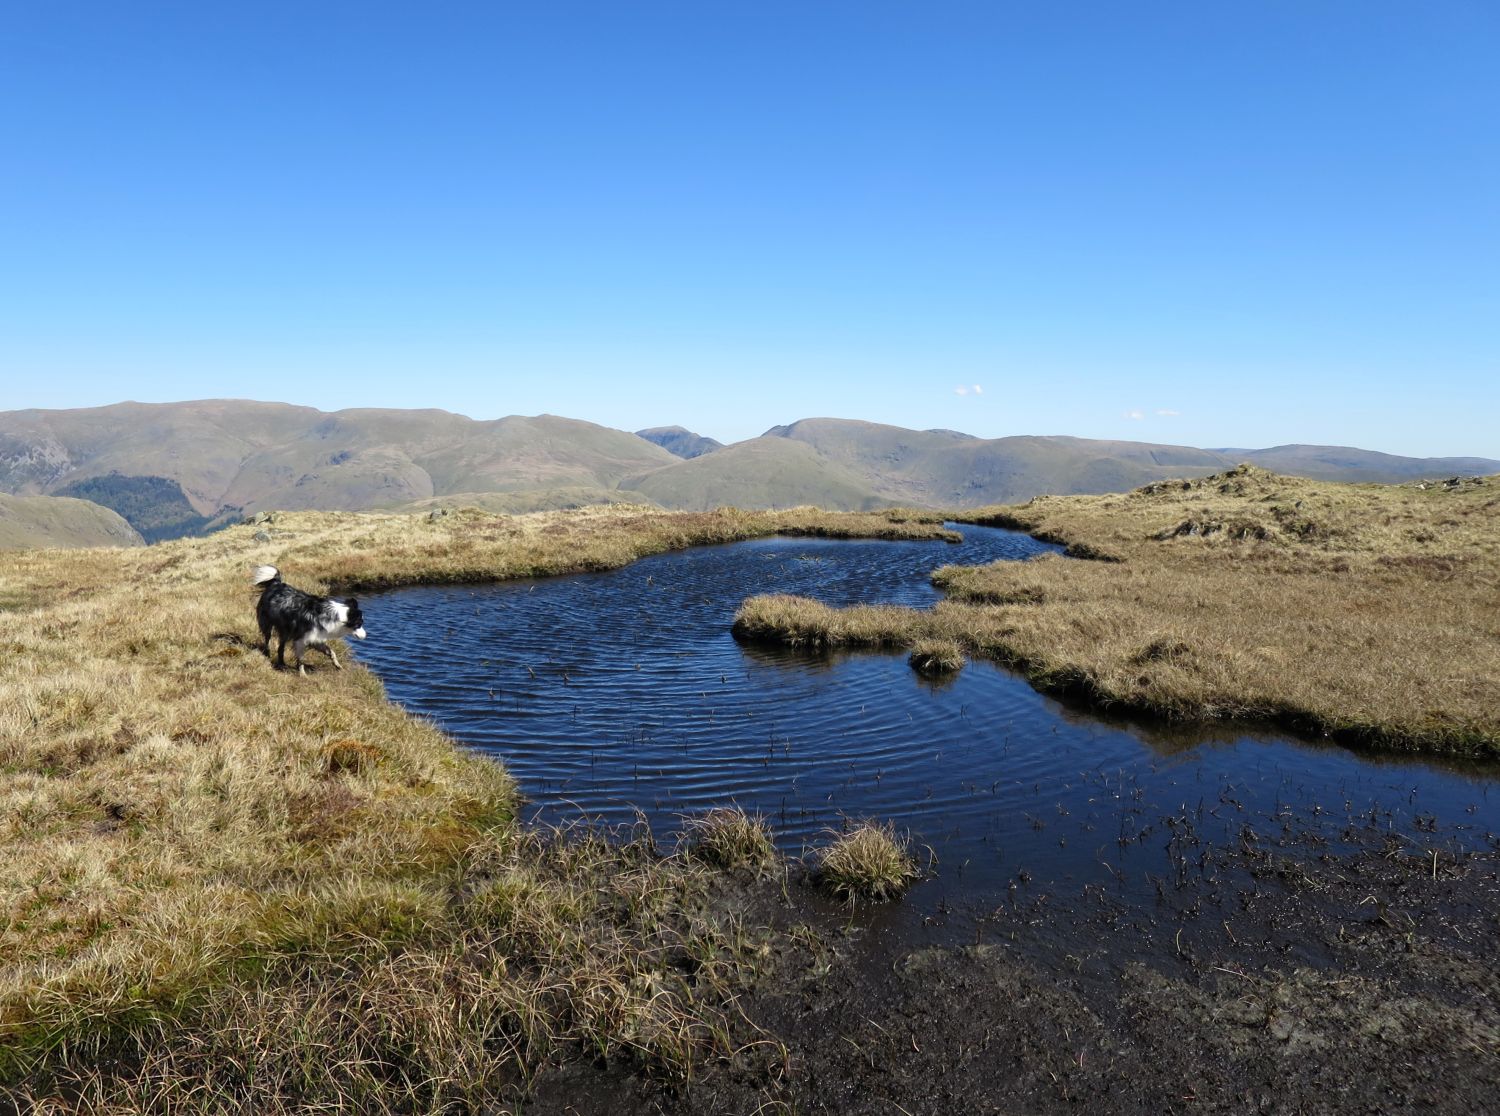
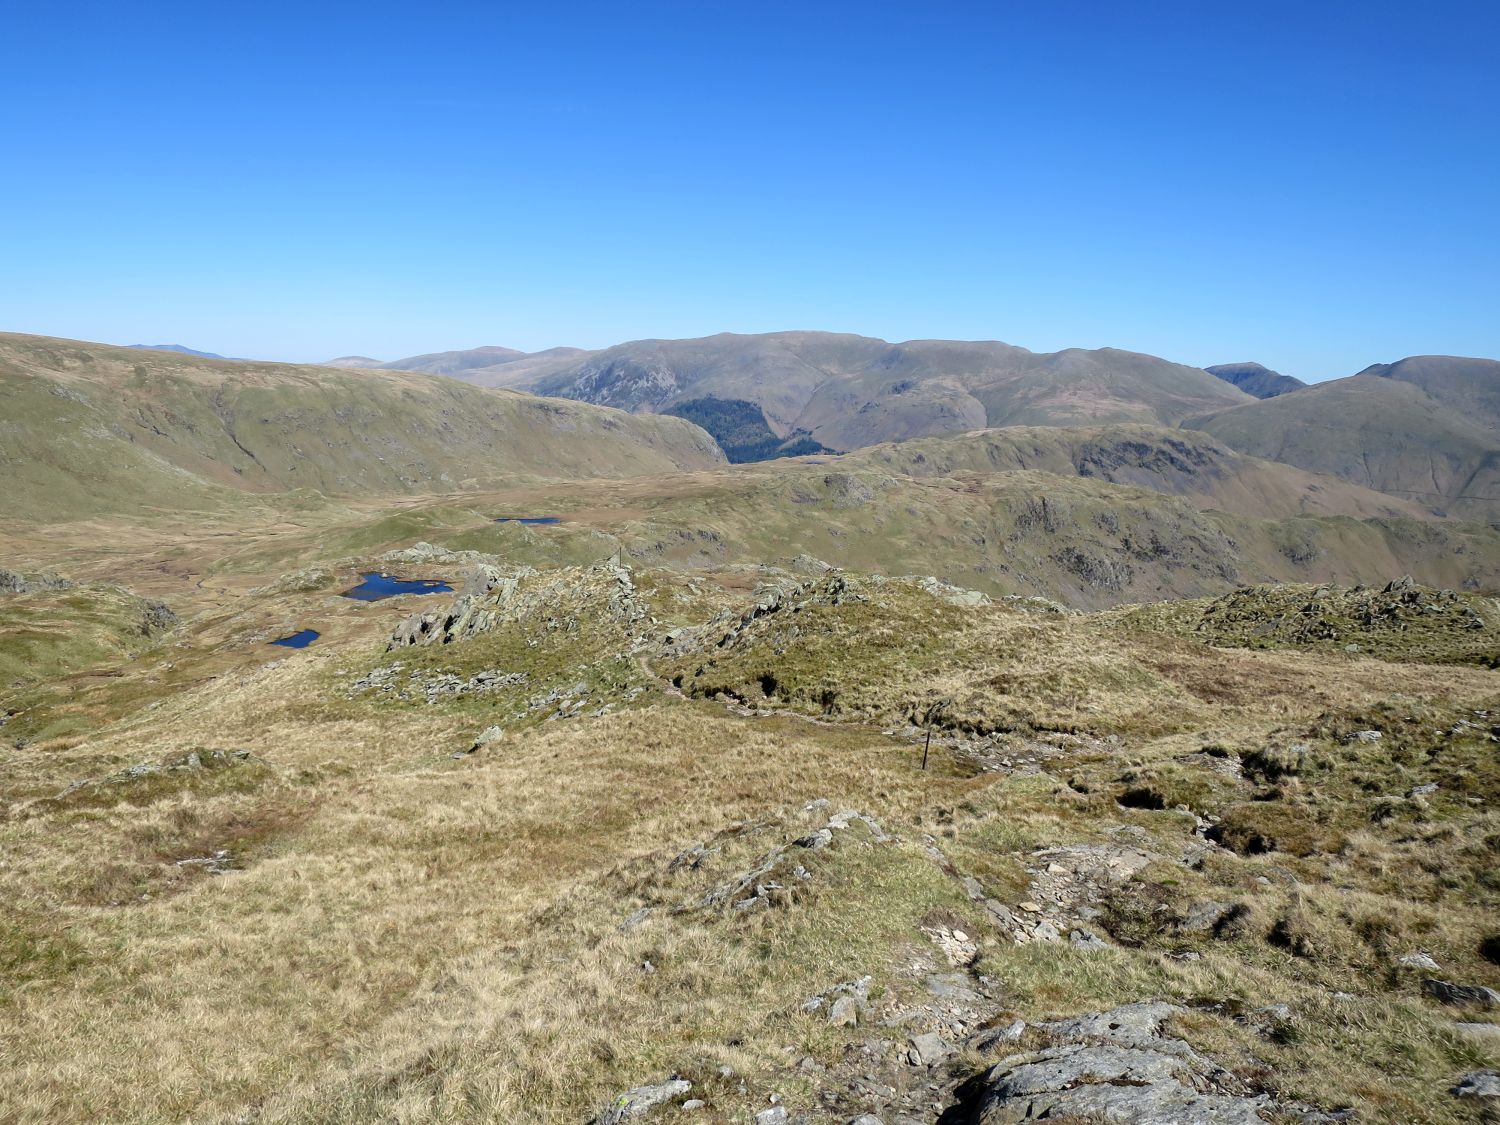
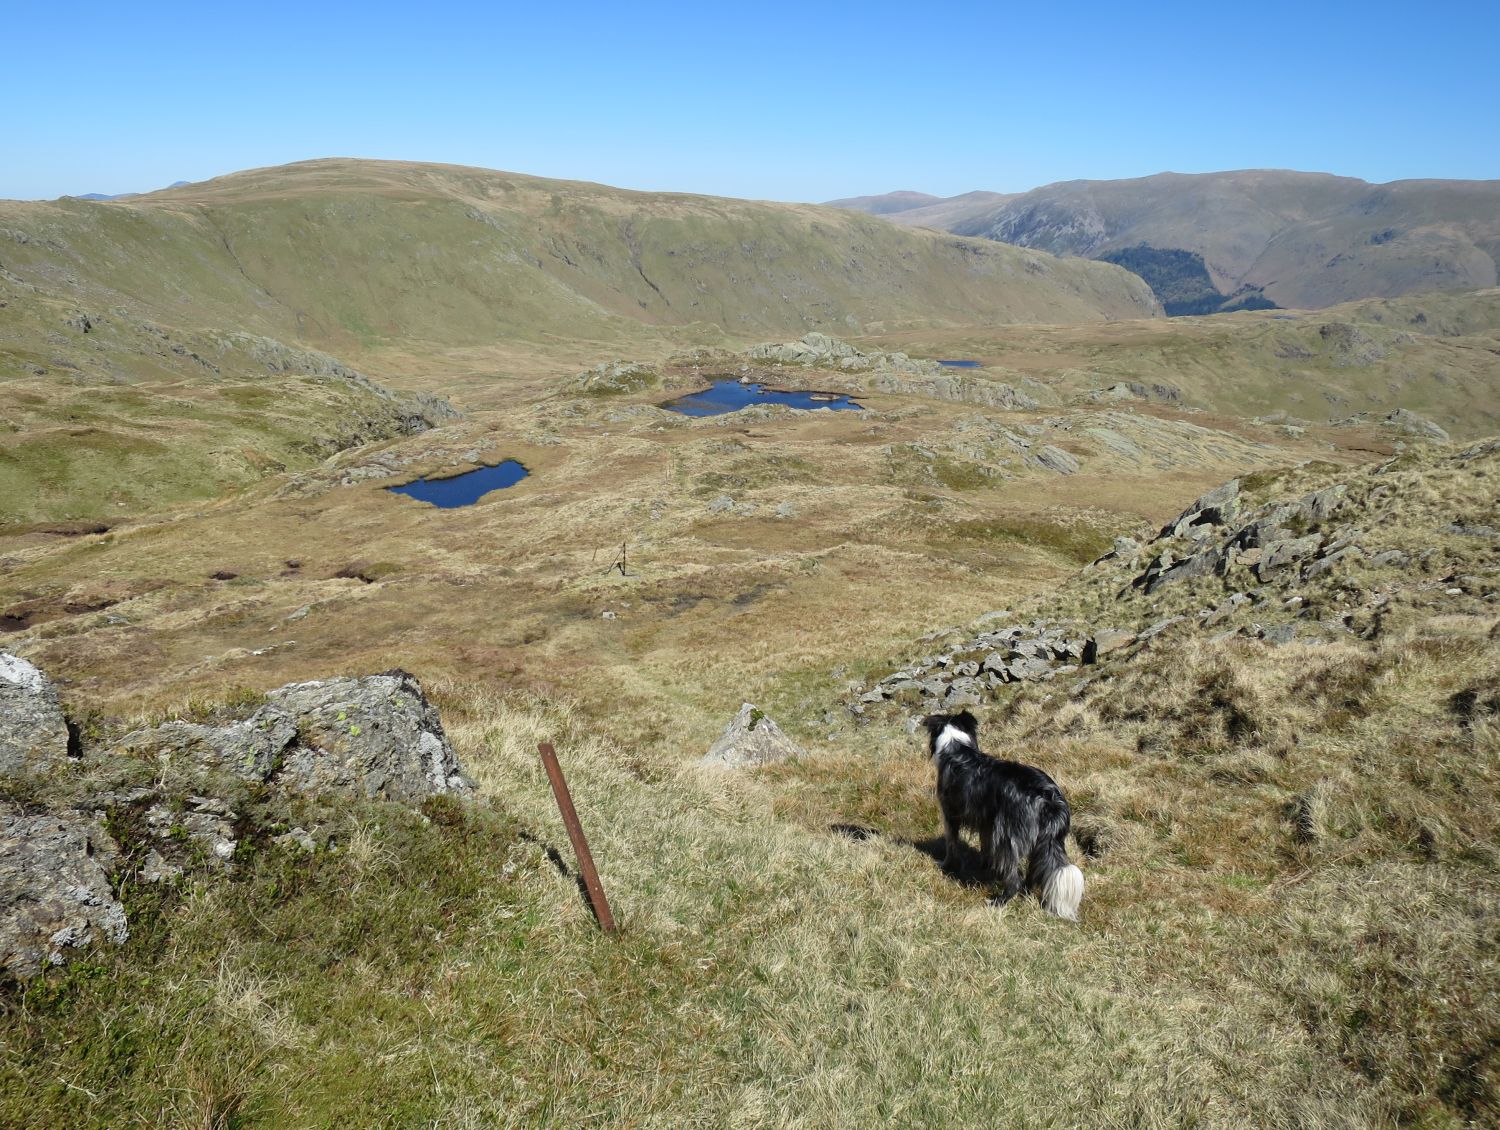
Tika admiring the next two tarns — although in The Tarns of Lakeland Vol.2: East, John and Anne Nuttall refer to them as “Ash Crags Tarn” and “pool”.
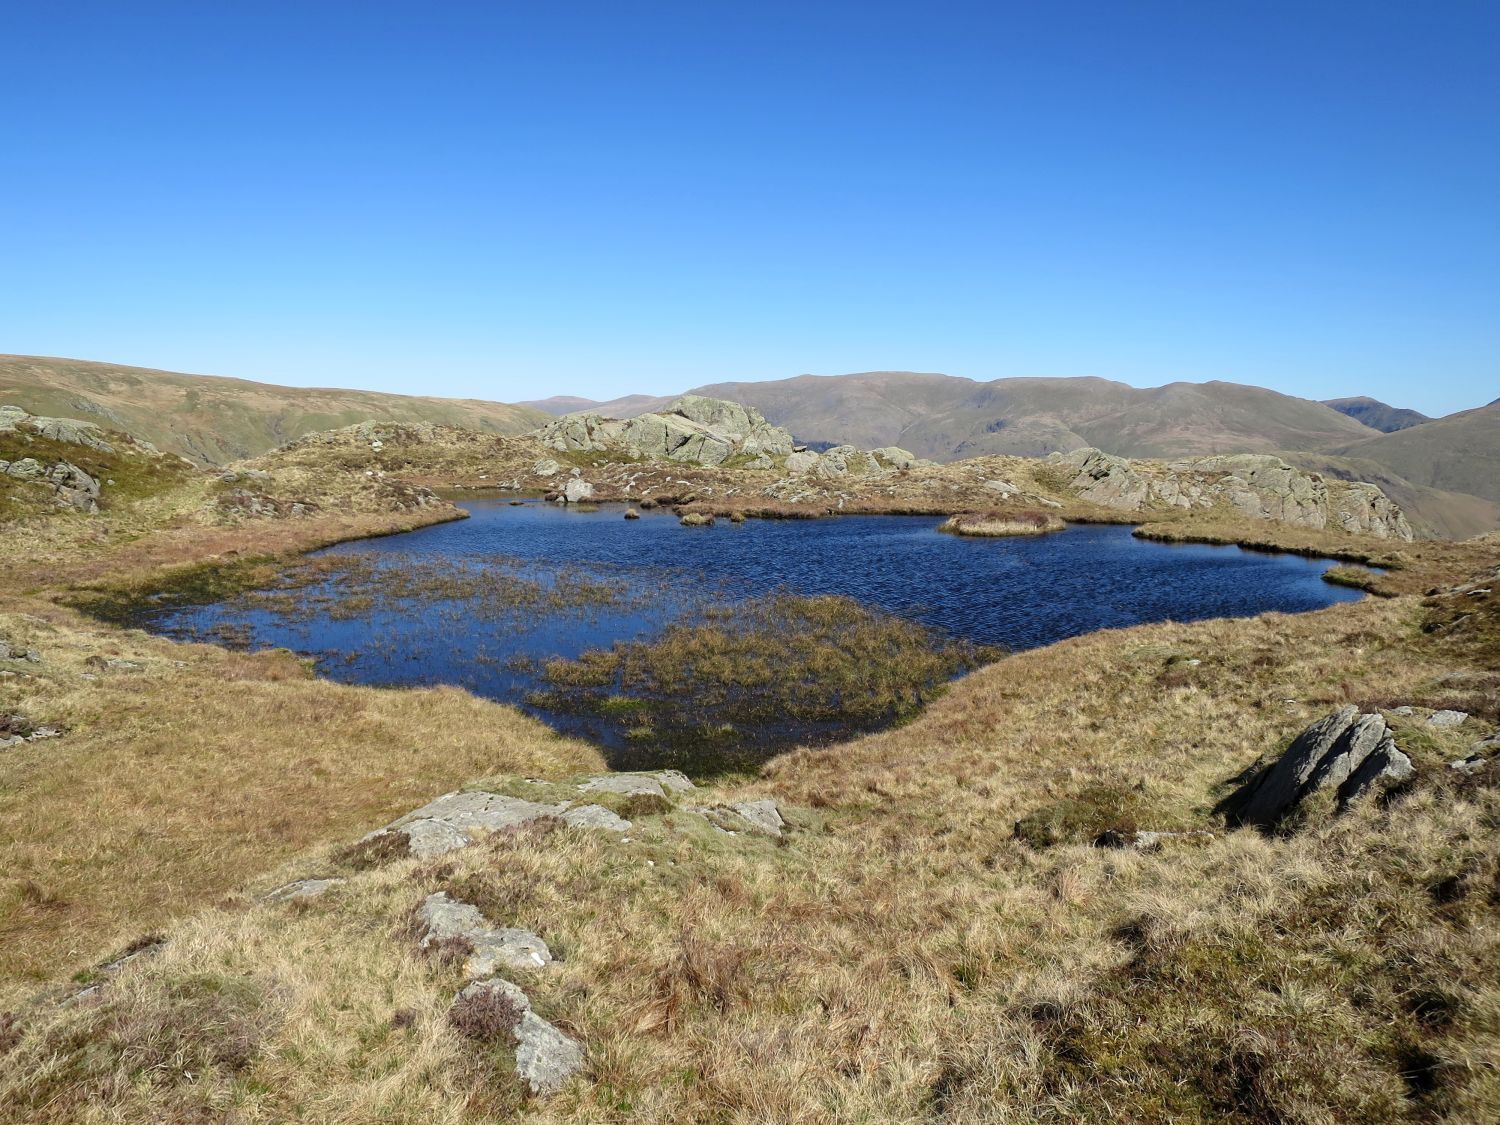
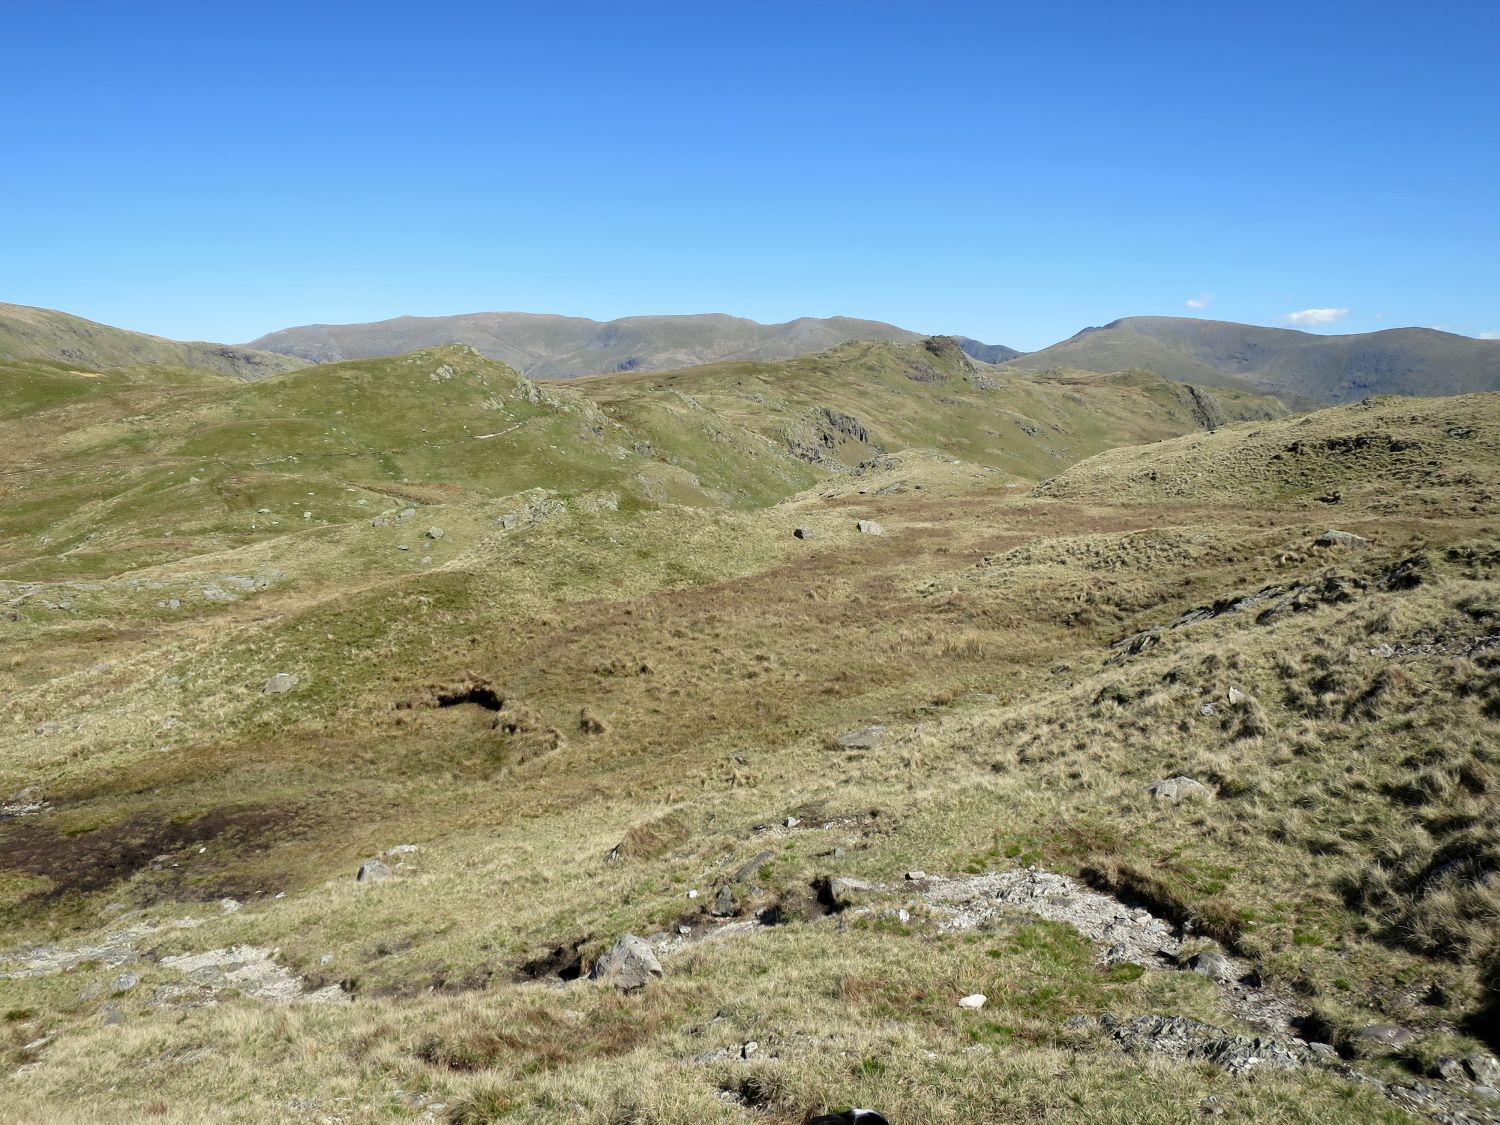
Beyond the tarns, we now get a good view of the Helm Crag ridge — our next objective — during the last section of our descent to the head of Far Easedale.
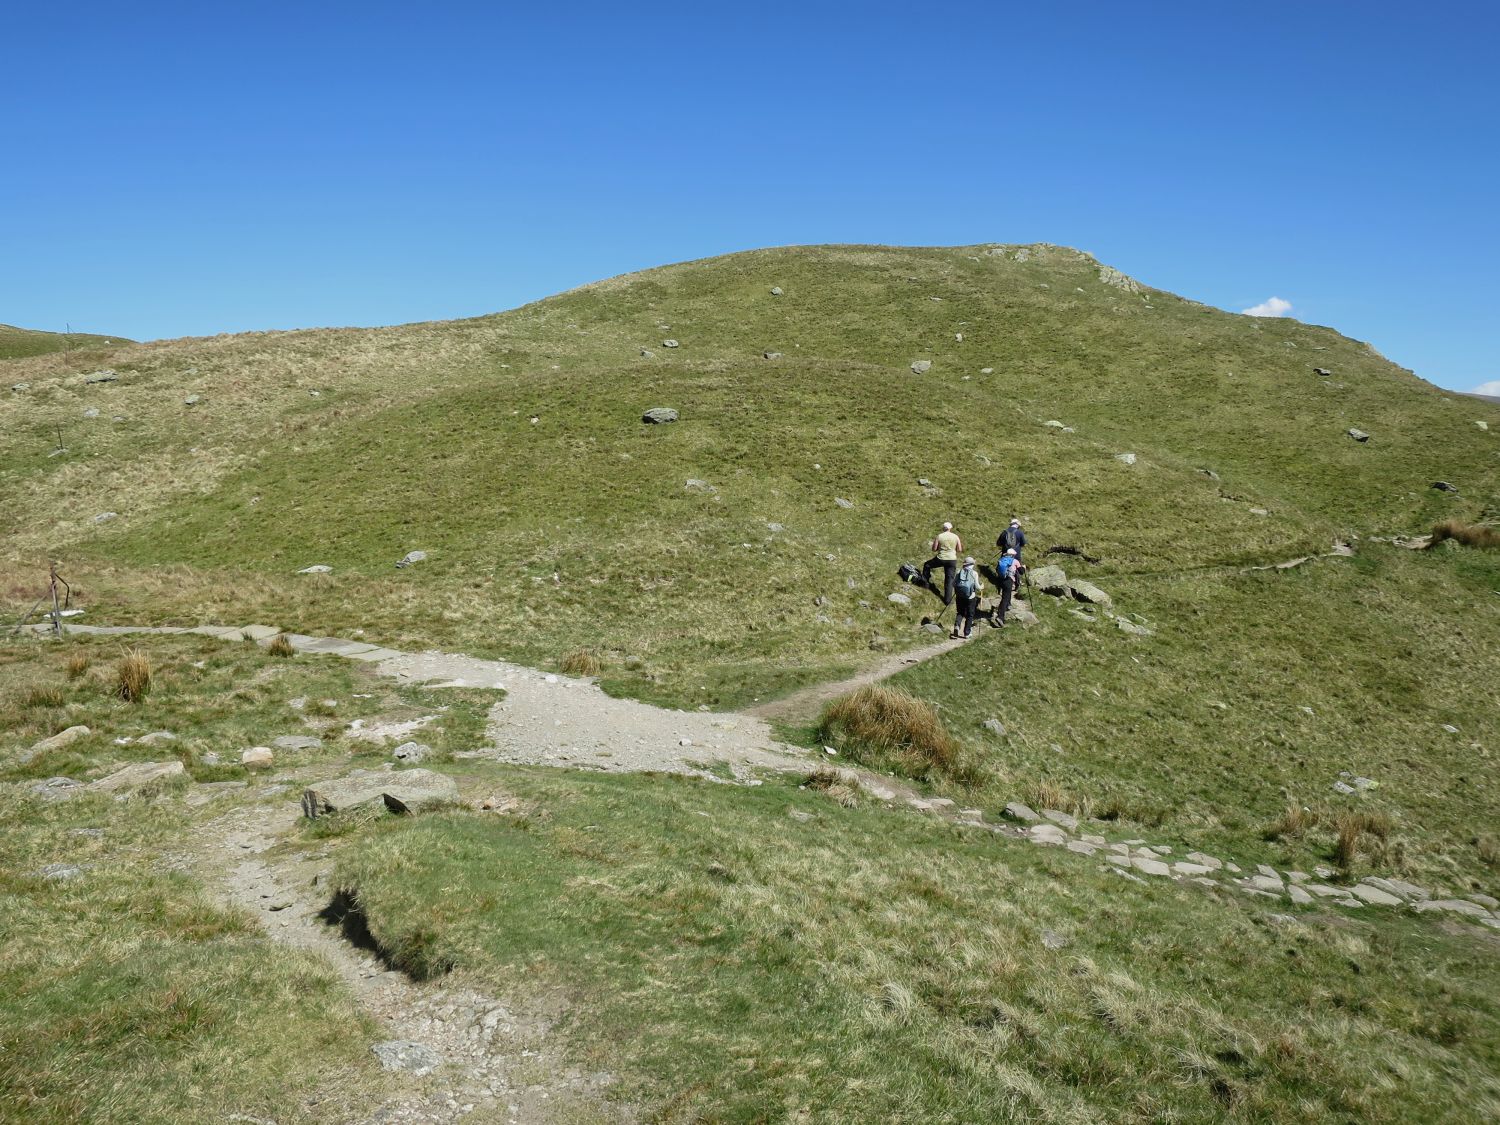
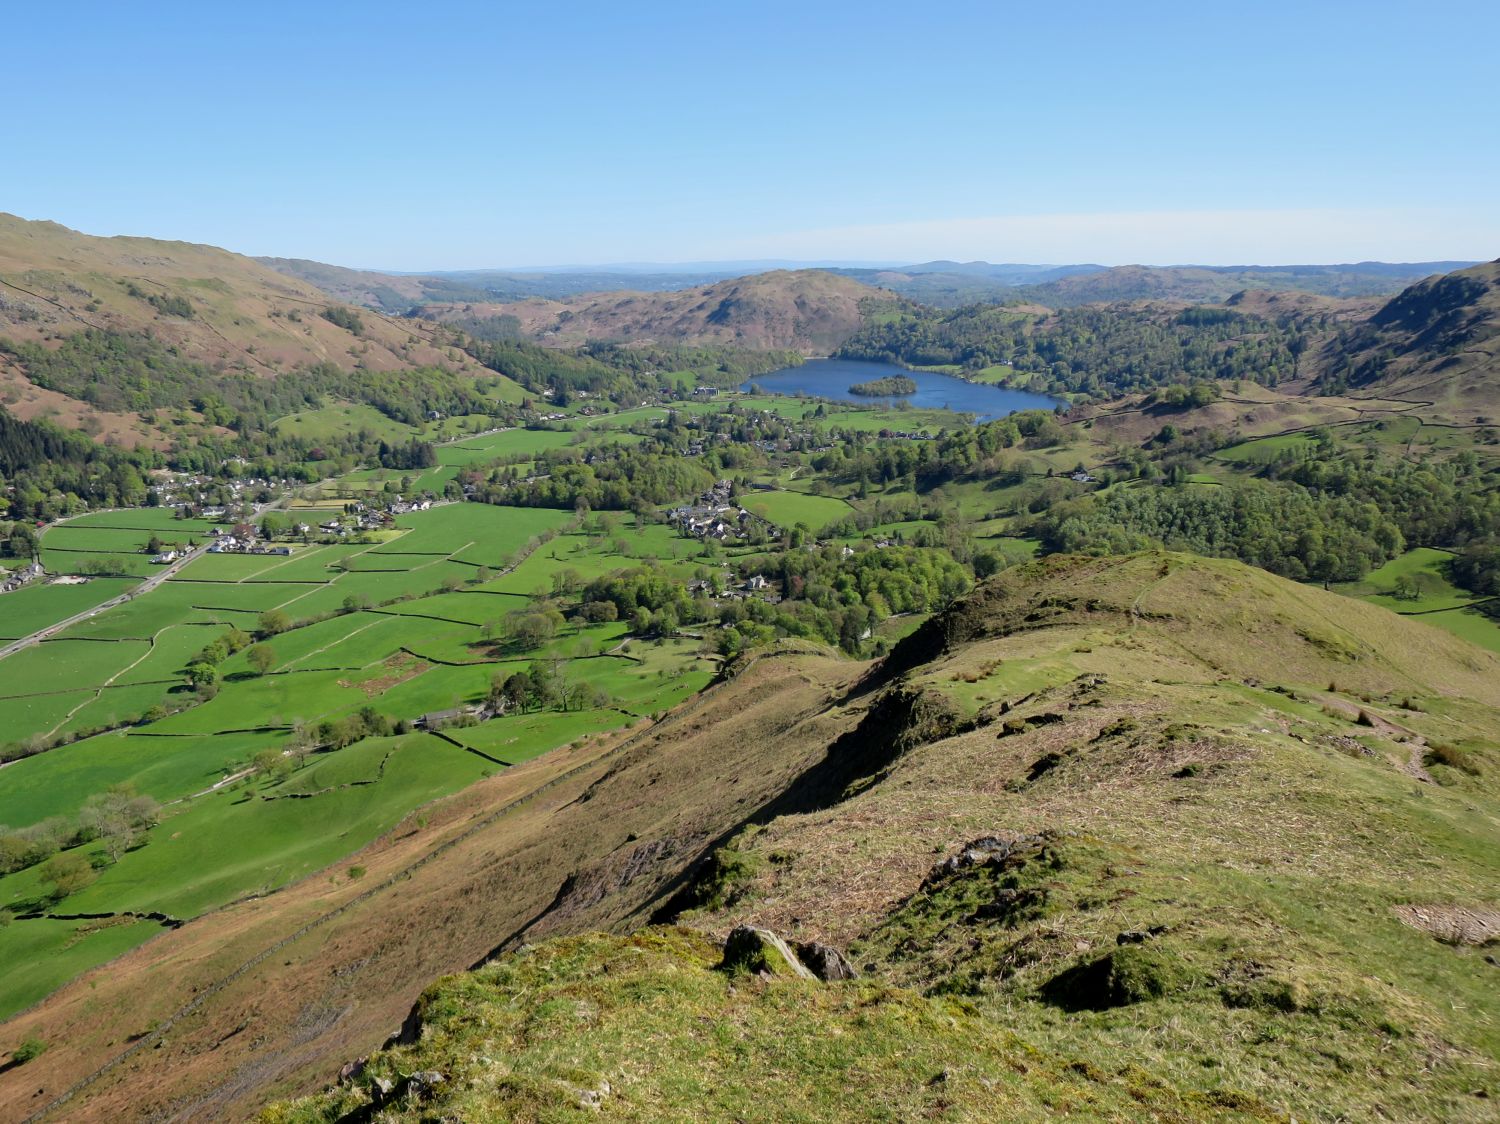
We now meet and cross the Coast to Coast path to join the Helm Crag ridge. This is a common place to see walkers on Wainwright’s famous long-distance walk, pondering whether to follow the high-level route back to Grasmere or the route down the valley of Far Easedale, seen here on the right.
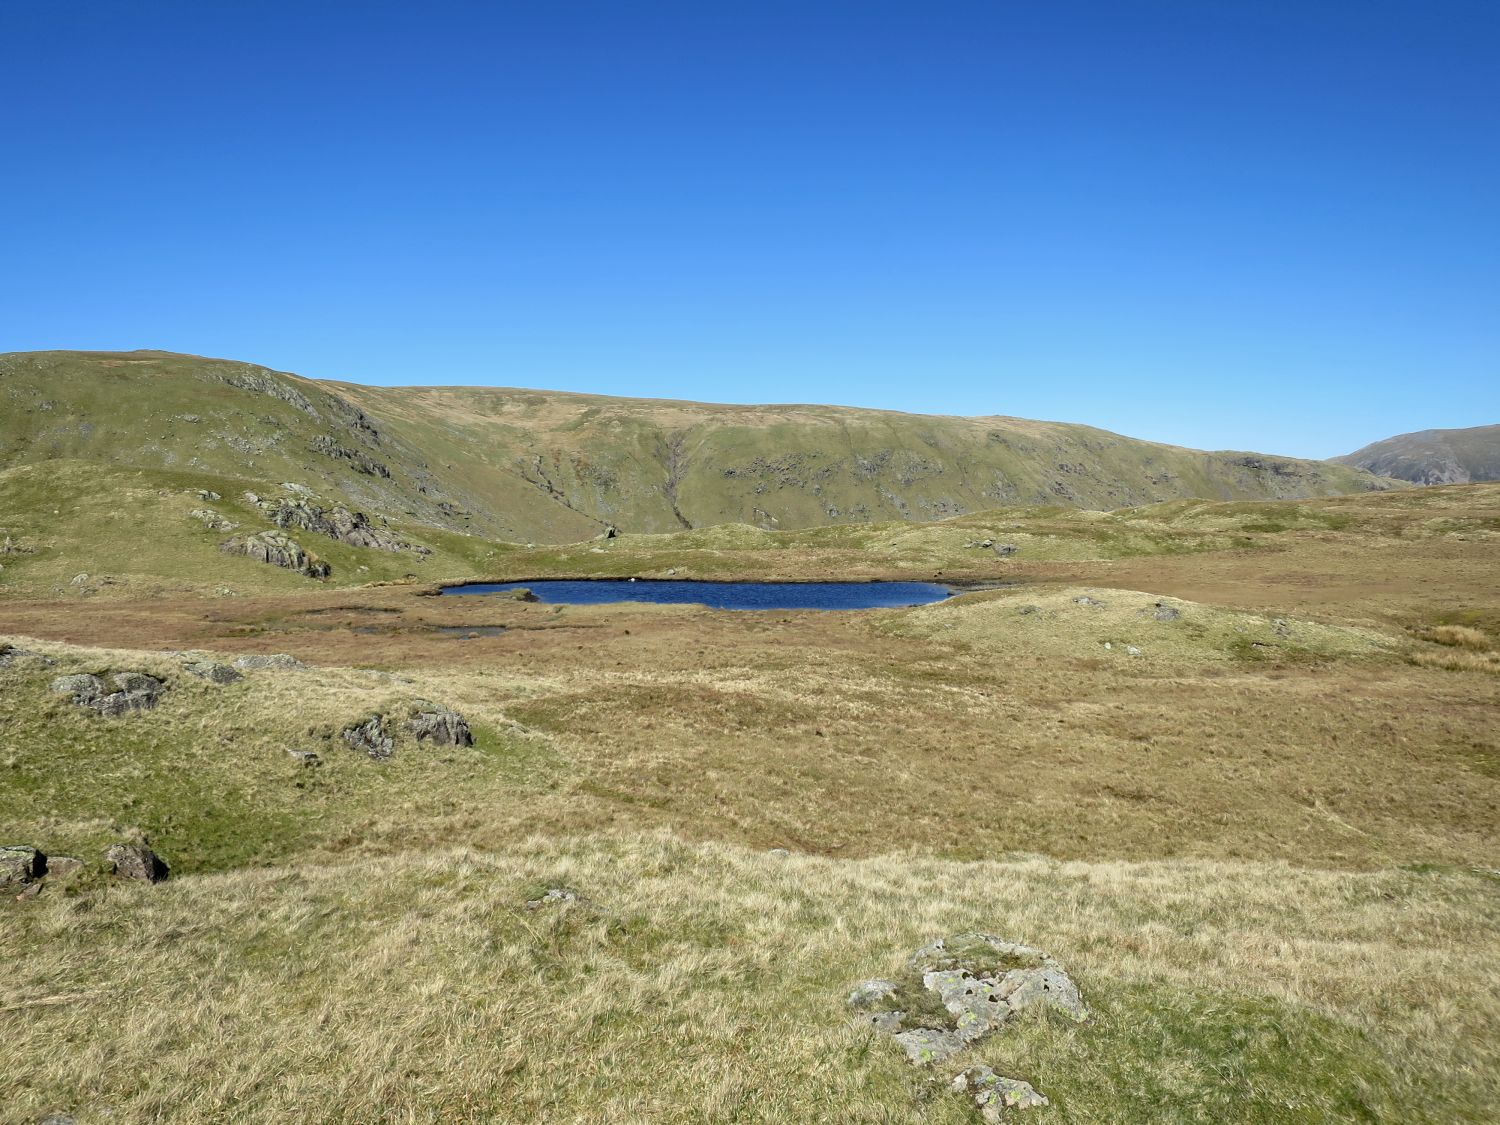
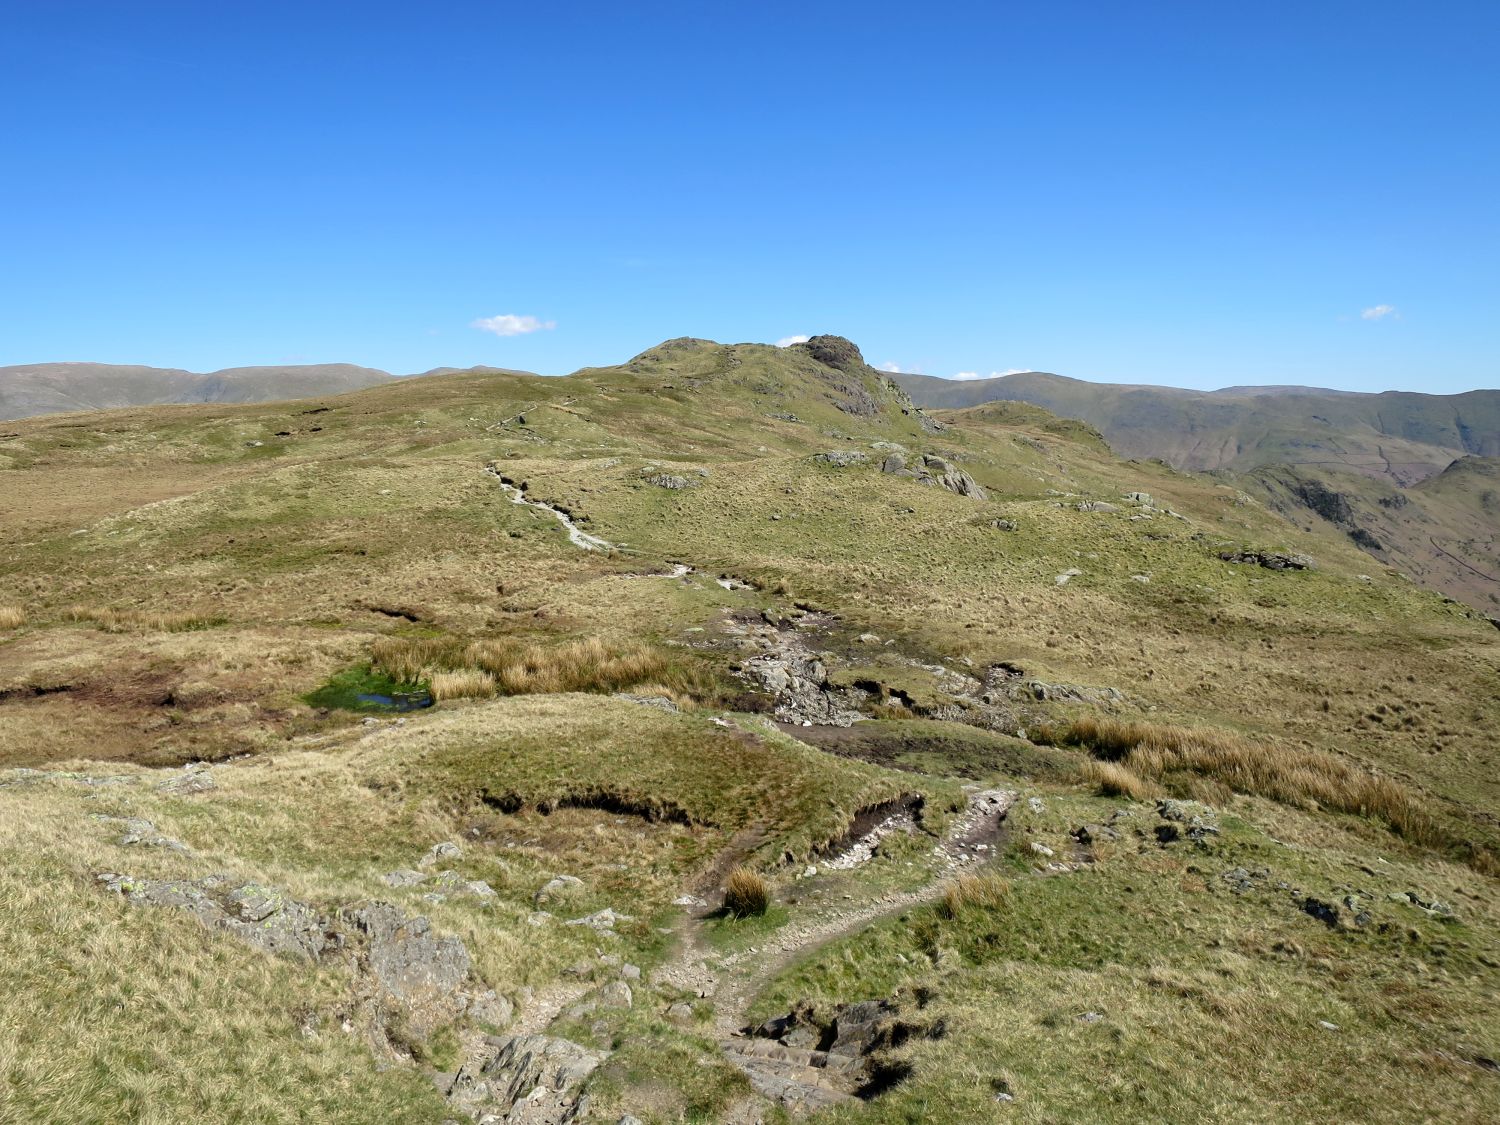
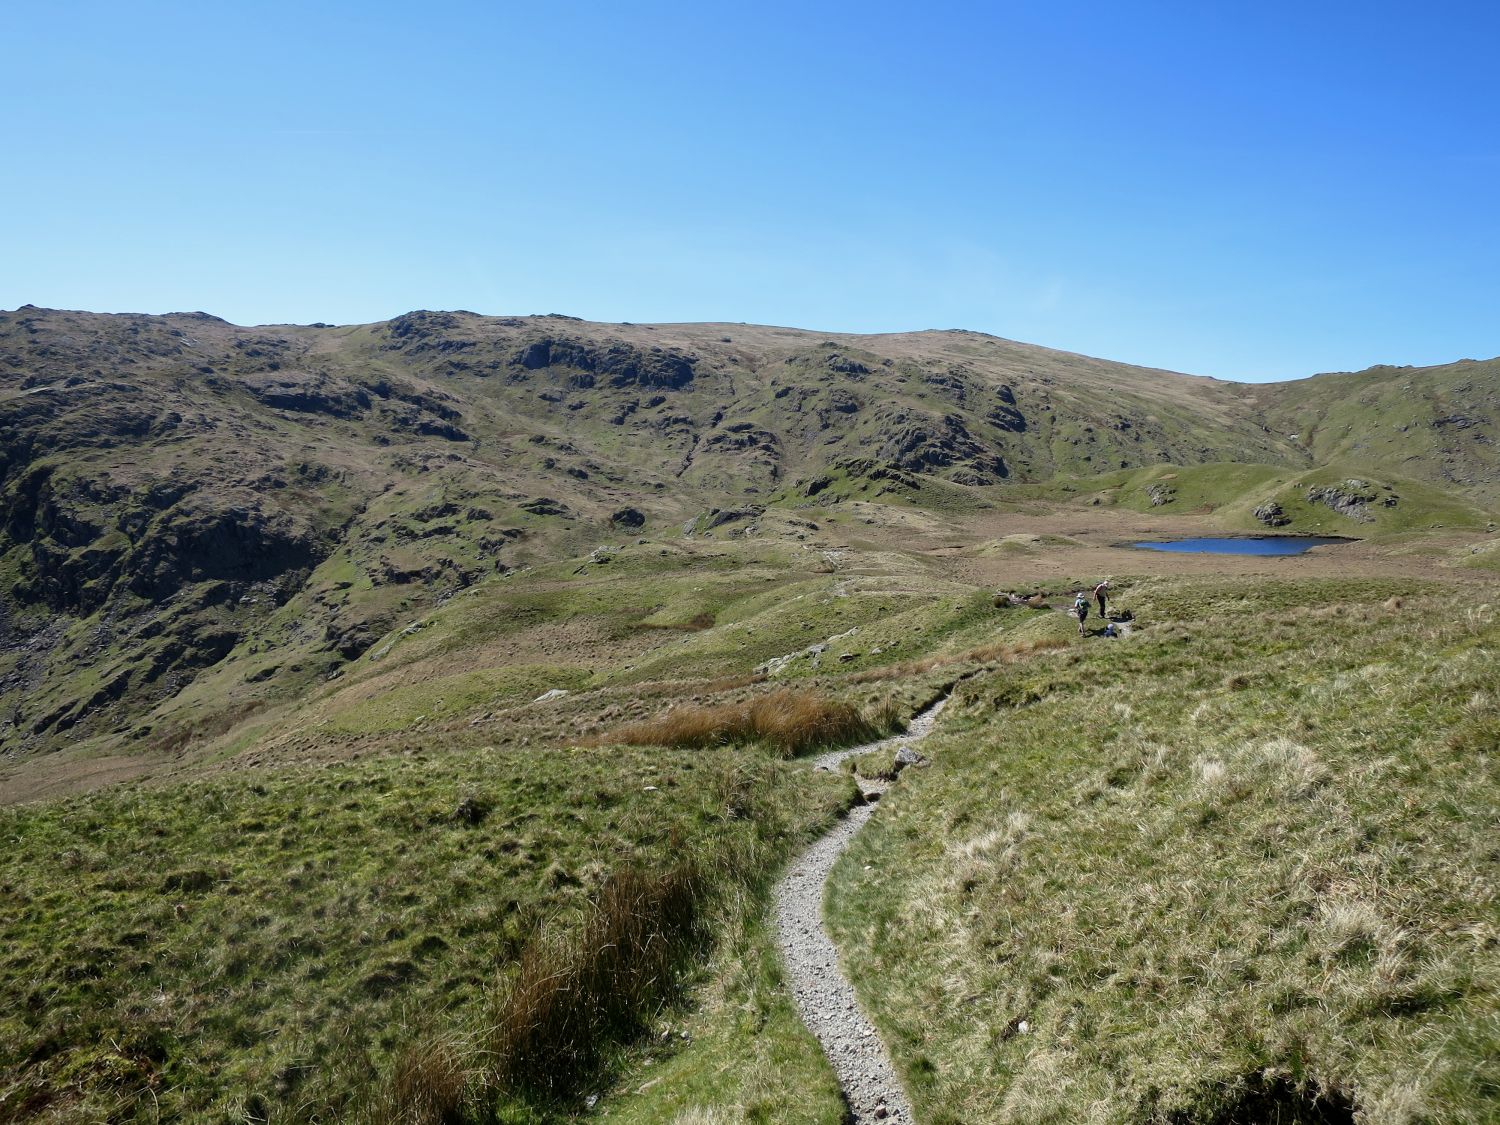
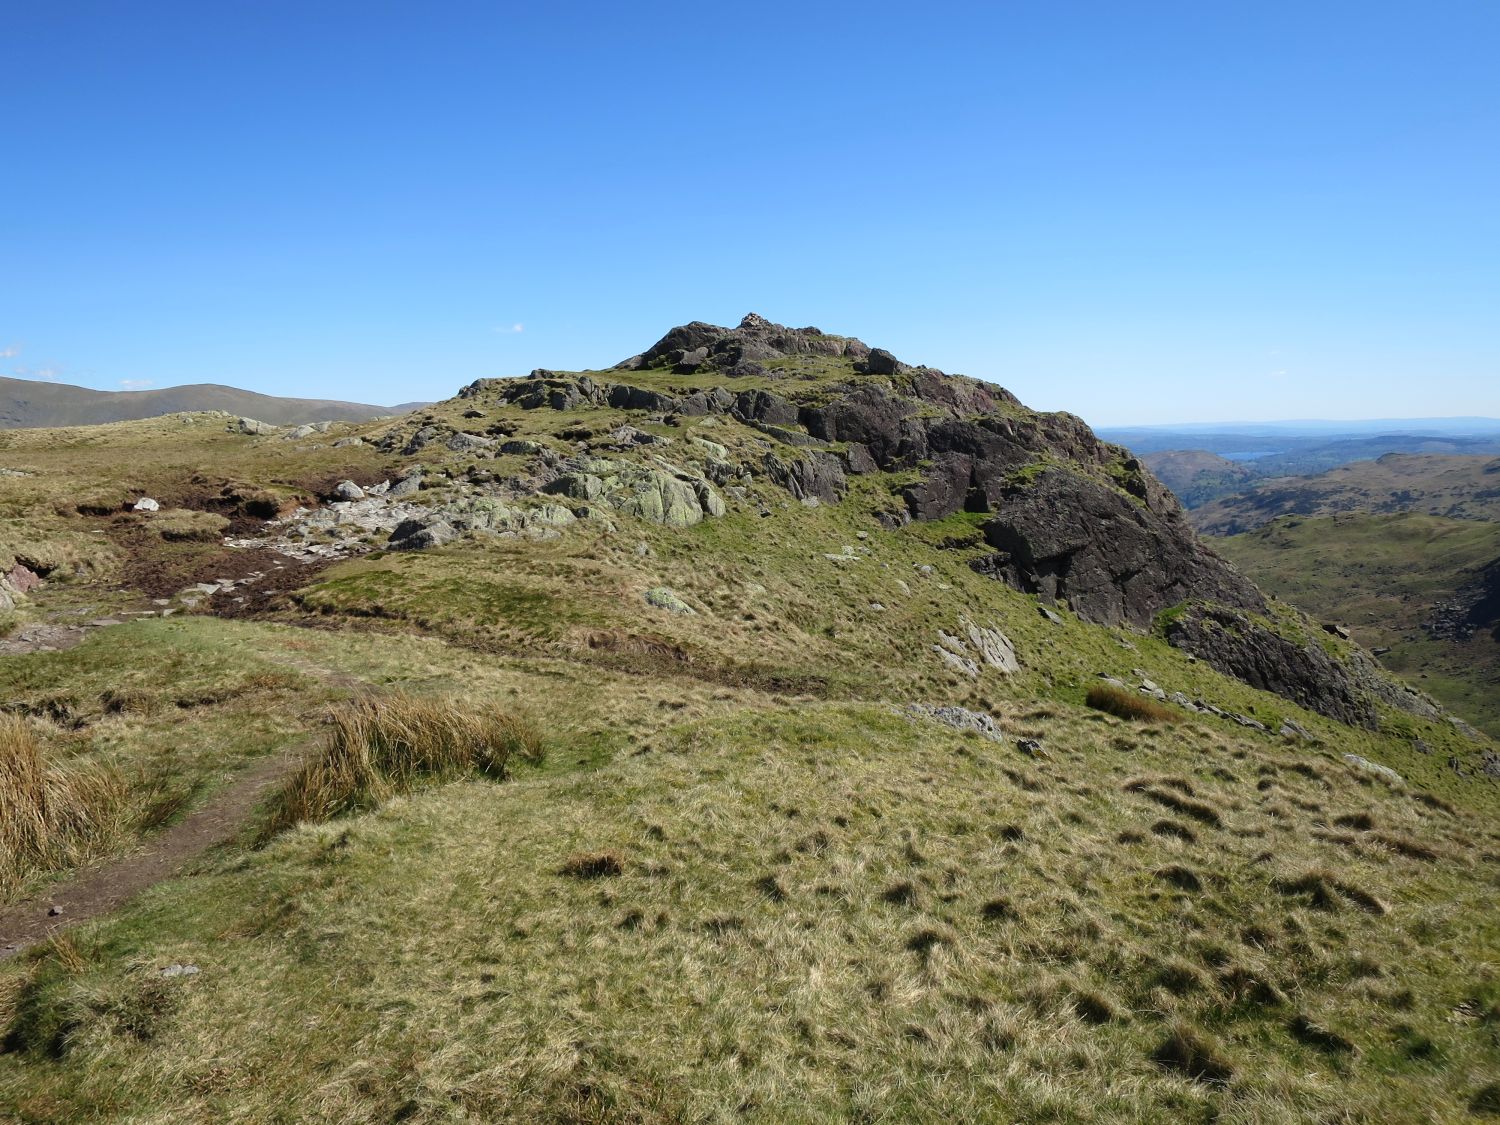
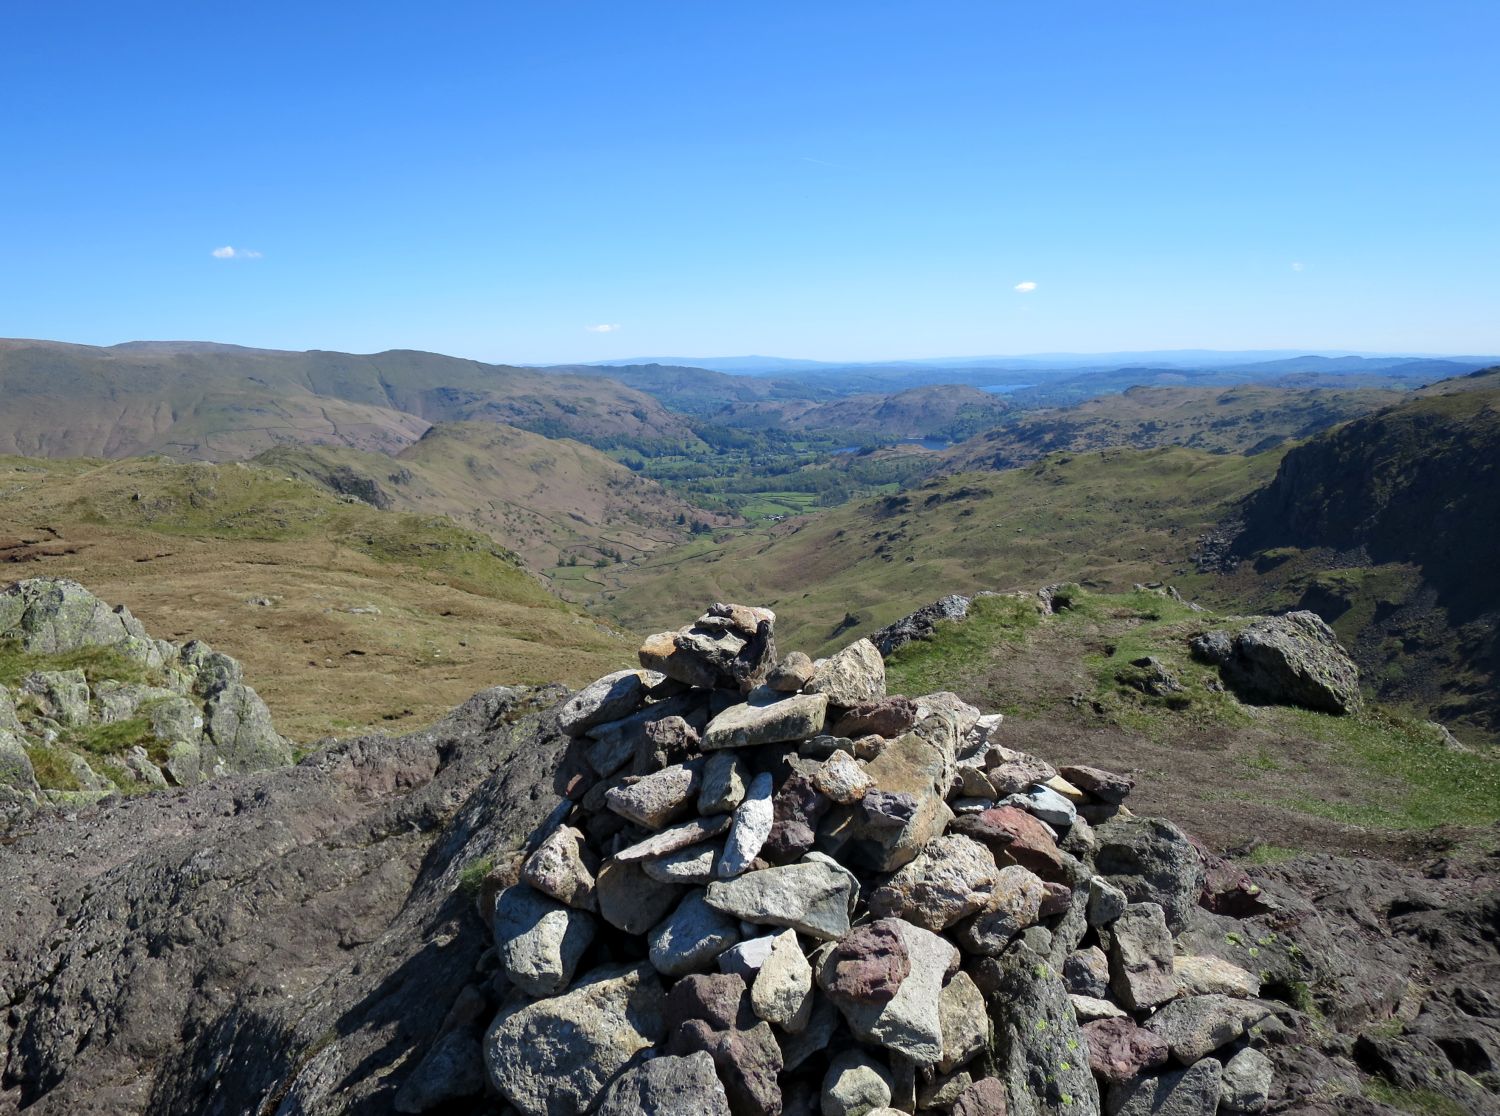
“The best feature in a moderate and restricted view is a beautiful vista of the Vale of Grasmere with Far Easedale curving into it from the inexpressibly wild flanks of Tarn Crag and Sergeant Man nearby: a complete contrast in landscape in the space of two miles.” Calf Crag 7
— Alfred Wainwright
The Central Fells
Calf Crag 6
“The Summit”
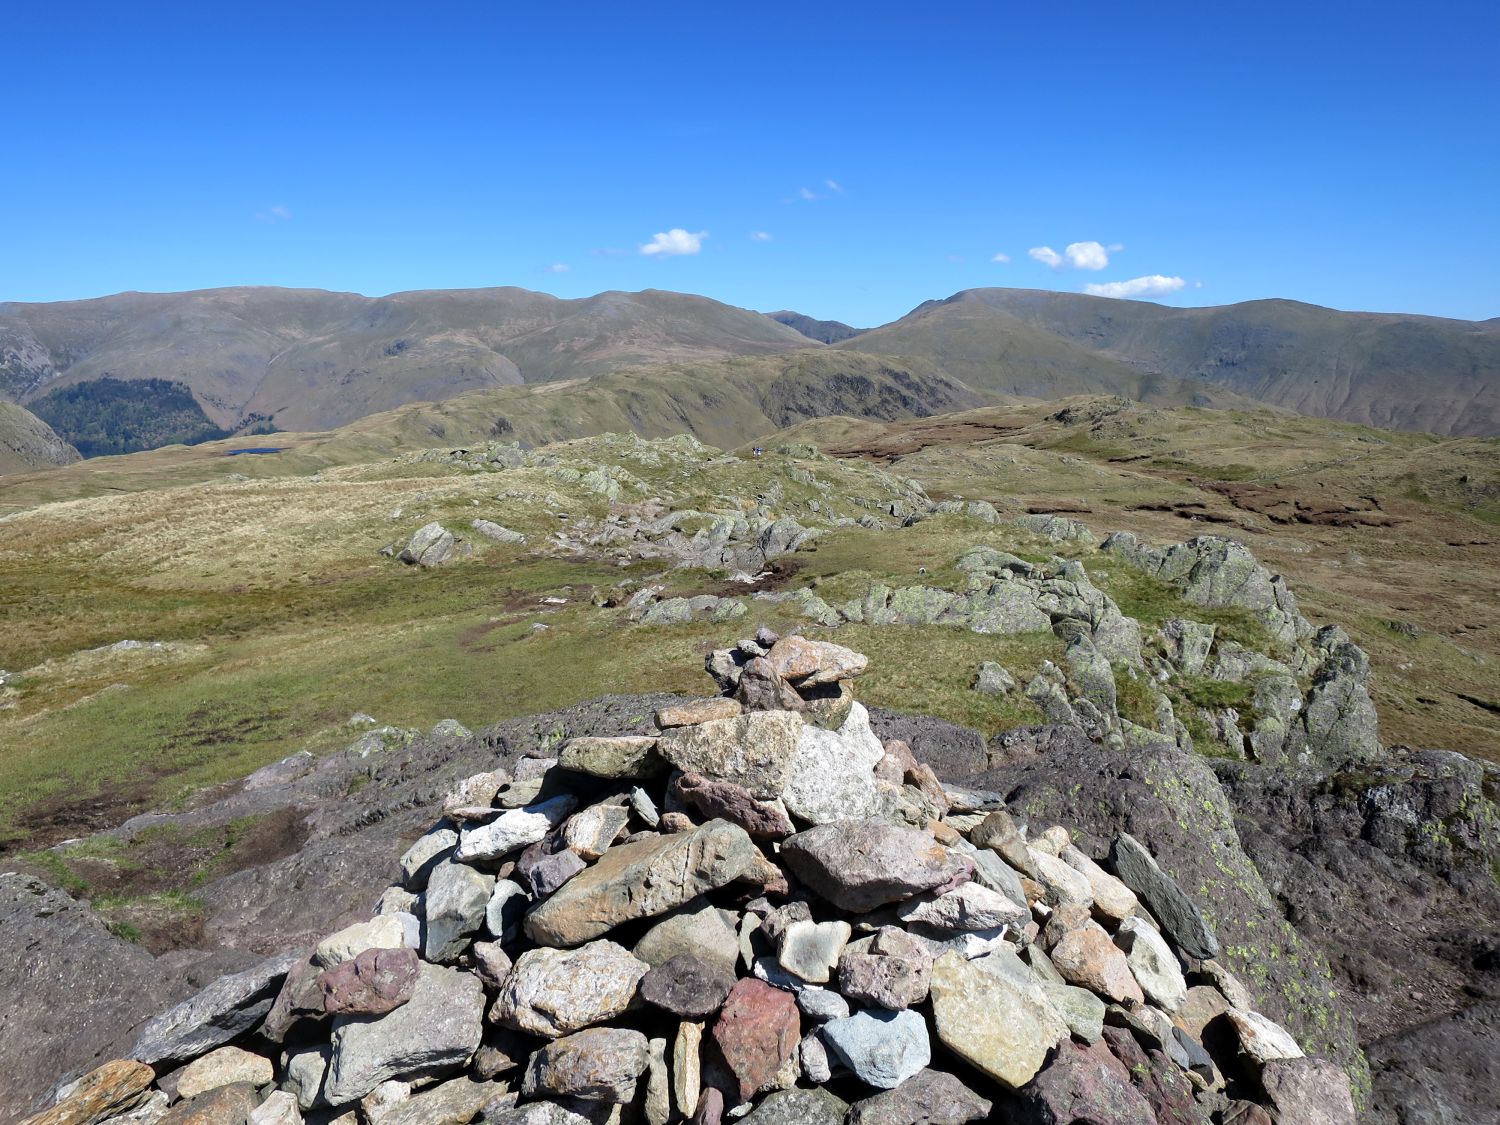
“The highest point, small and rocky, is a pleasant place for a halt and quiet contemplation of the scenery. Sheep think so, too, and wearers of new clothes should not sink into repose here without first clearing away the profuse evidences of their occupation.” Calf Crag 6
— Alfred Wainwright
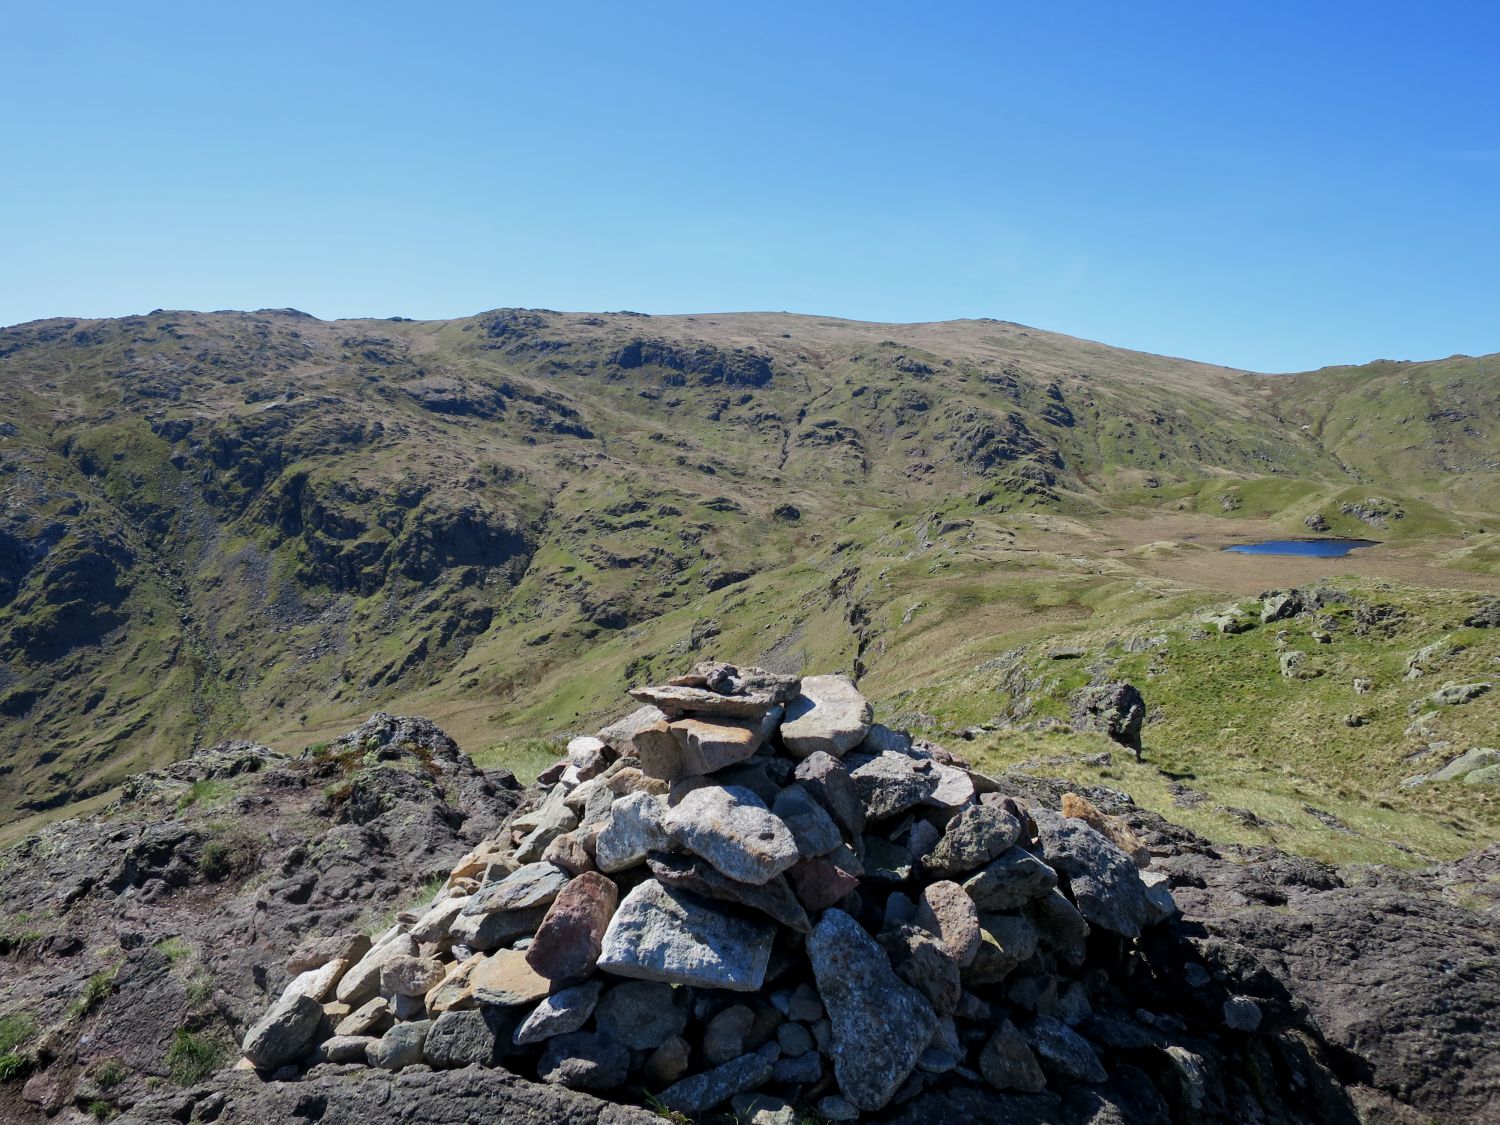
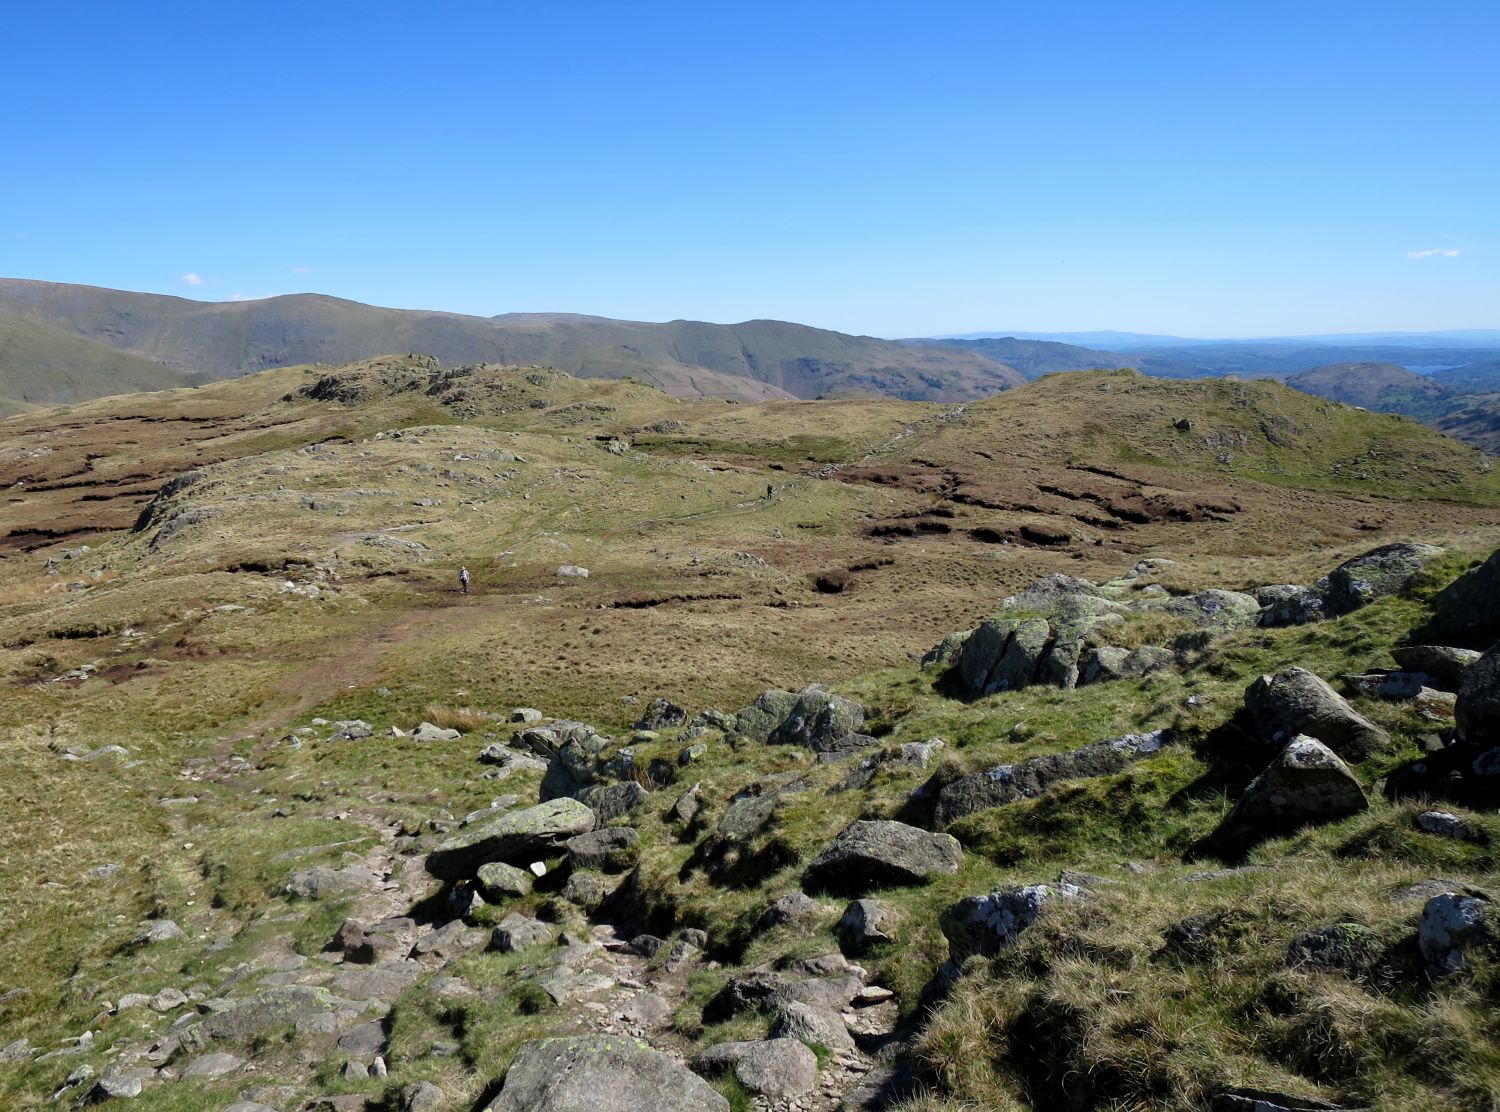
Here, the ridge is broad and we make quick progress towards our next objective, a little detour to Rough Crag, seen over on the left of the ridge-path.
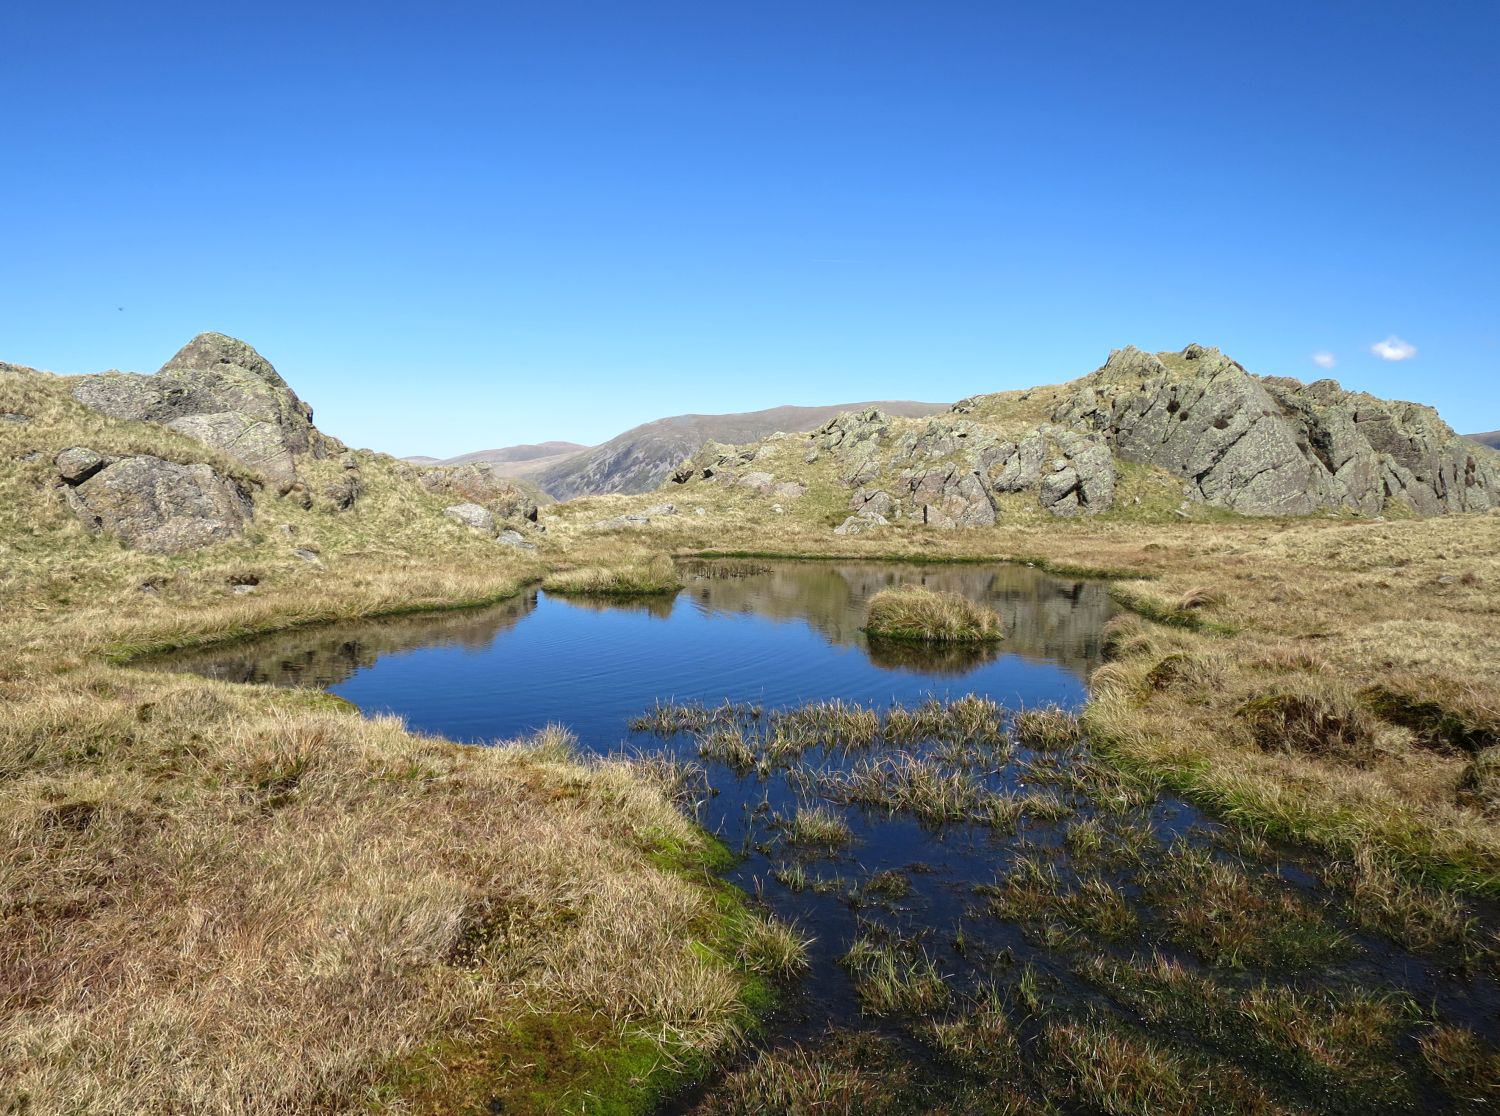
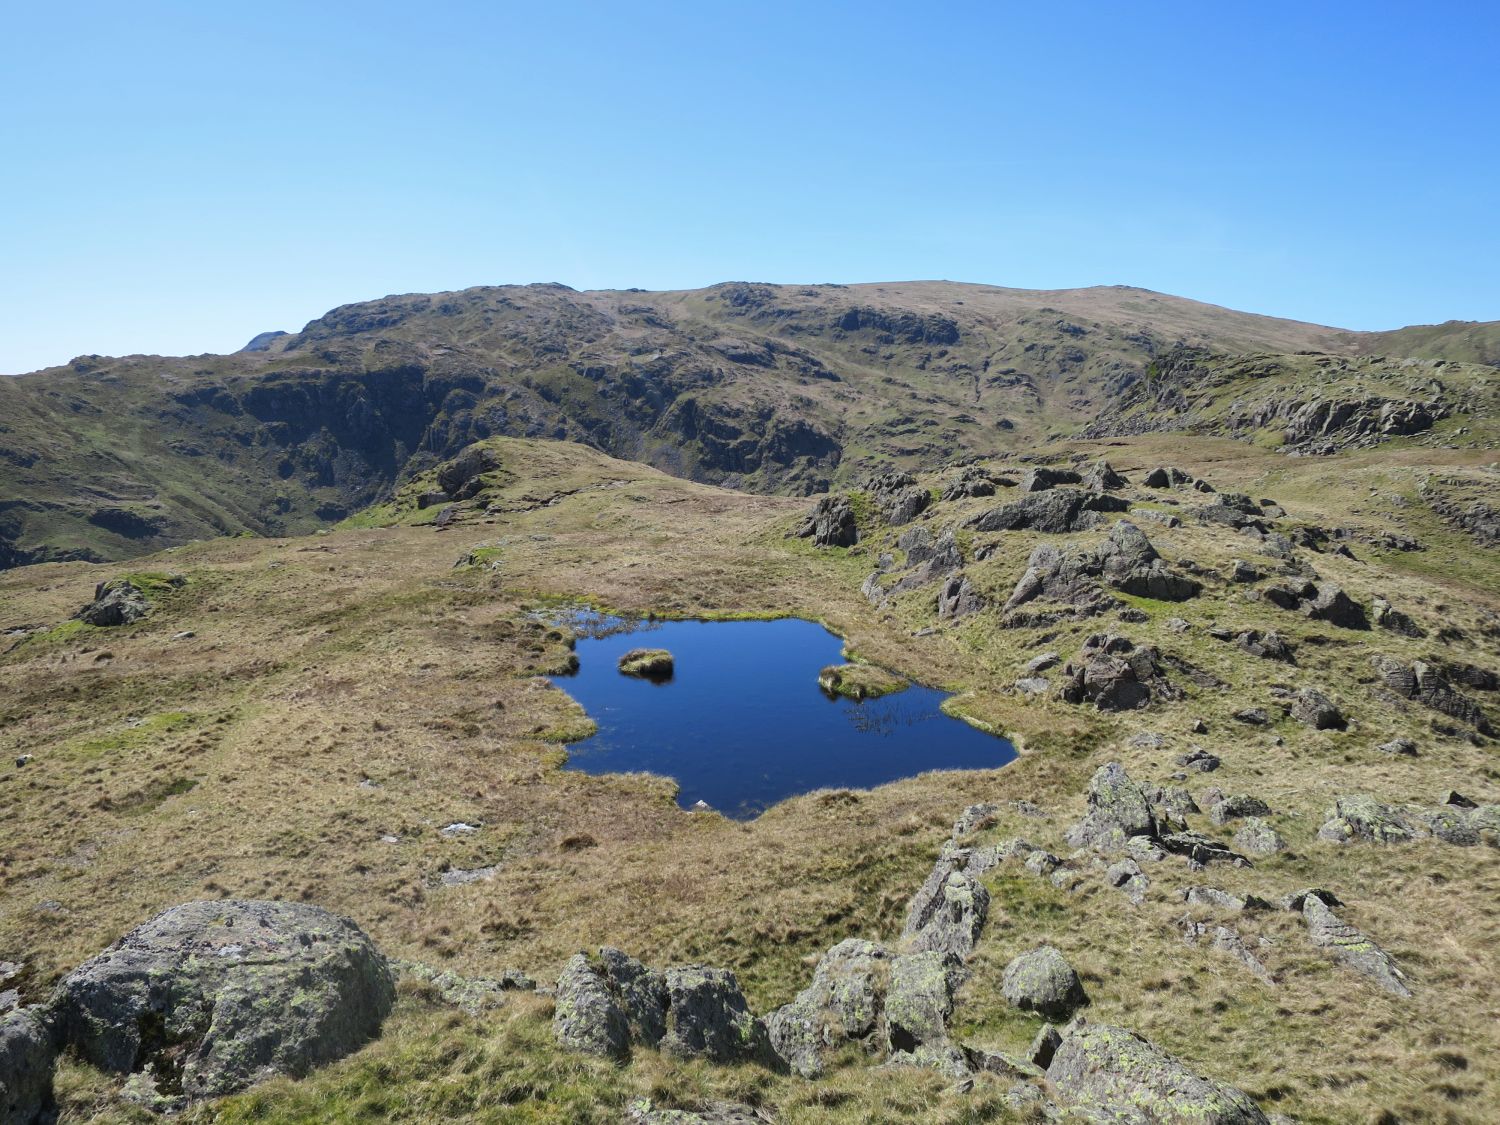
Totally invisible from the ridge-path and protected by two rocky knolls, a visit to this delightful little tarn is a must. Remarkably, it doesn’t appear on the OS map.
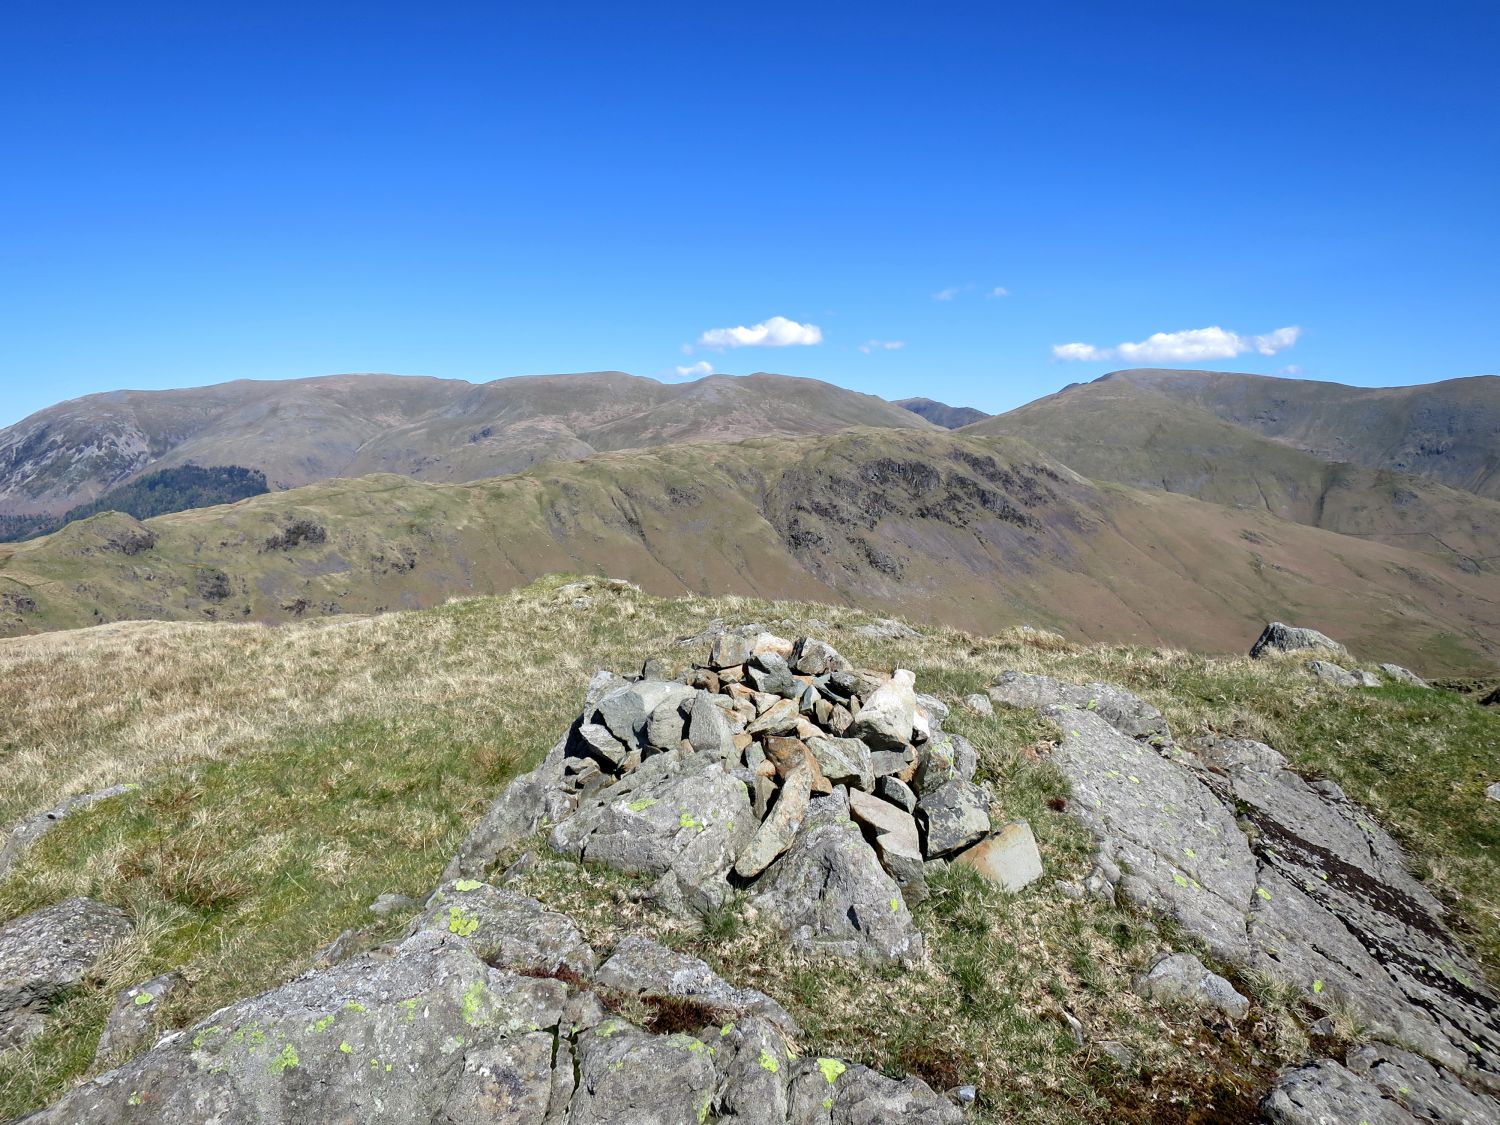
To the east and just a short distance from the highest point of Rough Crag, a cairn sits proudly on a rocky mound which provides a good view of the eastern spine.
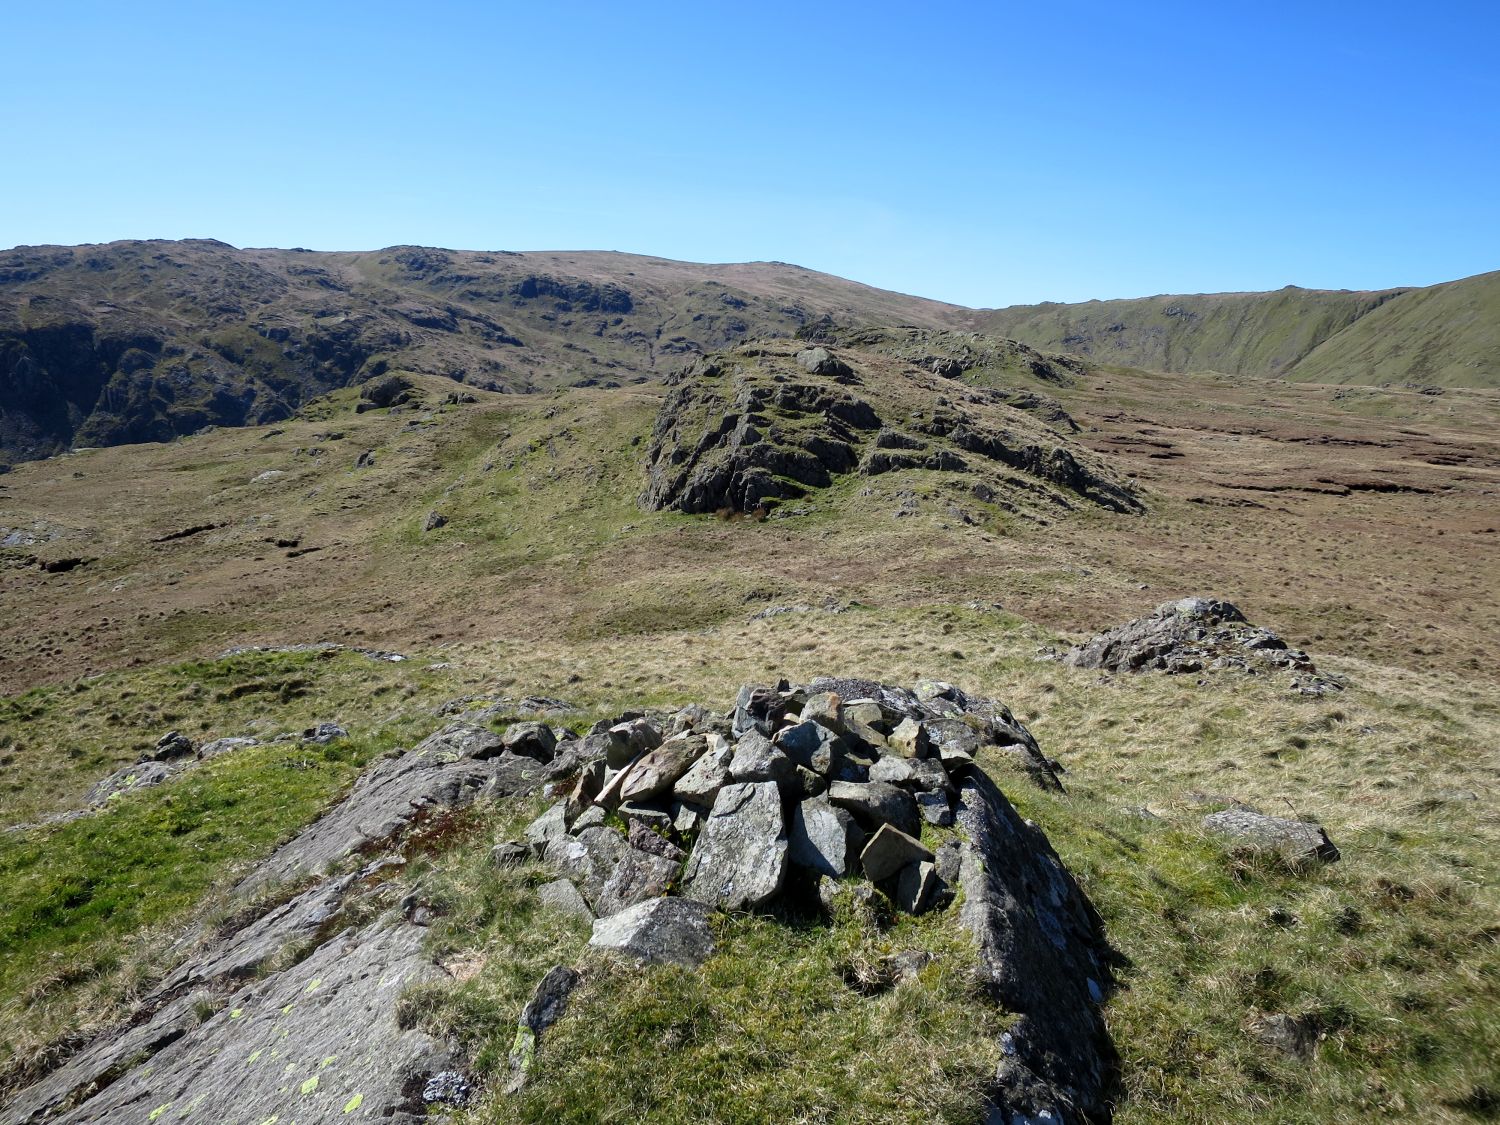
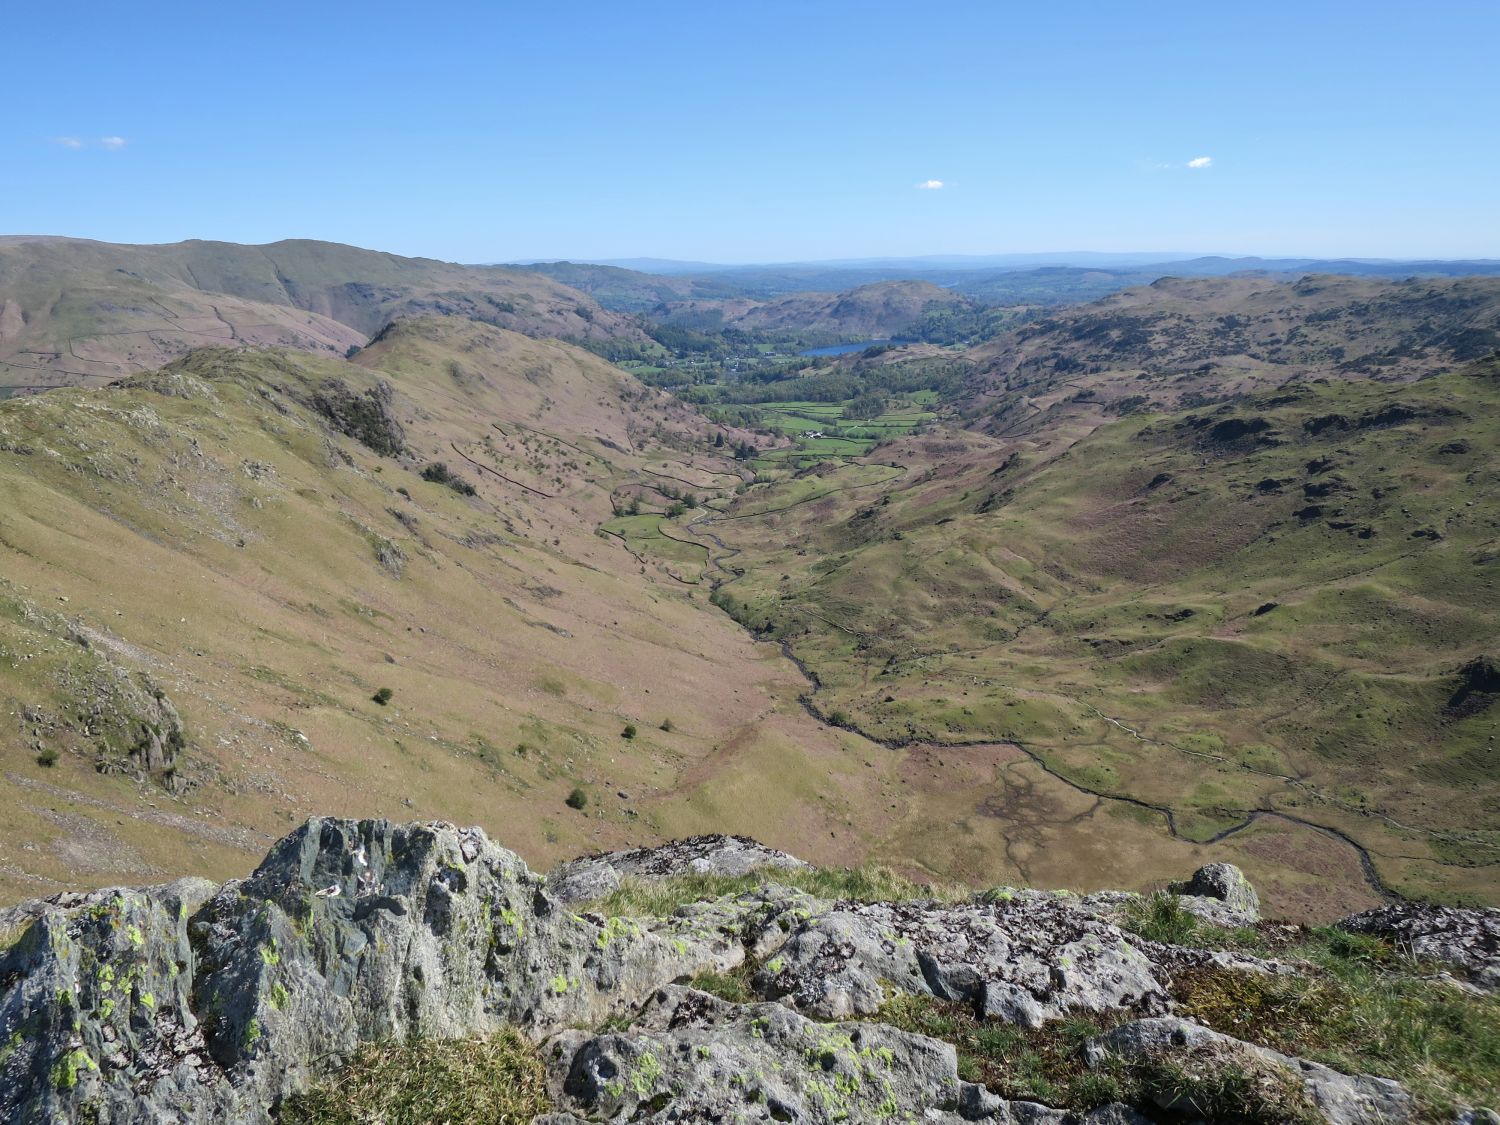
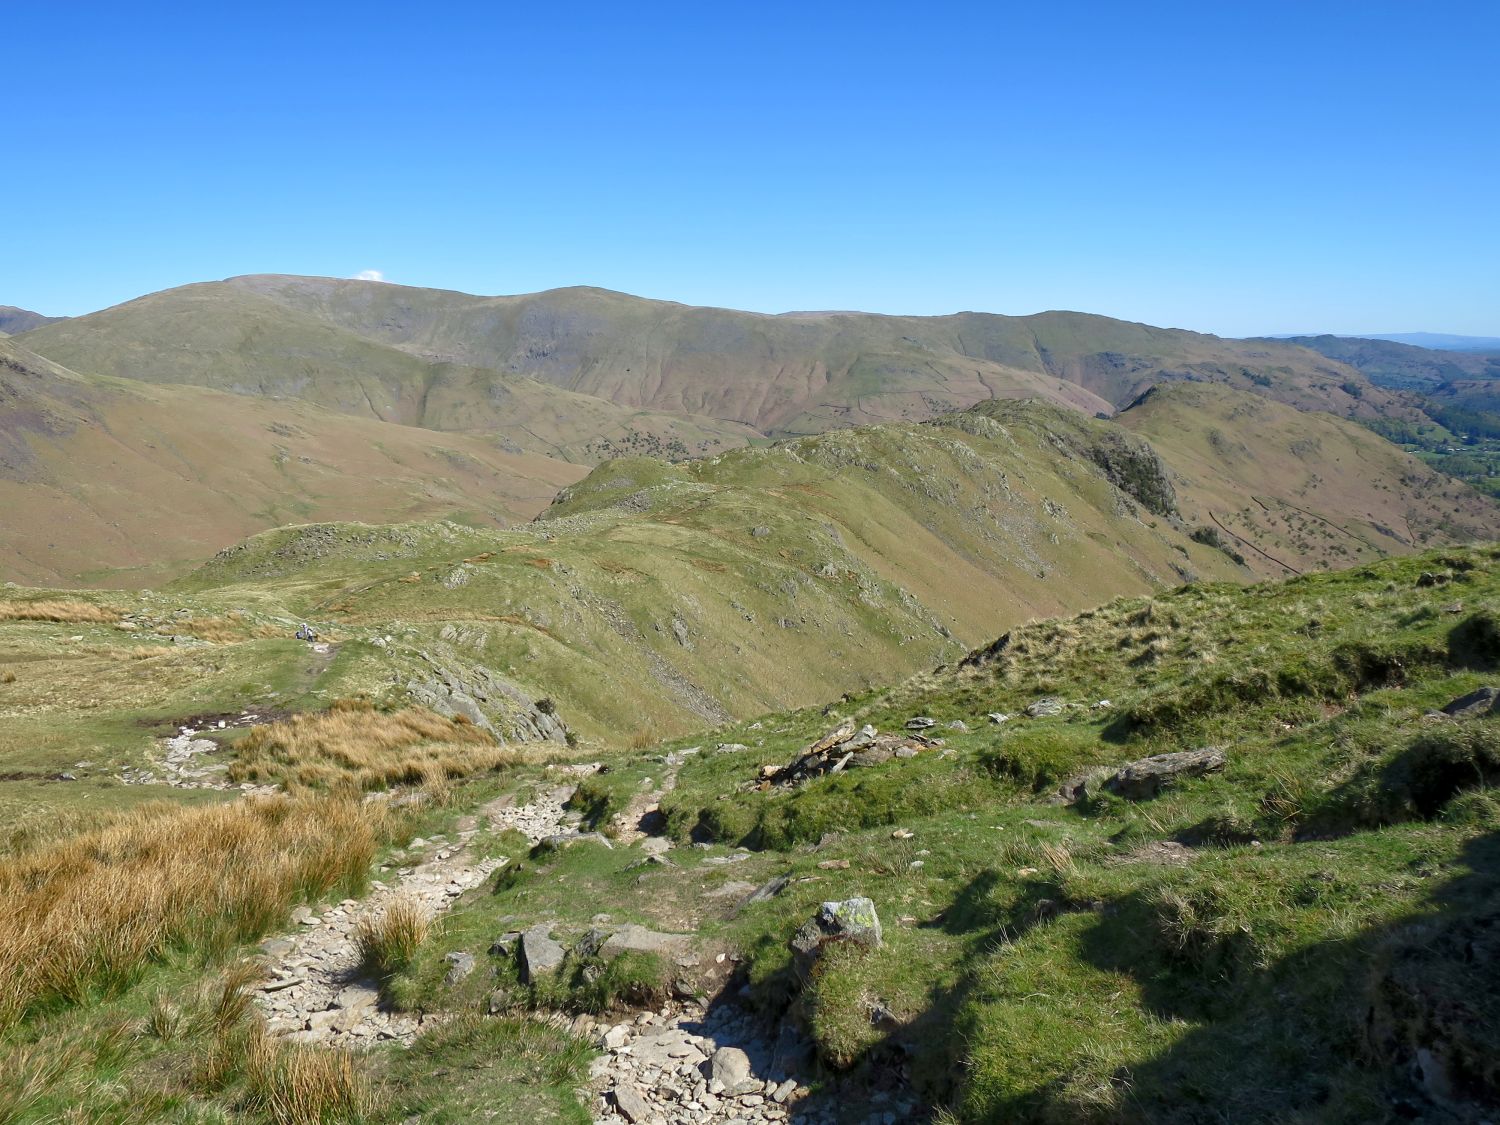
The ridge now becomes narrow and is a delight throughout, all the way to its terminus at Helm Crag.
“From the summit a path can be seen running below the crags on the Easeadale side: it may be joined by a wide detour and followed without difficulty, although intermittent, to Gibson Knott….”
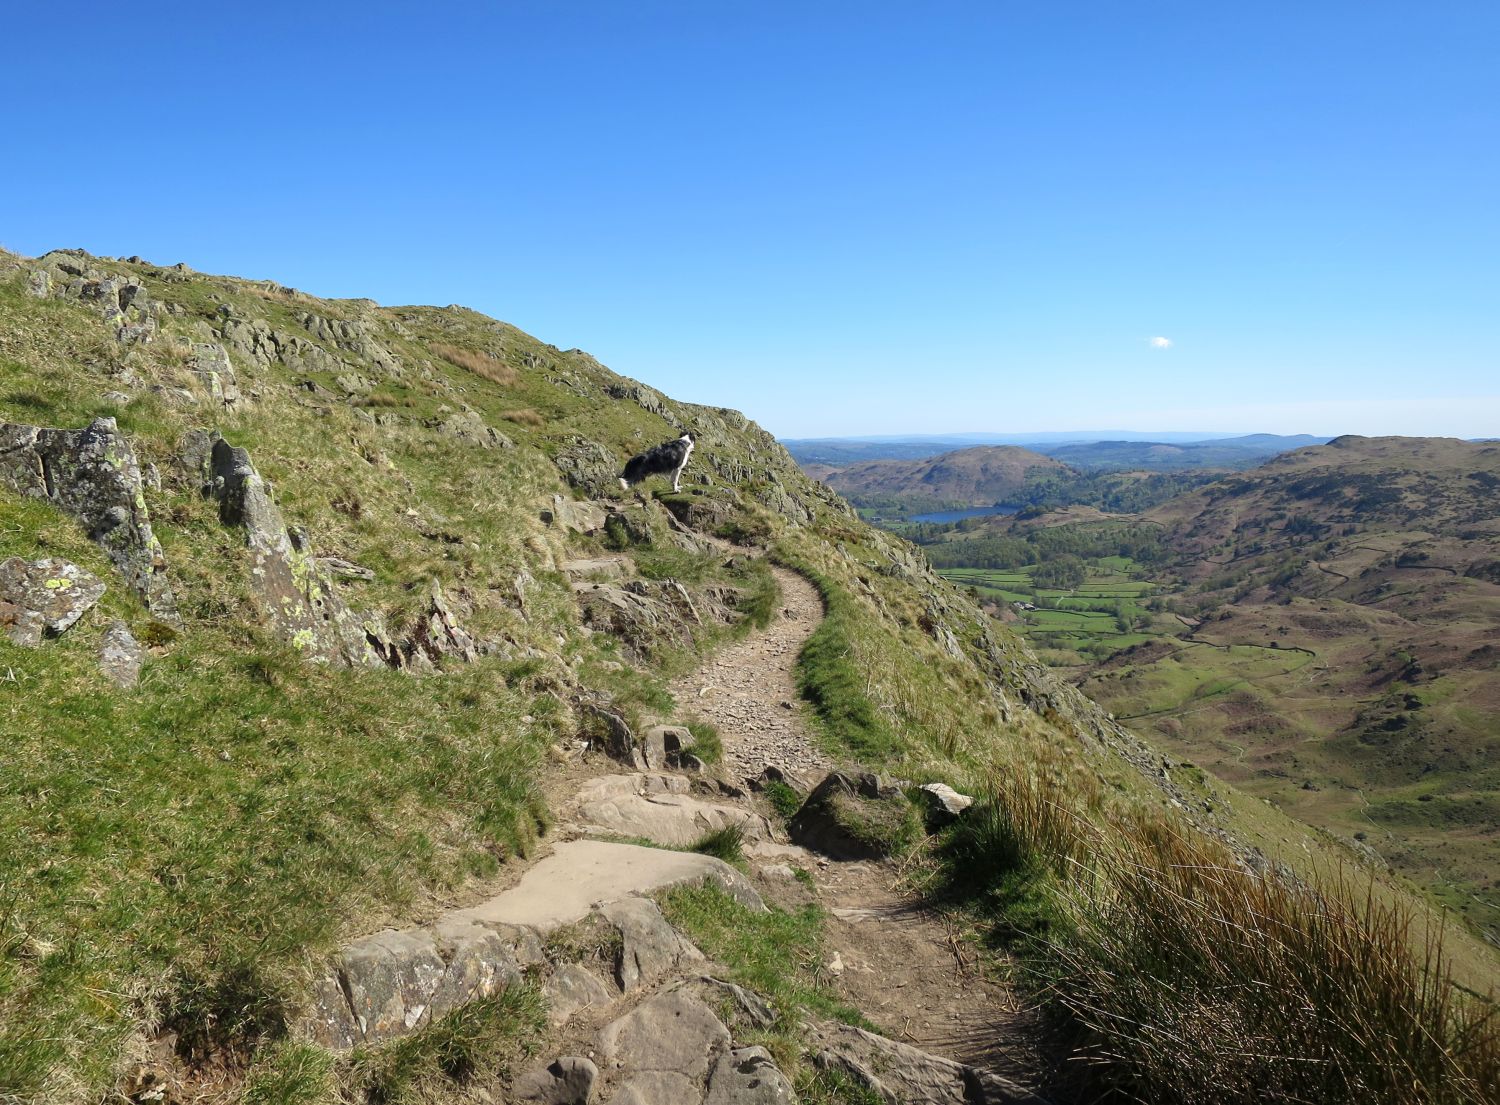
“….The path keeps below the ridge; the crest may be followed instead but is a long succession of trivial ups and downs….”
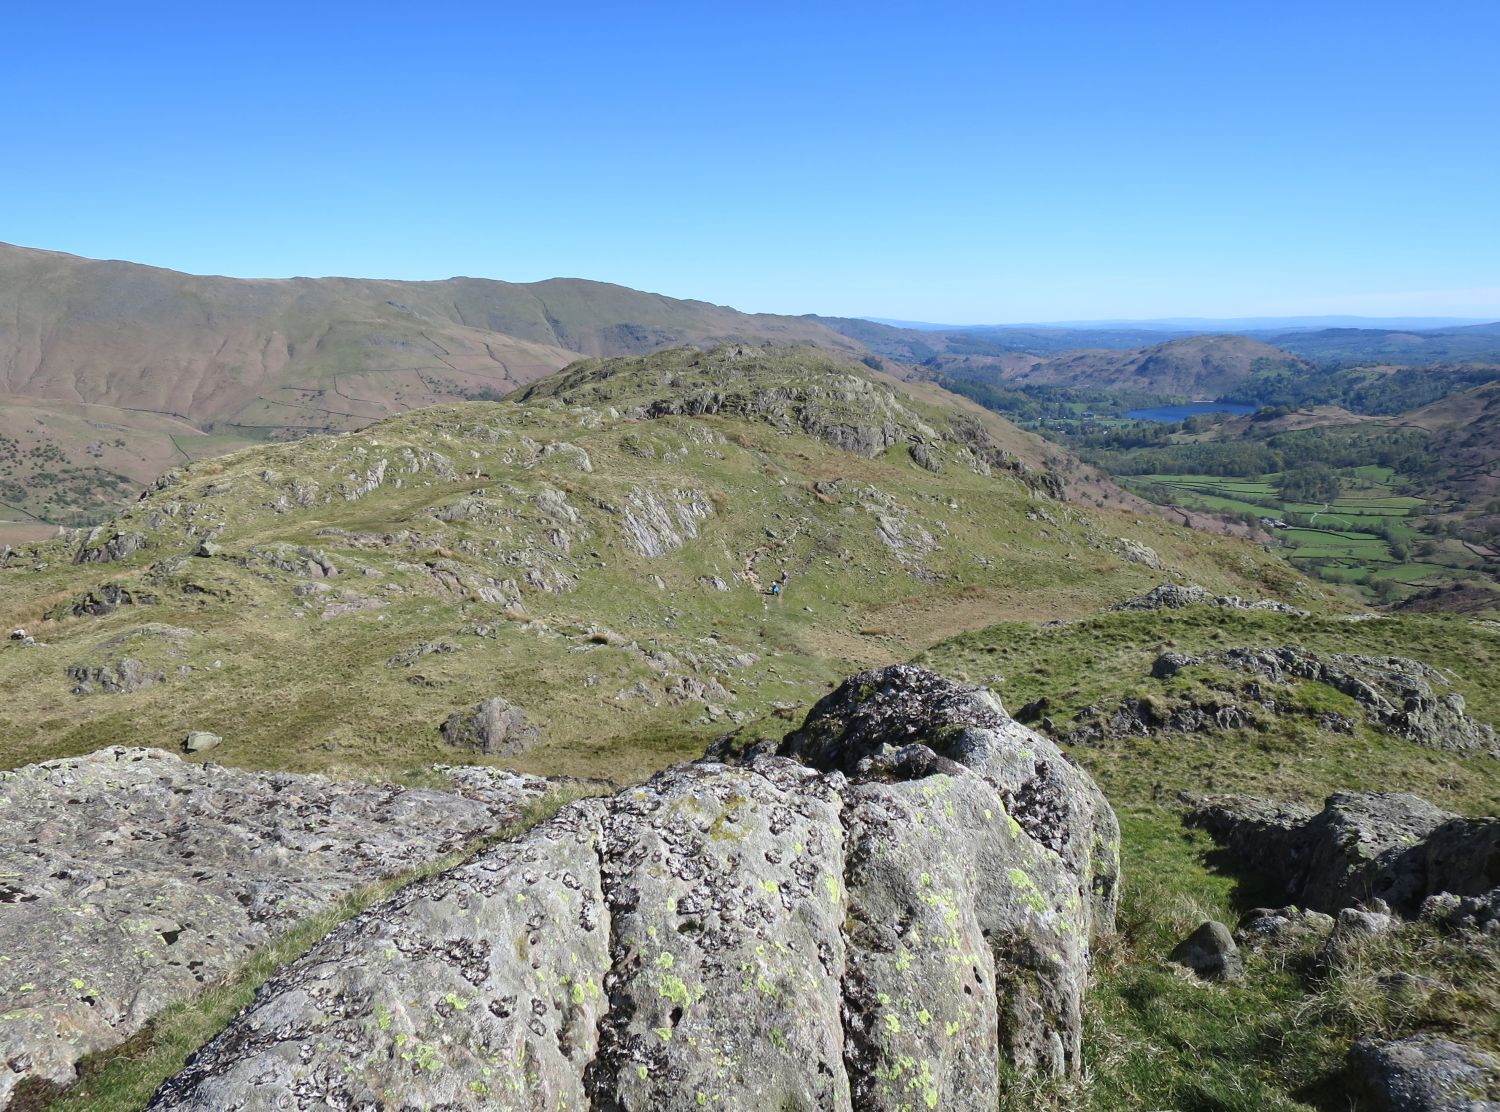
“If the path is adhered to too closely, however, the cairn on Gibson Knott will be missed — it stands on a rocky mound 30 yards to the left.” Calf Crag 8
— Alfred Wainwright
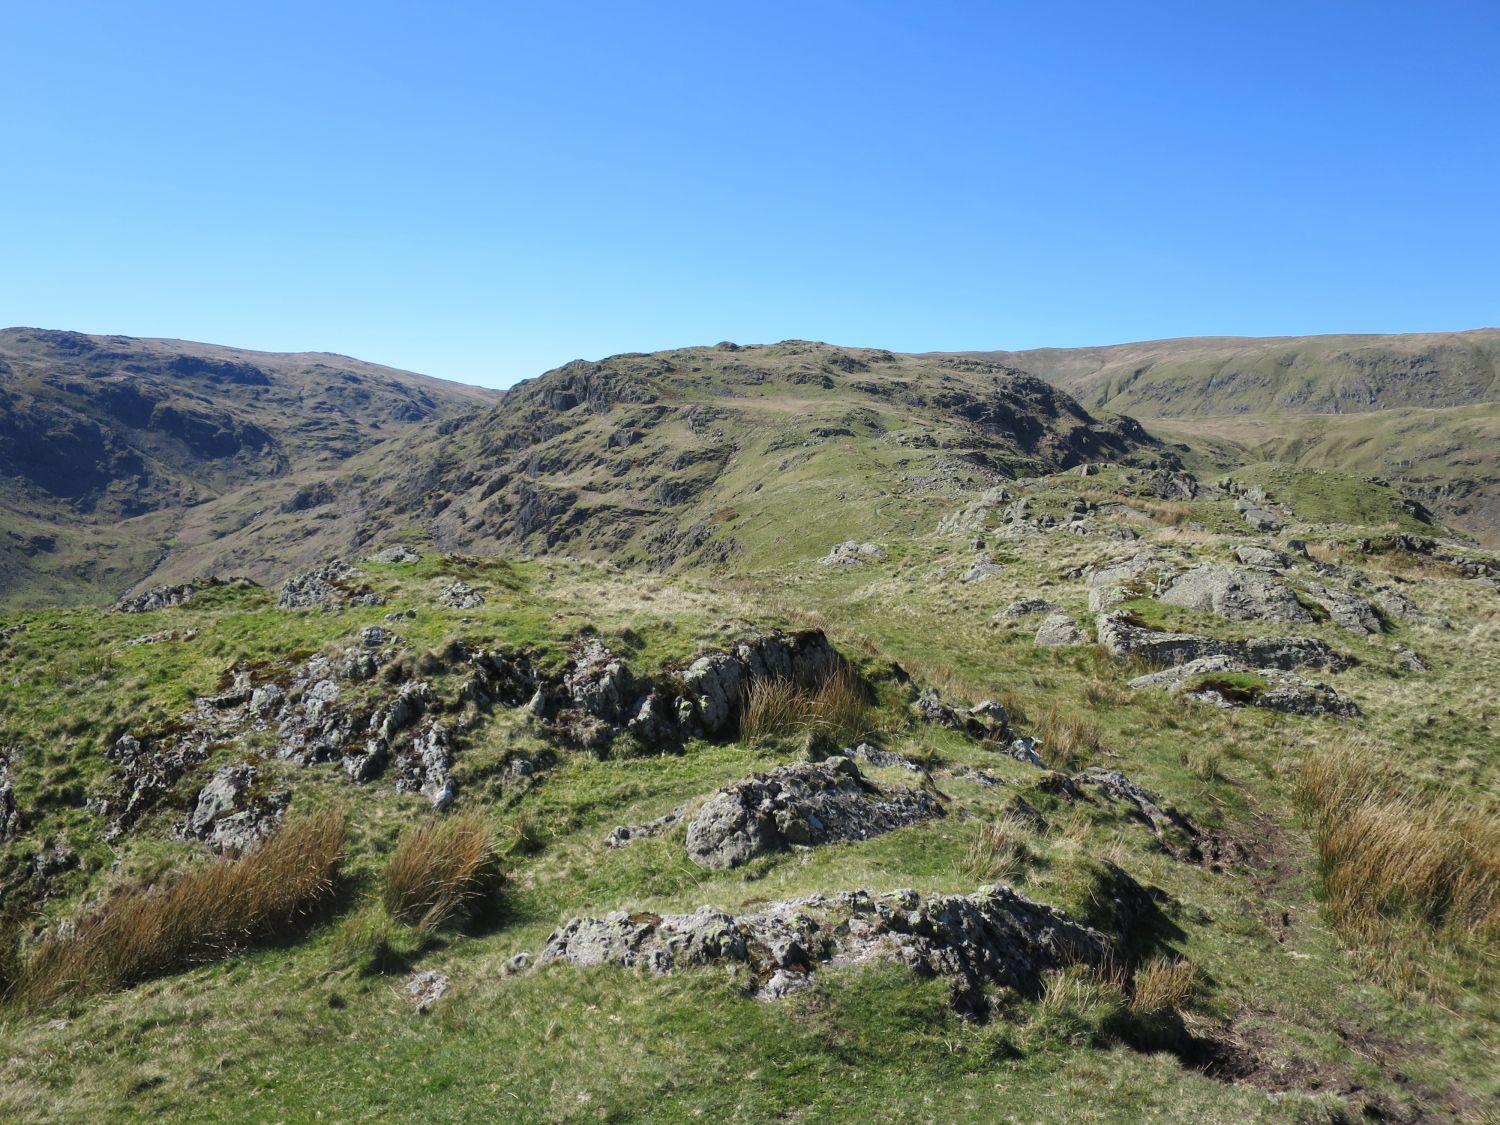
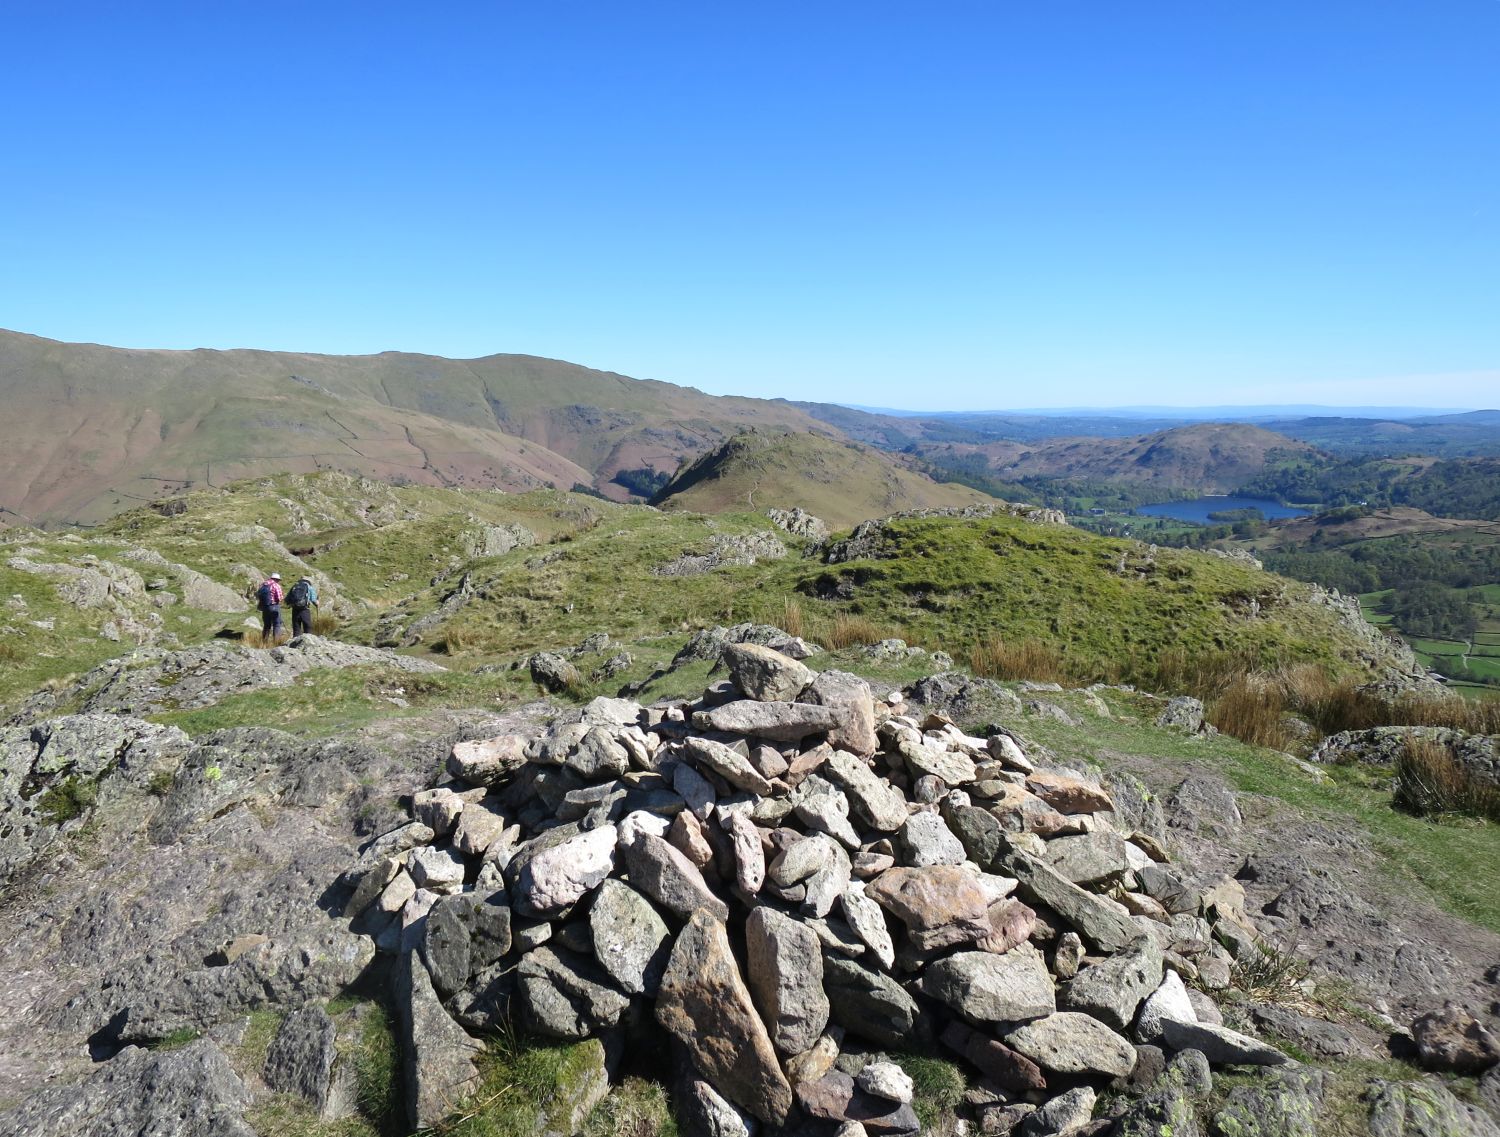
“It was categorically stated, two pages ago, that Gibson Knott is the highest point on the ridge. The observer on the spot will probably question this, for the next rise eastwards seems to be higher. Large-scale maps do not settle the doubt, and it is perhaps safer to say that Gibson Knott is the Ordnance Survey’s only trigonometrical station on the ridge and that usually the most elevated point is selected. The summit is an abrupt rise, surmounted by a cairn above a smooth rock wall.” Gibson Knott 3
— Alfred Wainwright
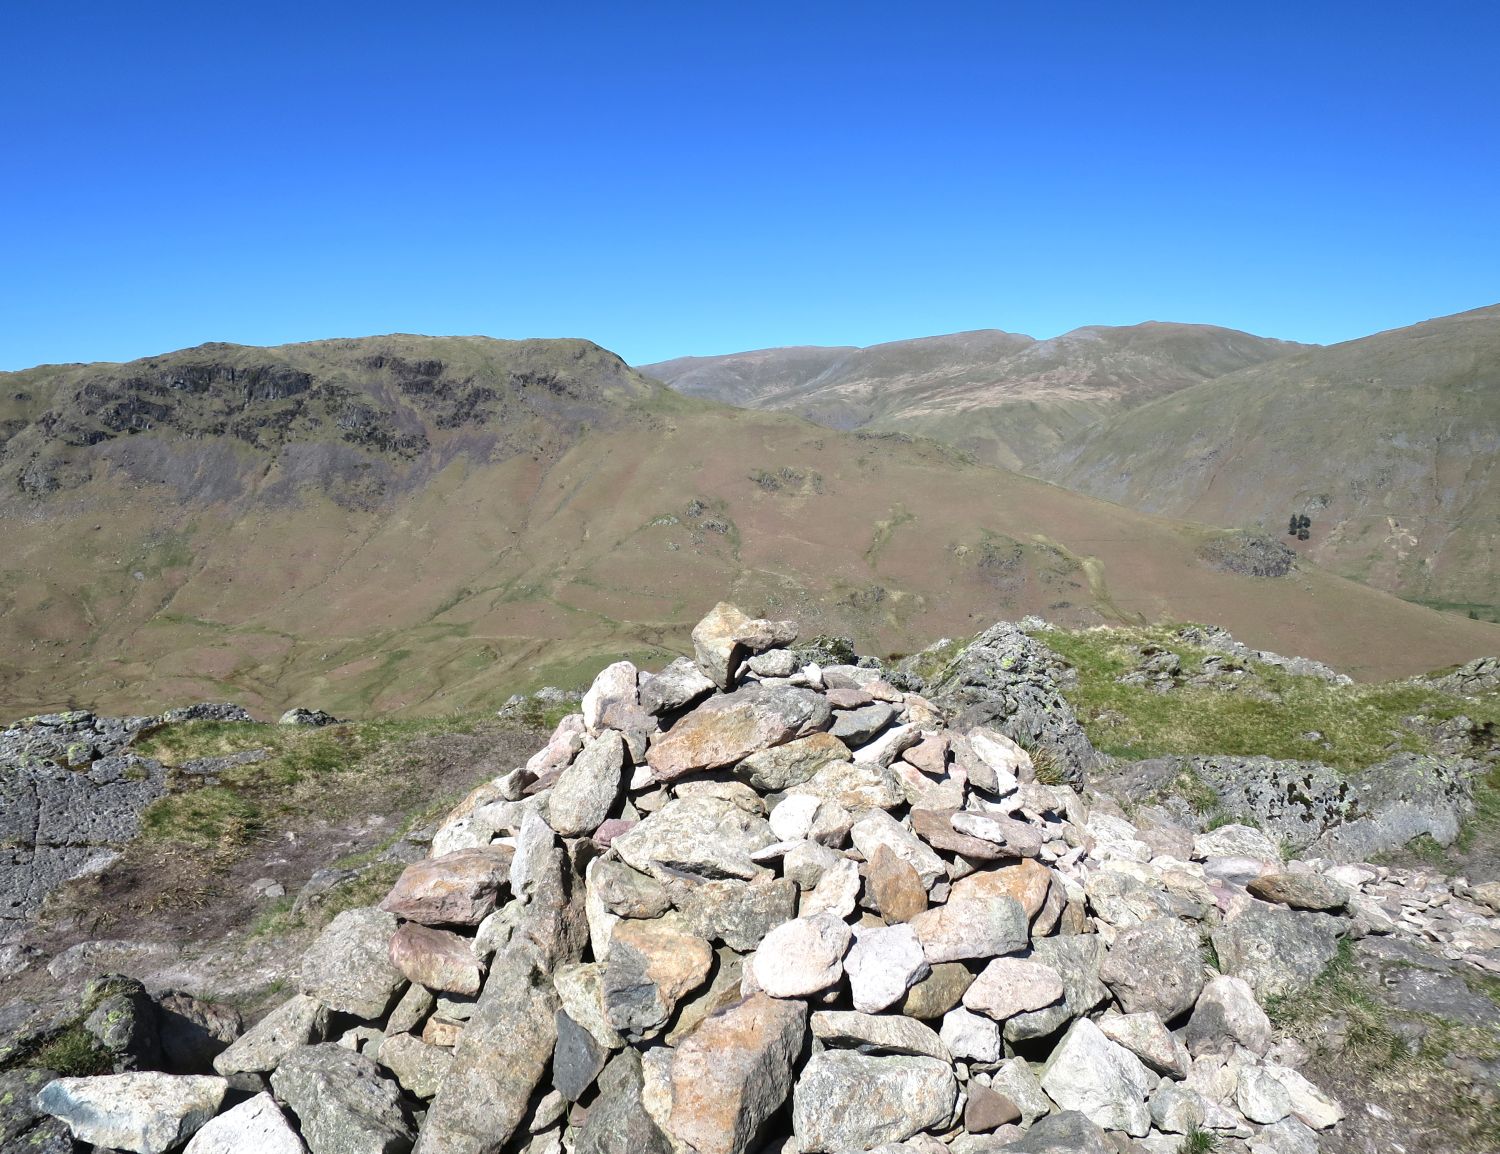
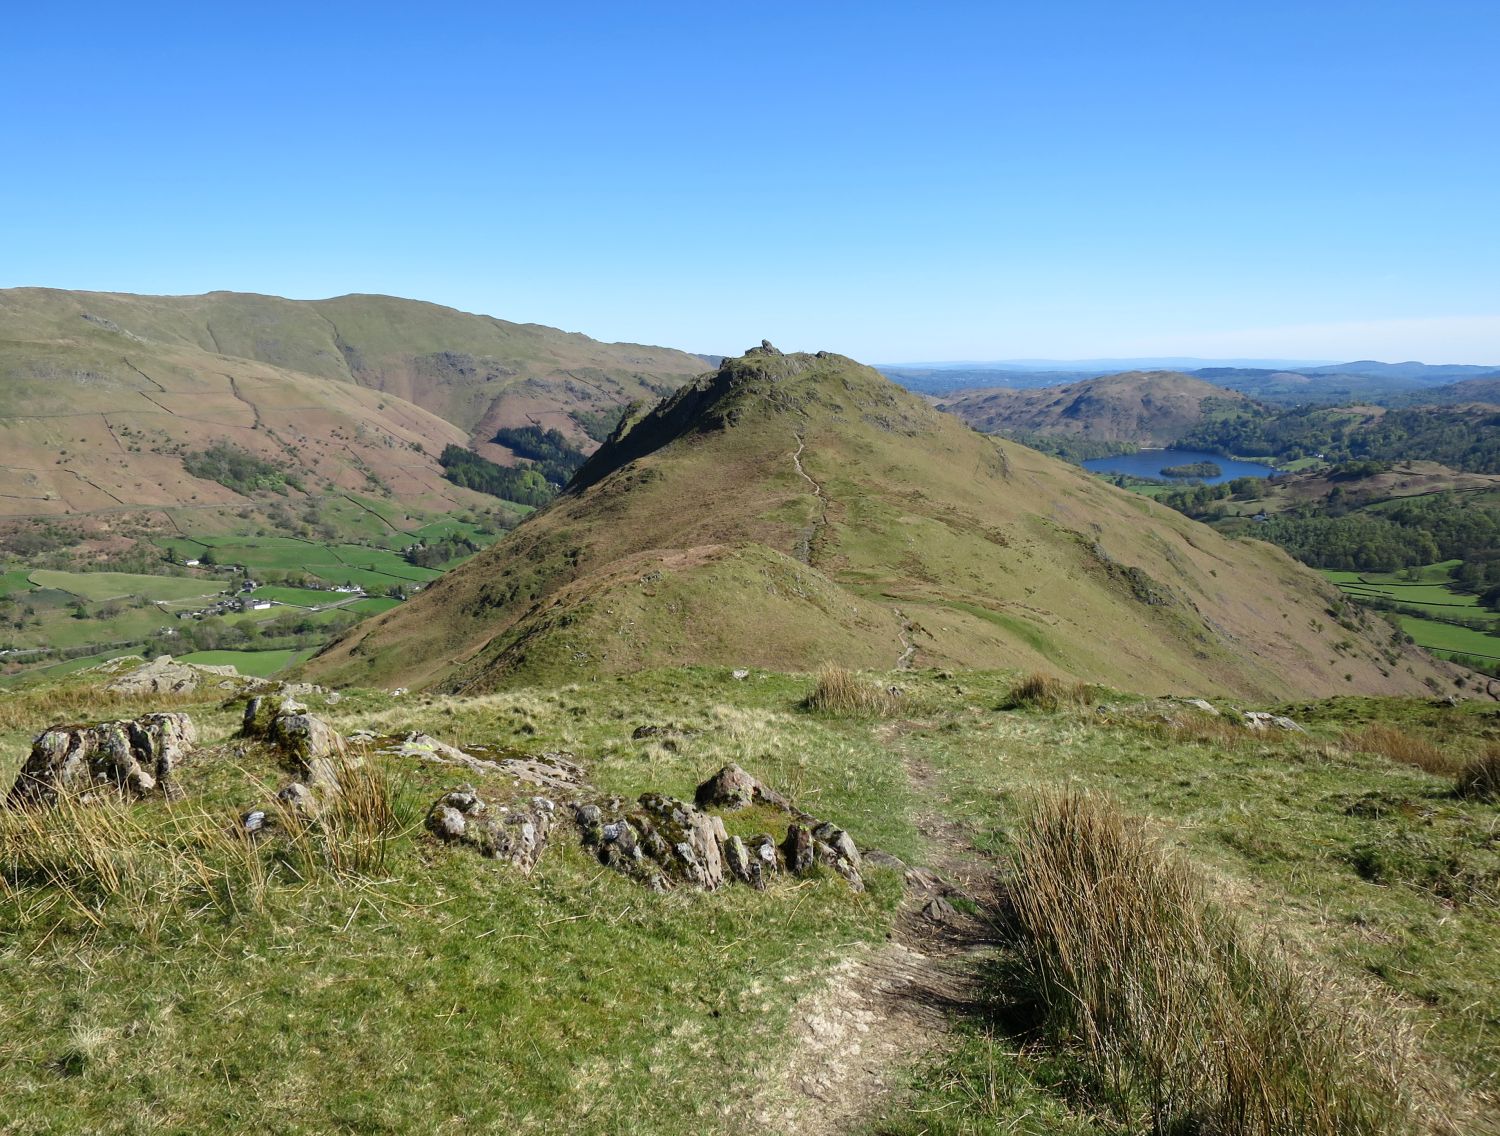
“Join the path 30 yards south of the cairn and follow it east to the top of the next rise, where it winds in and out and up and down in a charming manner before descending to the depression below Helm Crag, the curious top of which is reached by a stiff little climb.” Gibson Knott 3
— Alfred Wainwright
The Central Fells
Helm Crag 7
“The Summit”
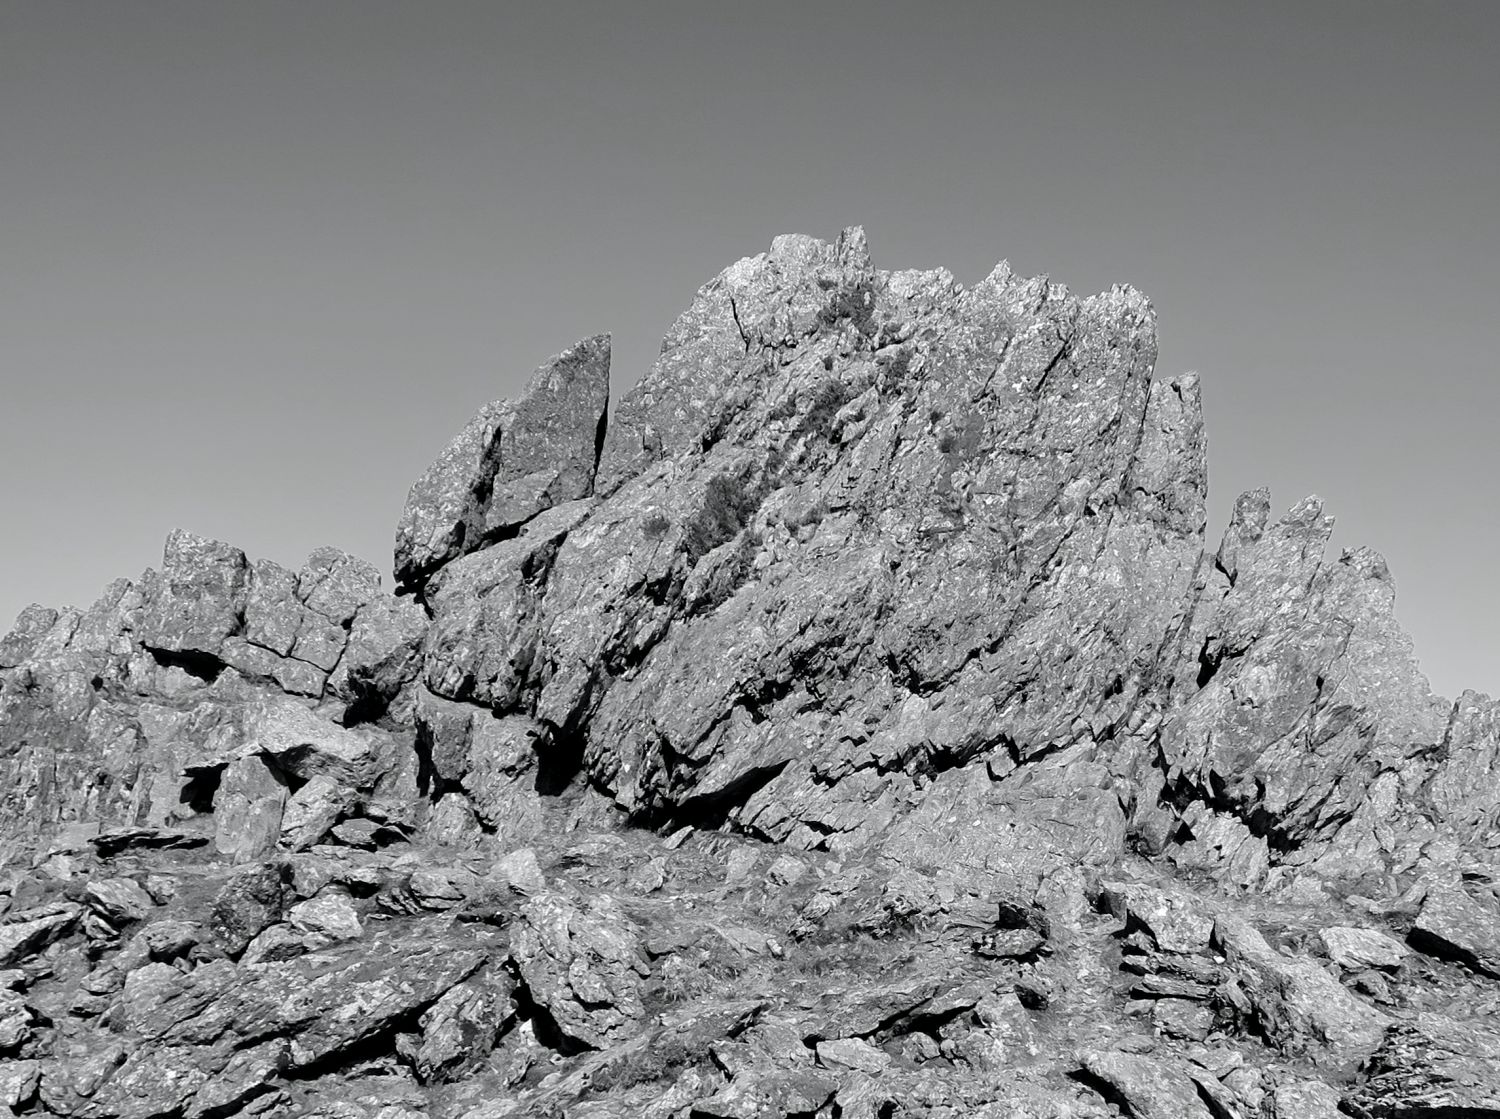
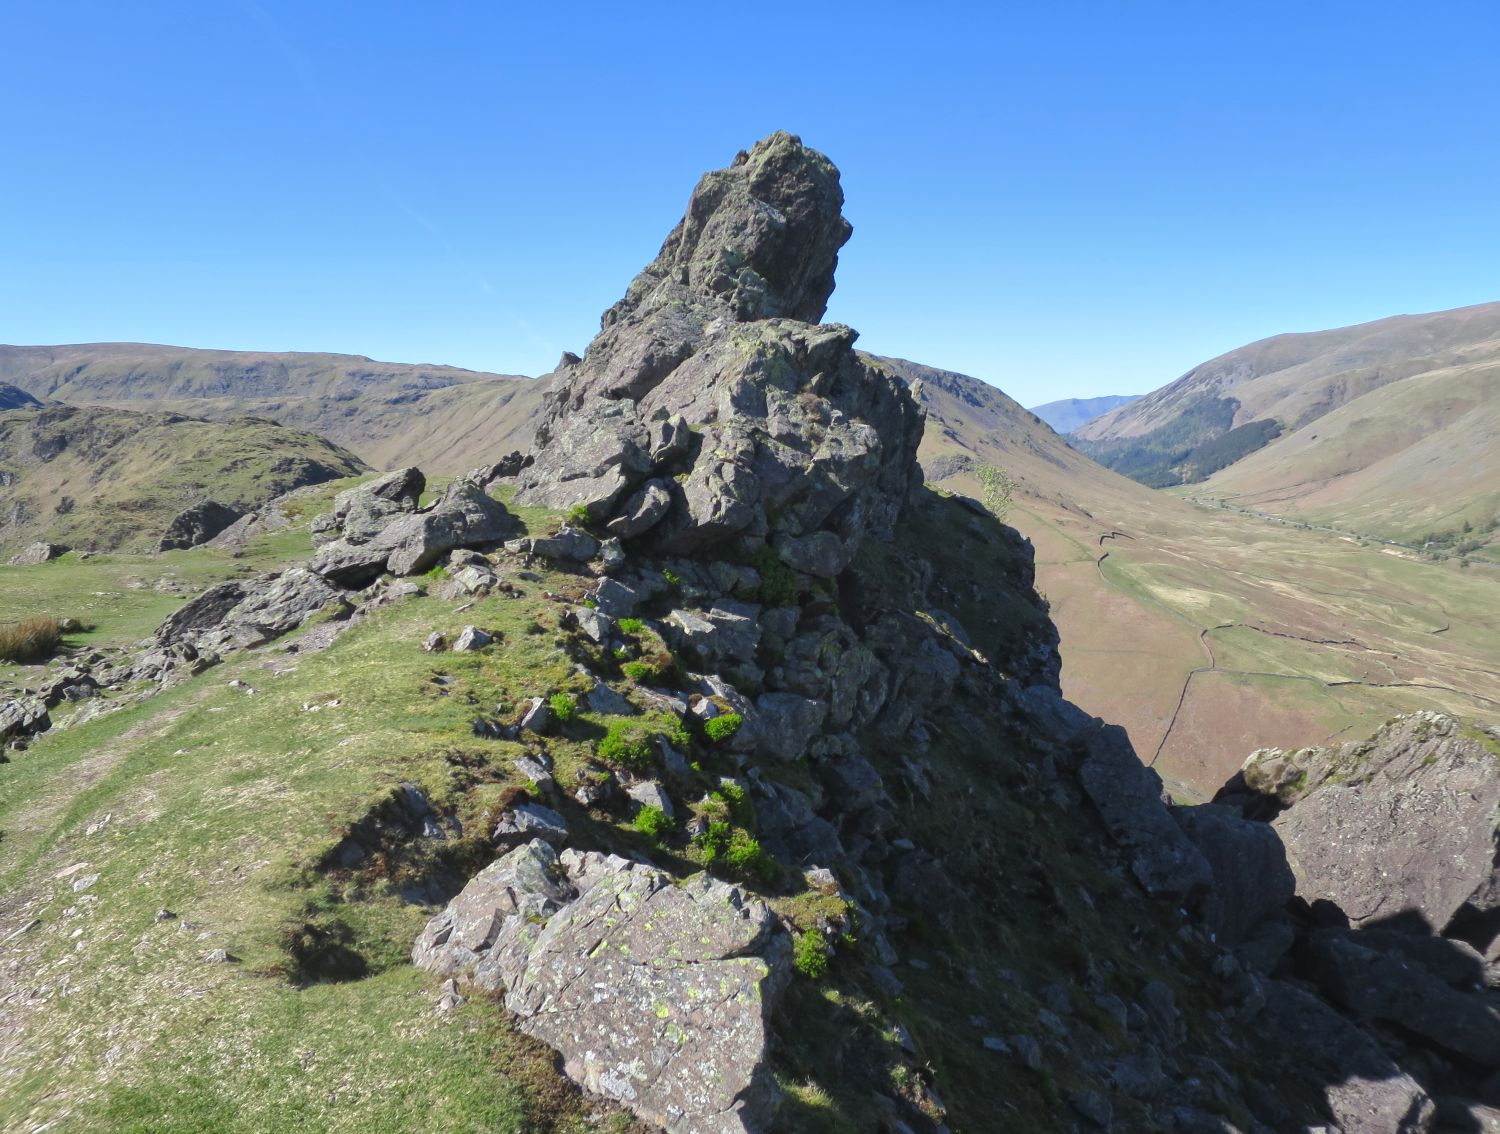
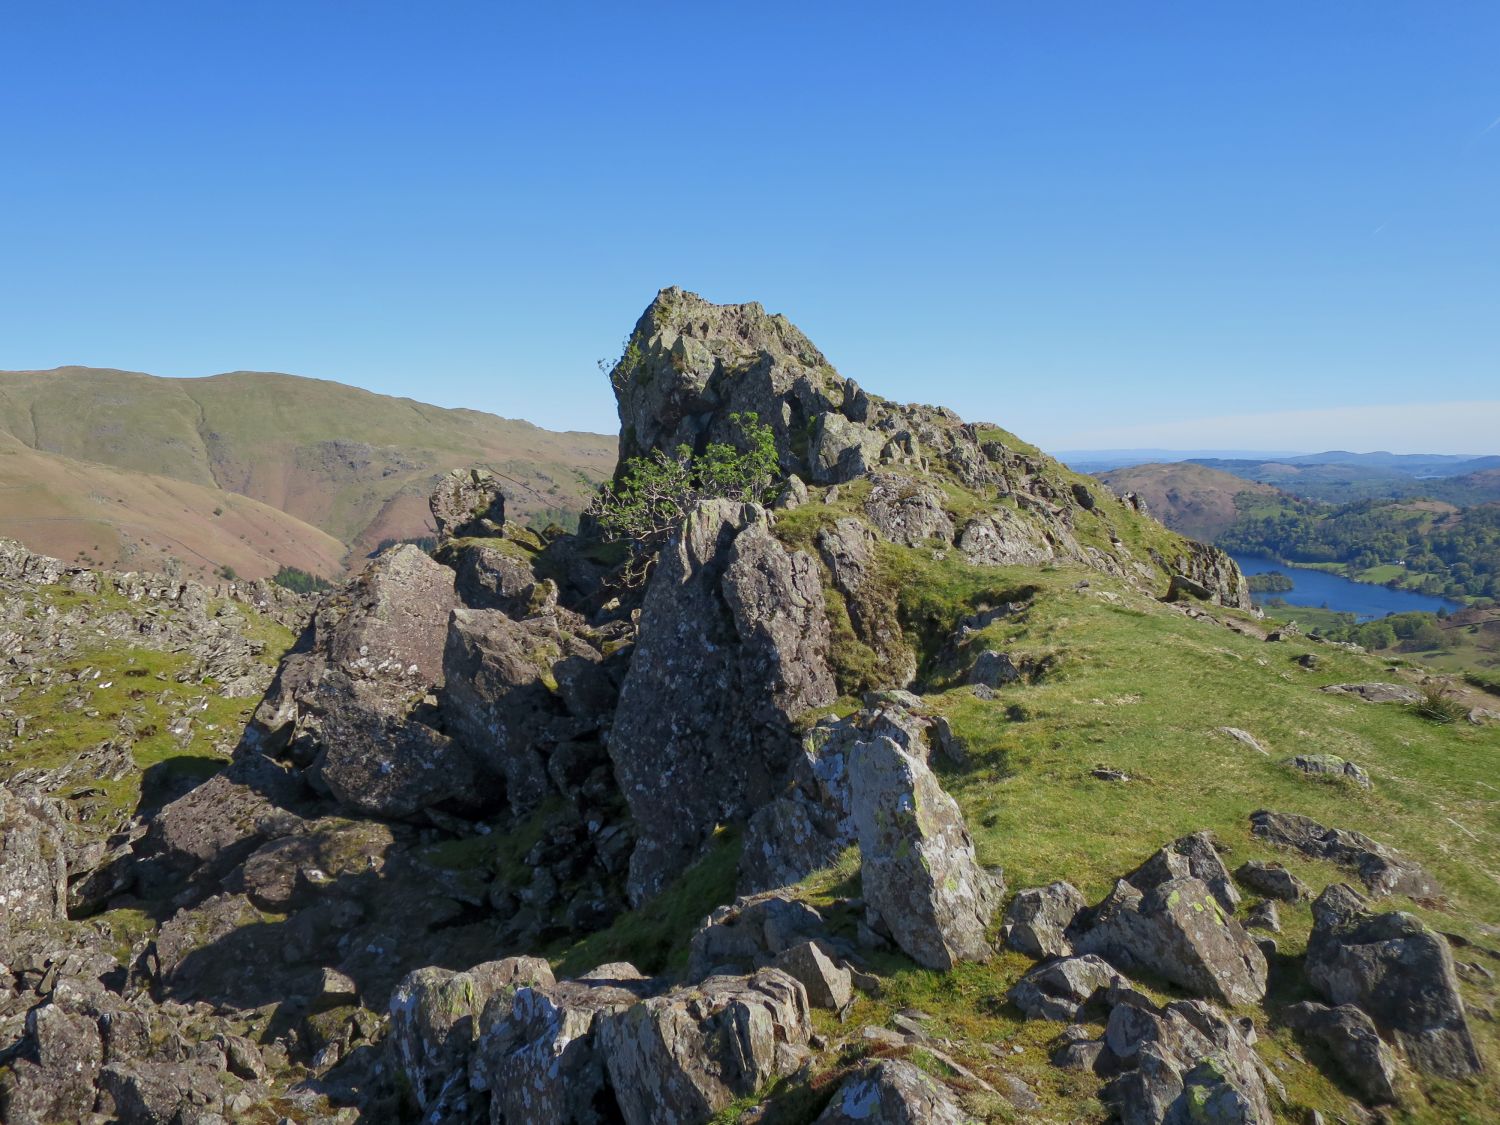
“Rocks at the north-west end of the summit-ridge, known as The Old Woman Playing the Organ from their appearance when seen from Tongue Gill and the vicinity of Easedale Tarn.” Helm Crag 7
— Alfred Wainwright
The Central Fells
Helm Crag 5
“The Summit”
“Rocks at the north-west end of the summit-ridge, known as various names: (a) The Lion Couchant, or, more popularly, The Lion and The Lamb (as seen from the road below Dunmail Raise), (b) The Howitzer (as seen from Dunmail Raise).” Helm Crag 5
— Alfred Wainwright
The Central Fells
Helm Crag 7
“The Summit”
“Rocks at the south-east end of the summit-ridge. These form the official Lion and The Lamb (as seen from the Swan Hotel, Grasmere). The lion’s head is the 0. S. ‘station’ (altitude 1299’) but is not quite the highest point of the fell.” Helm Crag 7
— Alfred Wainwright
<<>>
Thanks, sources and further reading:
‘Book Three – The Central Fells’ by Alfred Wainwright