It is November, the slopes of the fells are cloaked in colour, and after much rain recently the becks are in full spate. This time of the year, the village of Grasmere is a good place to begin a walk, especially any routes heading westerly or northerly; the low-lying sun takes a while to start its day, but the wide open vale warms up much earlier than some of the narrower valleys. With all that in mind, a walk through Easedale and then a return descending the wonderful ridge of Blea Rigg, sounds perfect.
GPX Route: Download
PDF Maps: Download
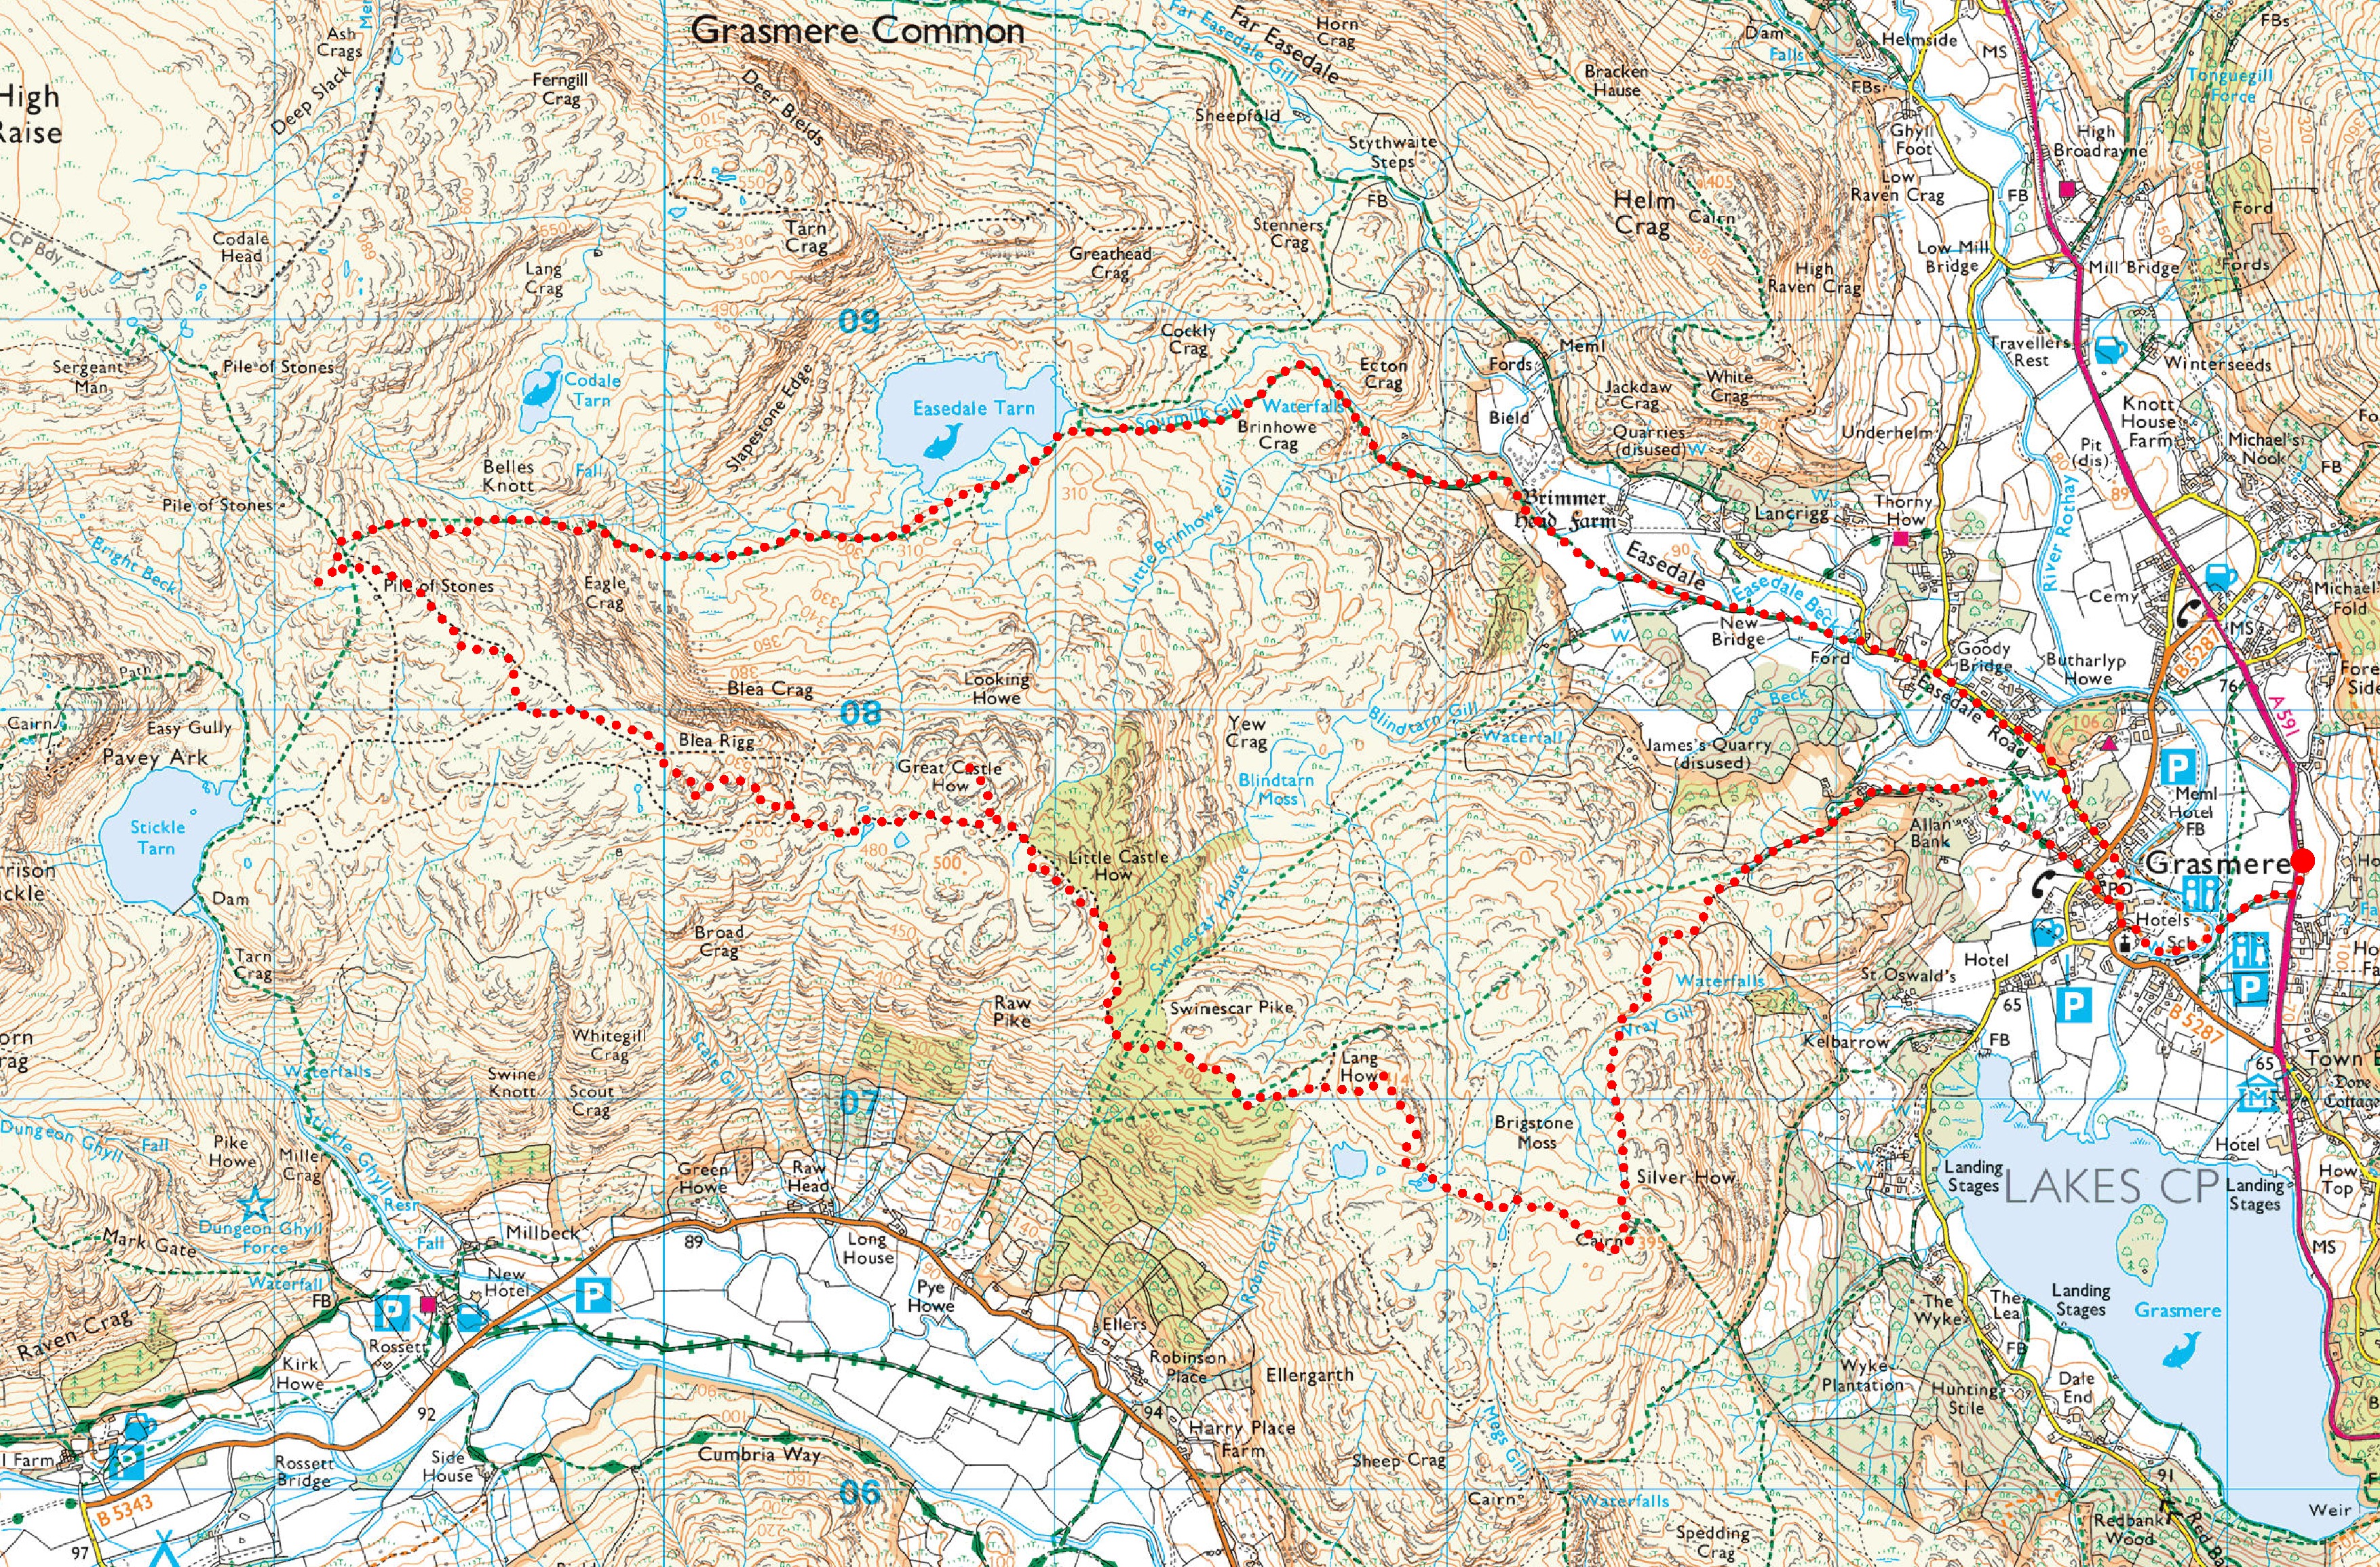
Grasmere > Easedale Road > Easedale > Sourmilk Gill > Easedale Tarn > Upper Easedale > Blea Rigg > Great Castle How > Little Castle How > Swinescar Hause > Swinescar Pike > Lang How > Silver How > Wray Gill > Allan Bank > Grasmere
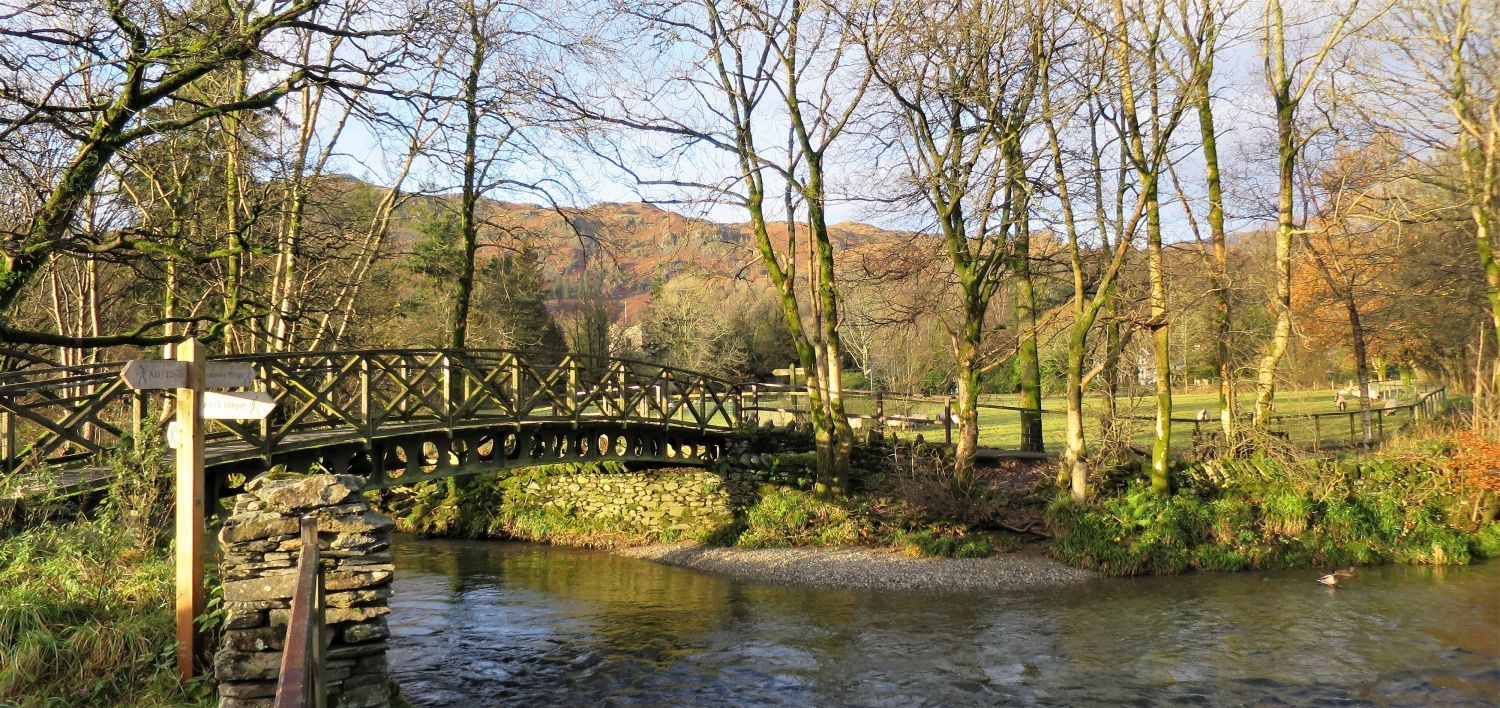 The Millennium Bridge over River Rothay
“Built by public subscription to mark the year 2000 A.D.”
There are three ‘pay and display’ car parks in the village of Grasmere, however, because of our early start, and with it being the quieter month of November, we took advantage of space at the free parking layby on the A591, just north of Dove Cottage. The walk from the parking area and through the village this early is a delight.
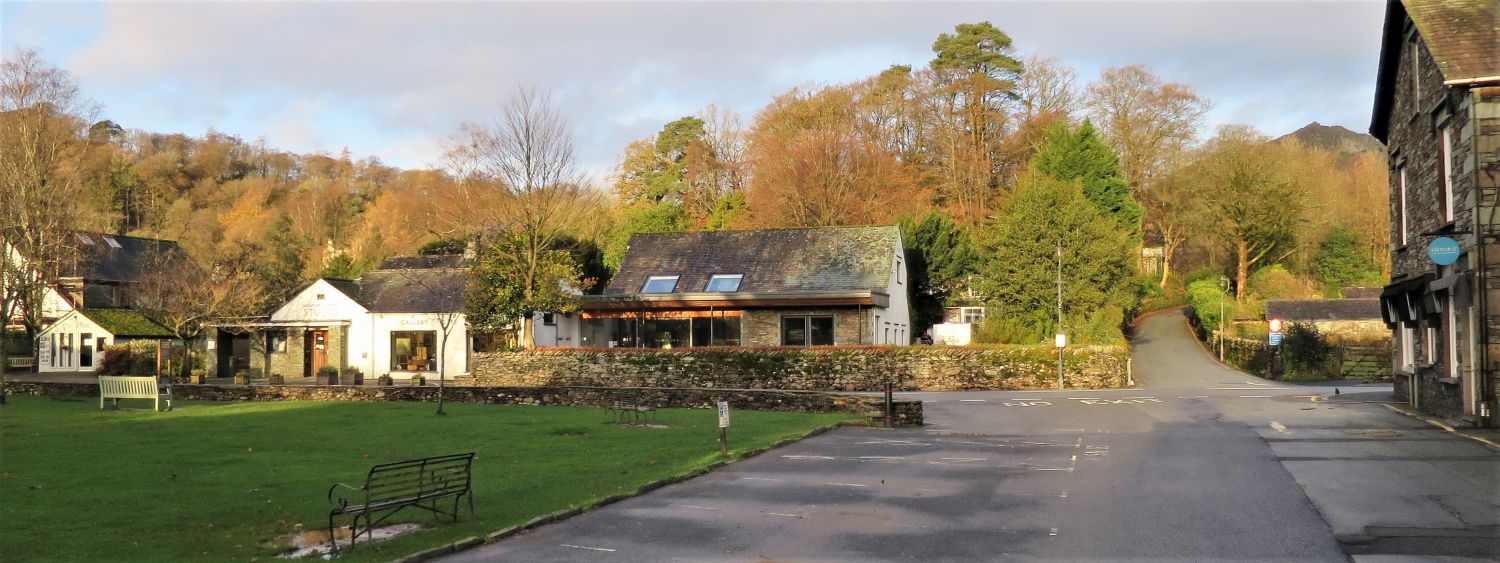 The village of Grasmere
From the village green follow Easedale Road, seen here on the right.
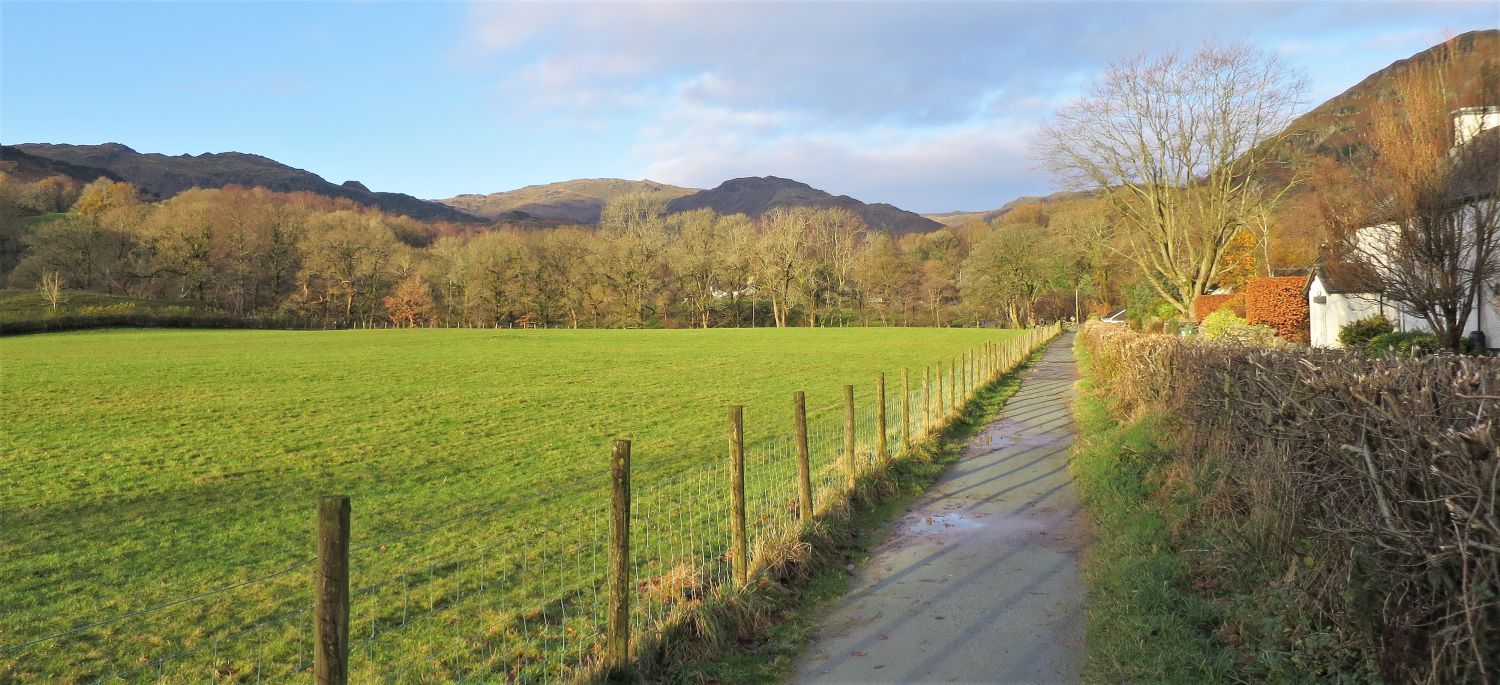 Codale Head and Tarn Crag from the path alongside Easedale Road
On the left, the prominent peak of Looking Howe appears over the ridge leading to Castle How.
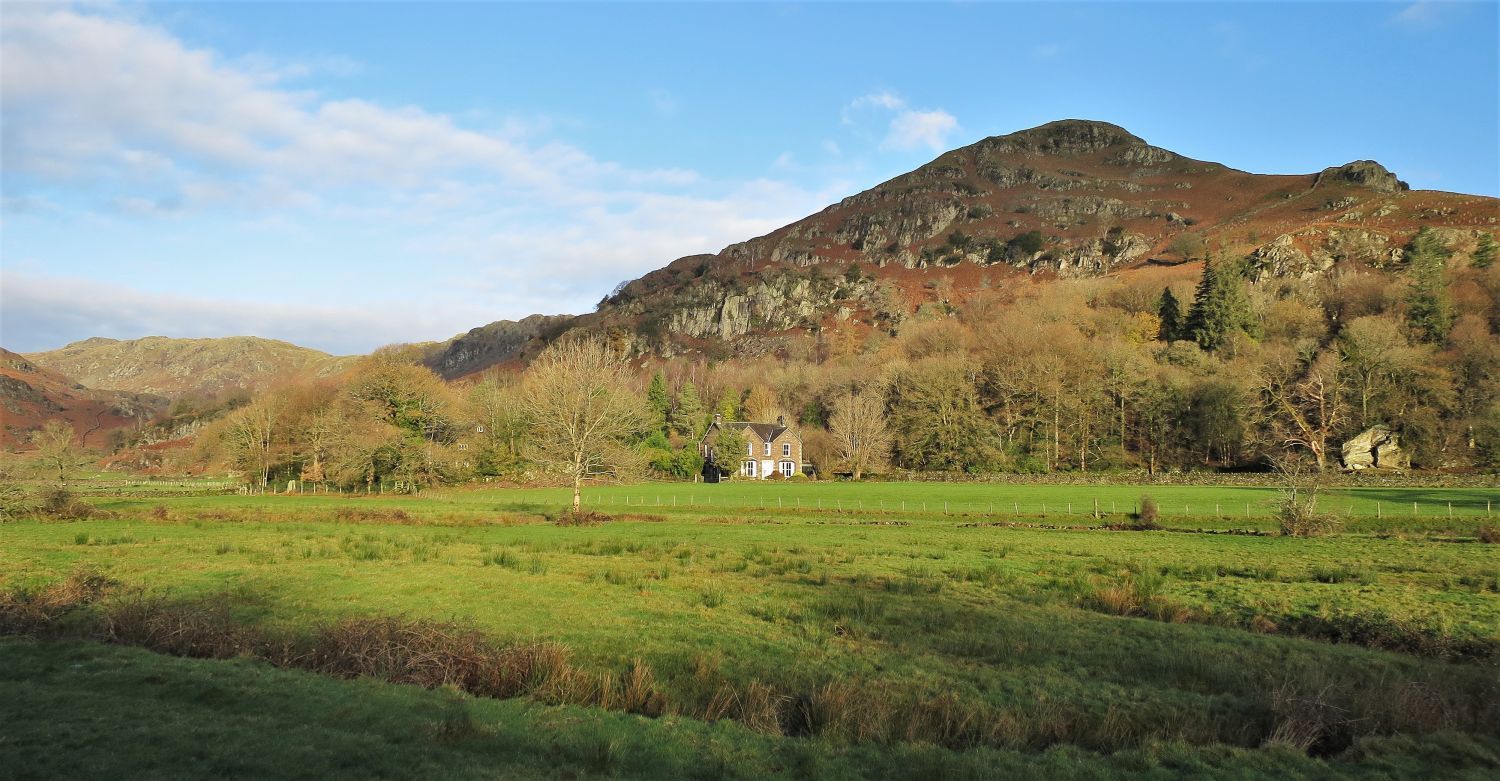 Helm Crag from the valley floor of Easedale
Far left, the ridge of Moment Brow is seen over the valley of Far Easedale.
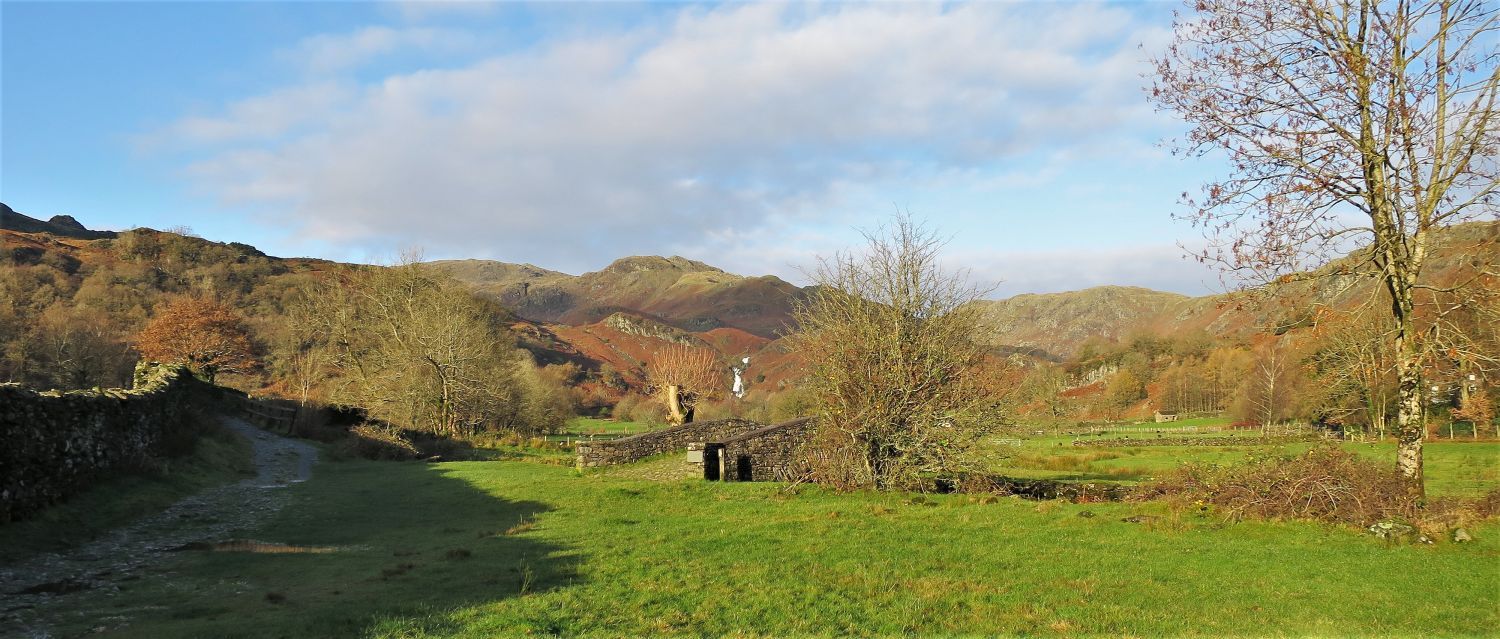
We’ve now left Easedale Road (which continues to Lancrigg) and joined the main track through Easedale. We will follow this old packhorse route to its highest point at the ‘crossroads’ on the ridge of Blea Rigg.
 Codale Head and Tarn Crag over New Bridge
The lower waterfalls of Sourmilk Beck can be seen ahead over New Bridge.
 Brinhowe Crag (left of centre), Sourmilk Gill and Ecton Crag (right)
 Helm Crag over Easedale and Easedale Beck
The pastures around Brimmer Head is where Far Easedale Beck, Sourmilk Beck and Little Brinhowe Beck converge to form Easedale Beck.
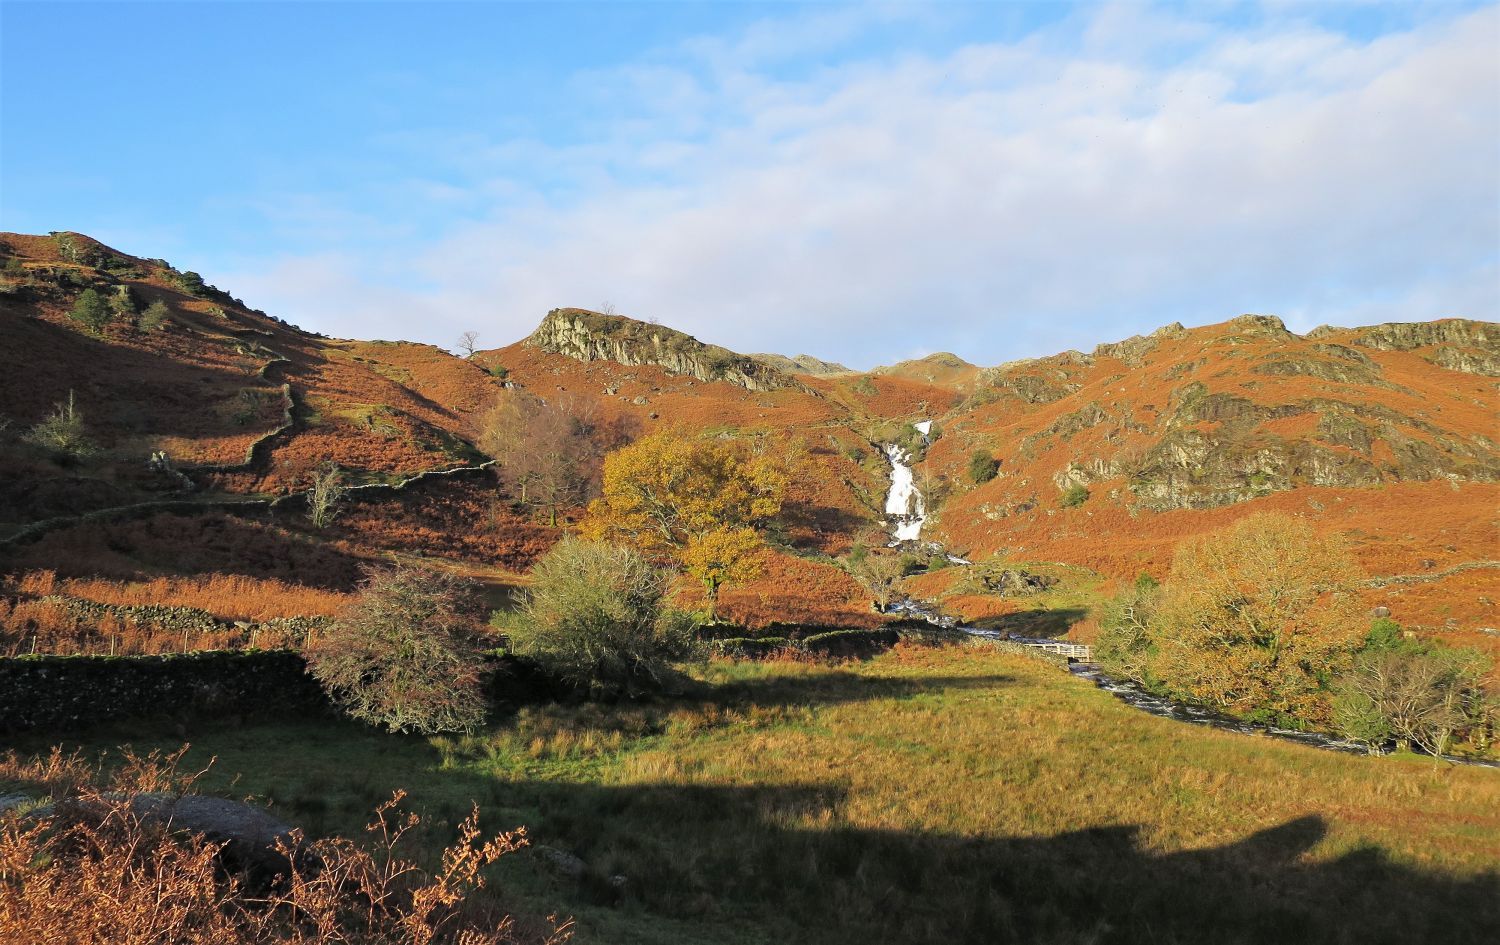
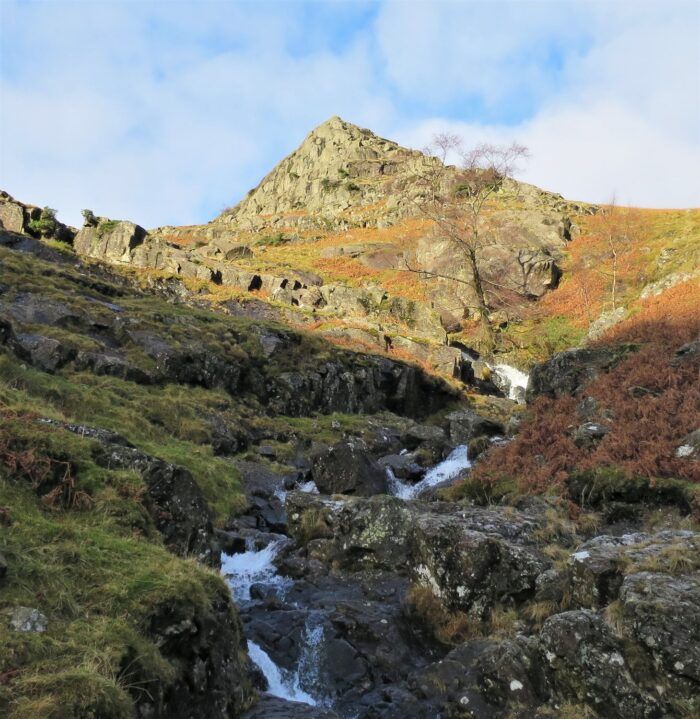
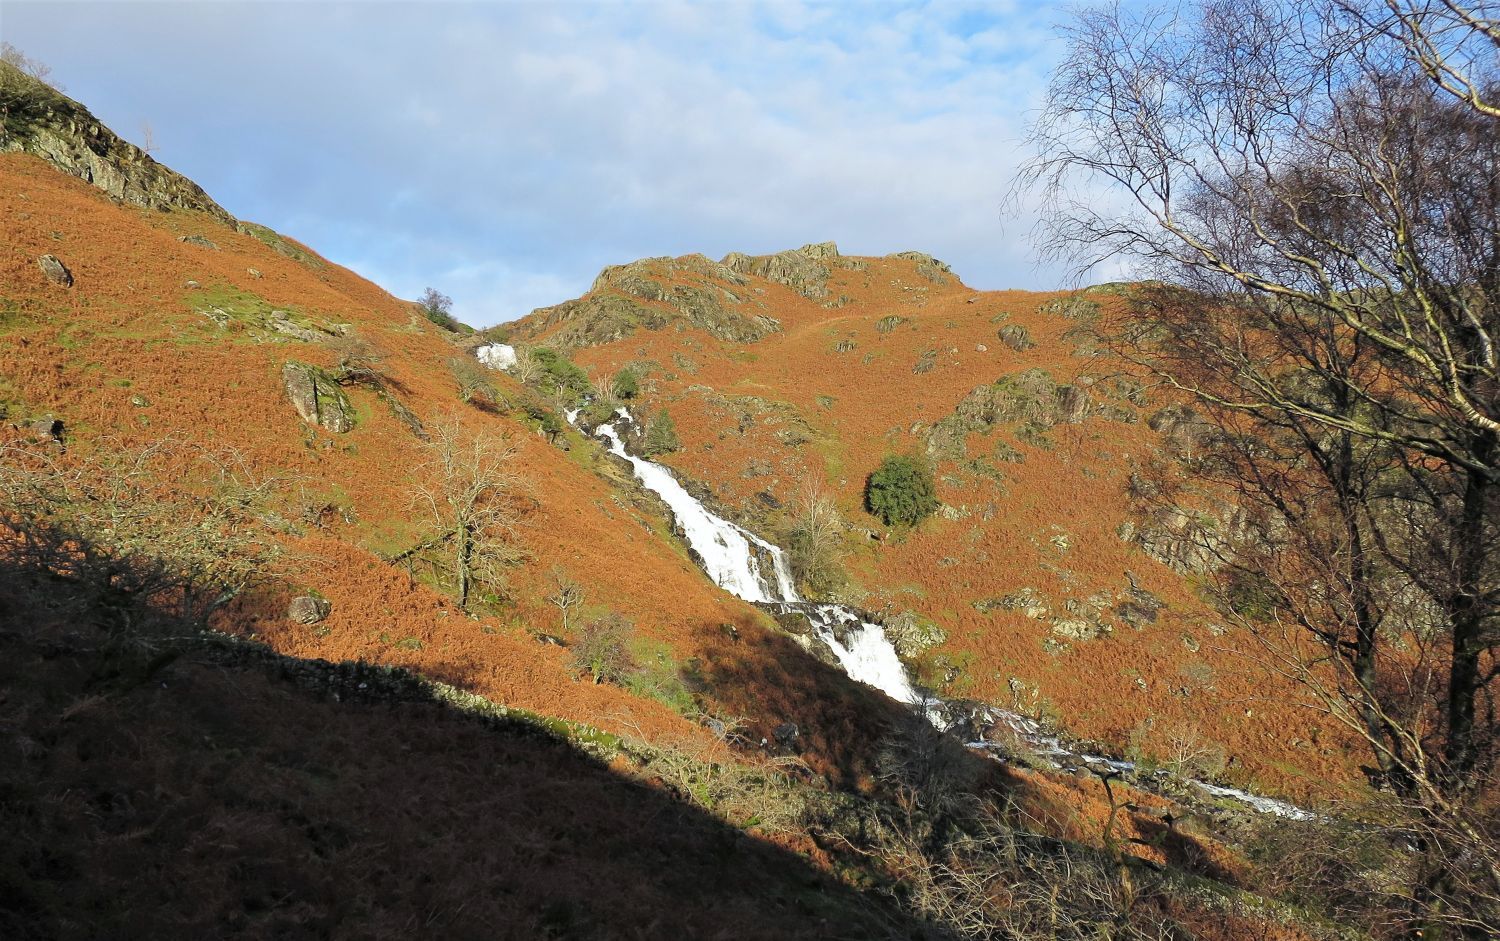 Ecton Crag over the waterfalls in Sourmilk Gill
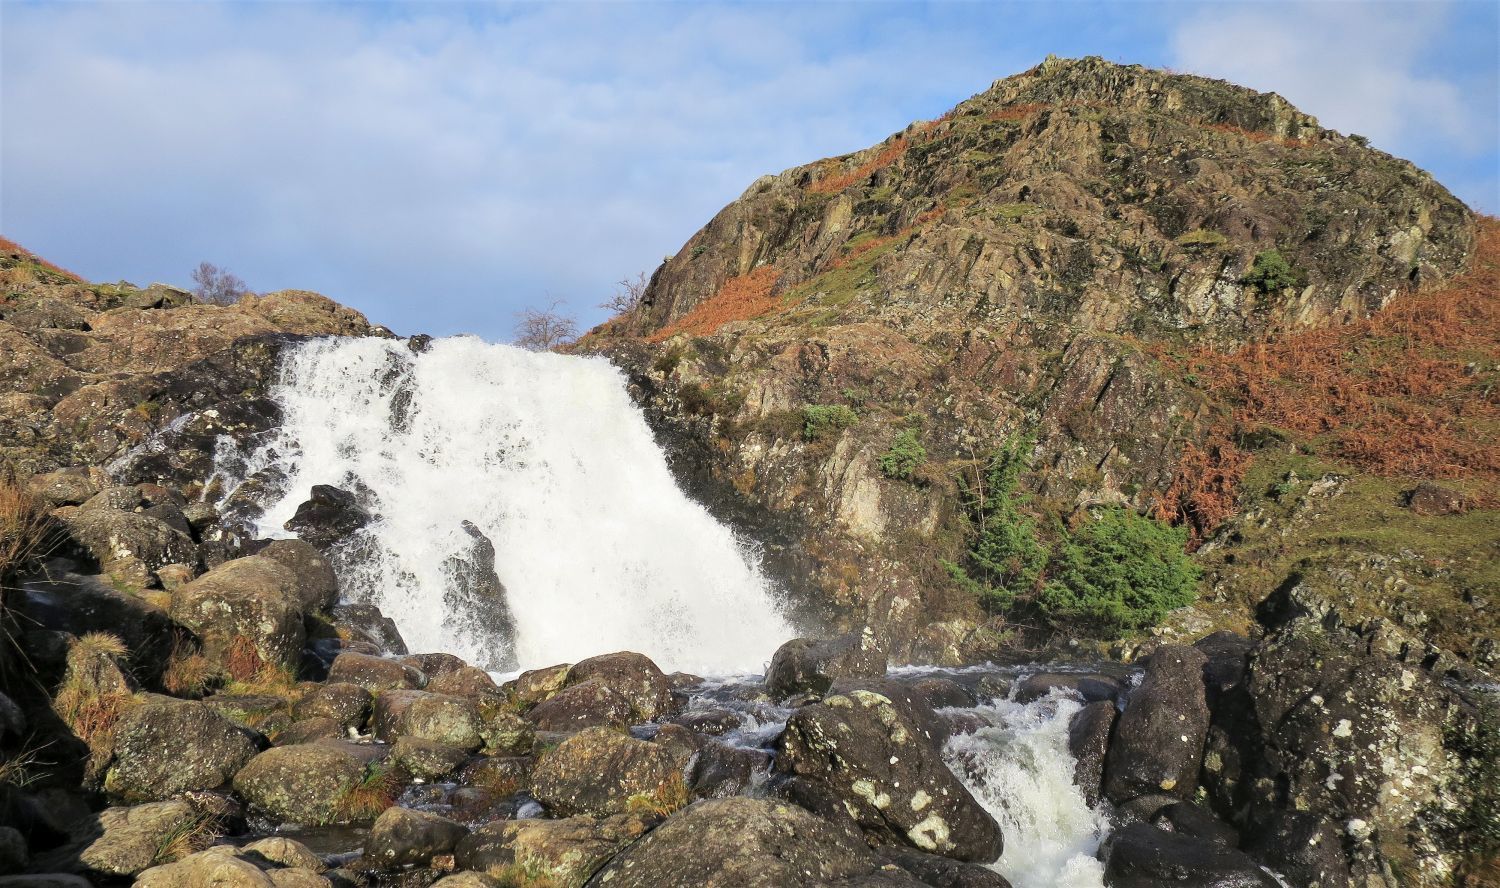 The upper waterfall and Ecton Crag
Due to its popularity, a small path diverts towards a better vantage point for this waterfall near Ecton Crag; it would be a rare moment not to see a photographer’s tripod stood here. There are many other waterfalls to explore in Sourmilk Gill, however, this one is the most impressive.
“There are three Sourmilk Gills in Lakeland. The others are on the Red Pike flank of Buttermere and the flank of Base Brown above Seathwaite.” Tarn Crag 5
CH
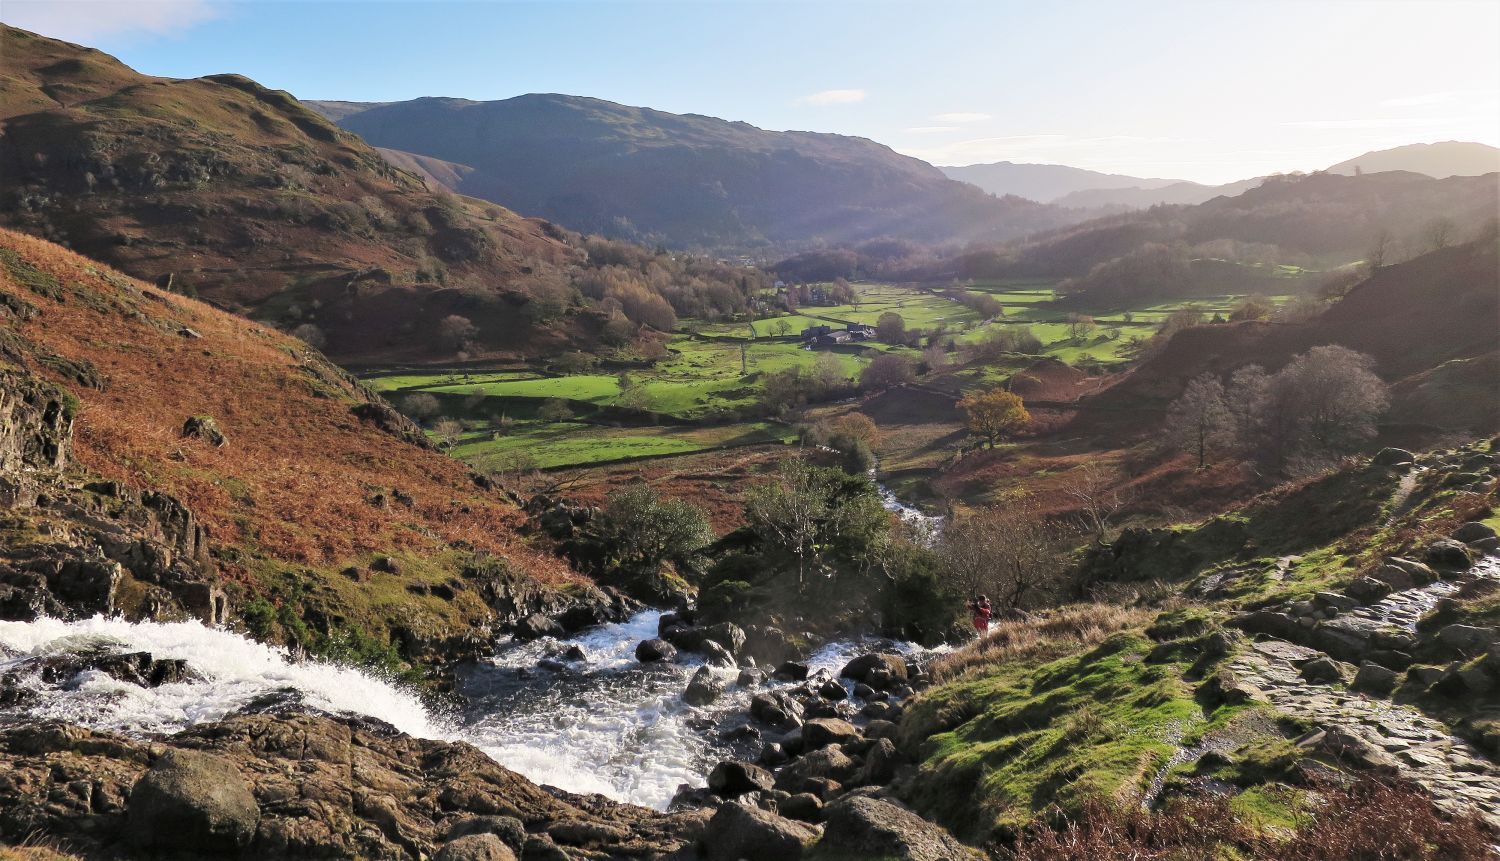 Looking back to Easedale
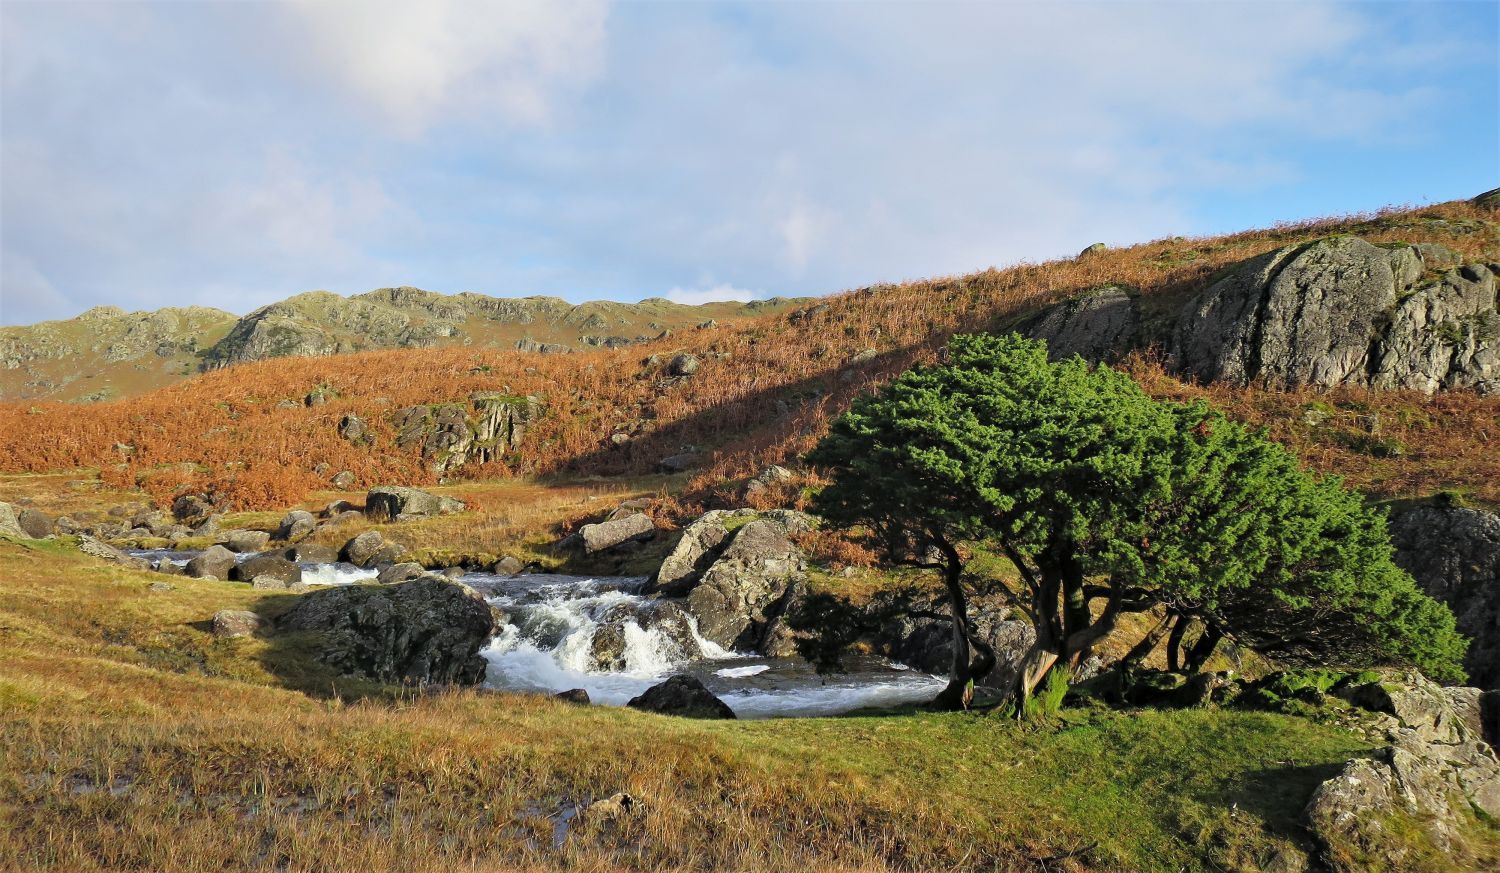 Junipers alongside cascades of Sourmilk Beck
Just above the upper waterfall, these lovely junipers are great to photograph. I often sit here and chat with the walkers that pass by.
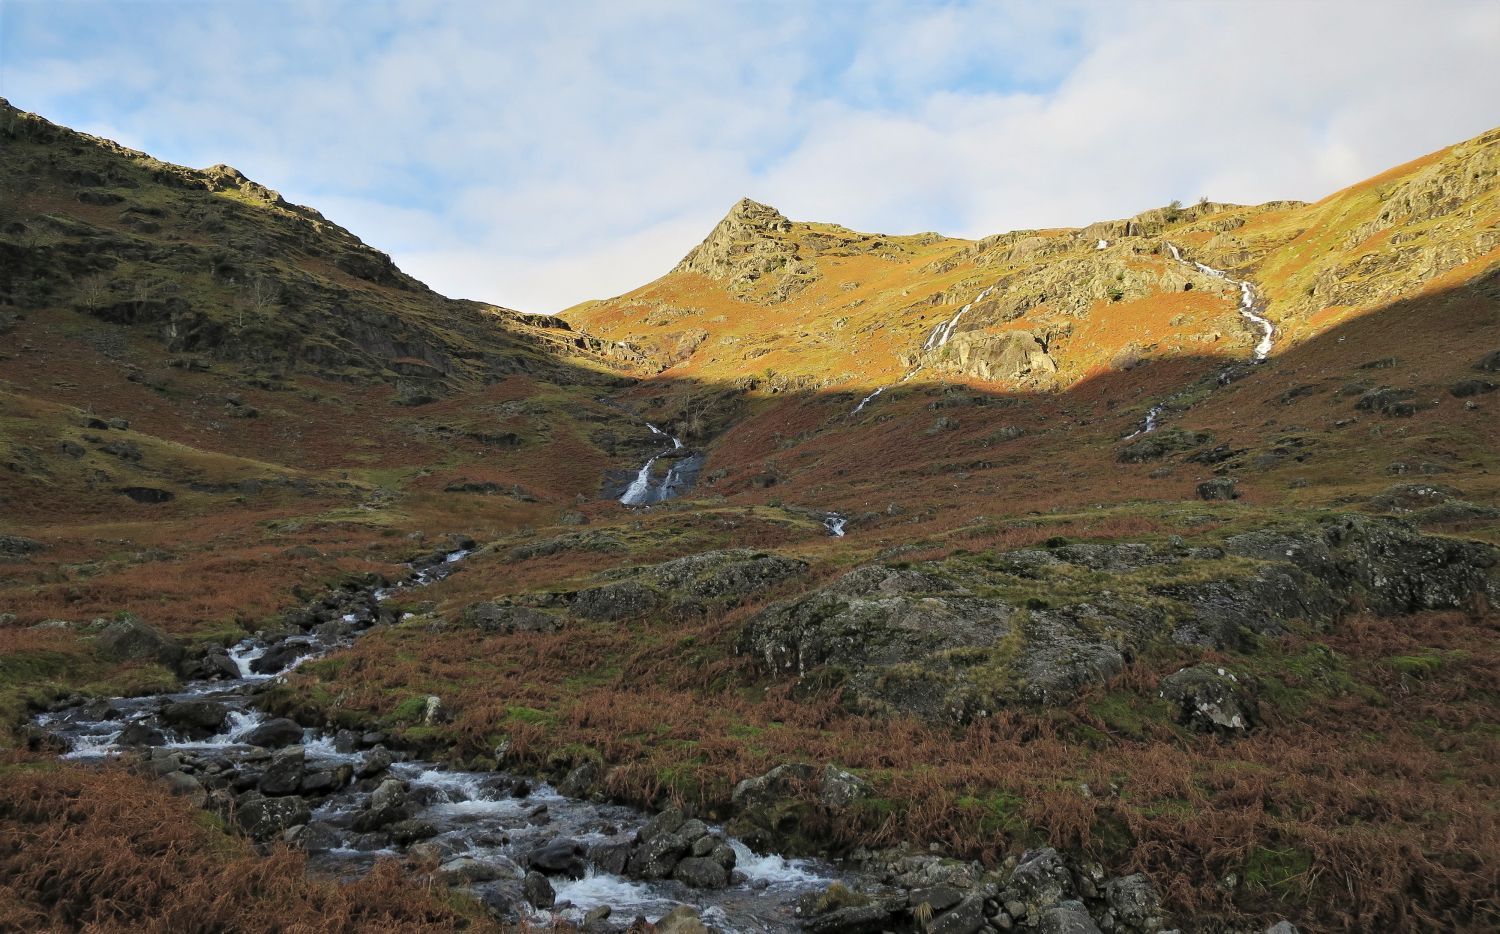
 The upper cascades of Sourmilk Gill from the old packhorse route
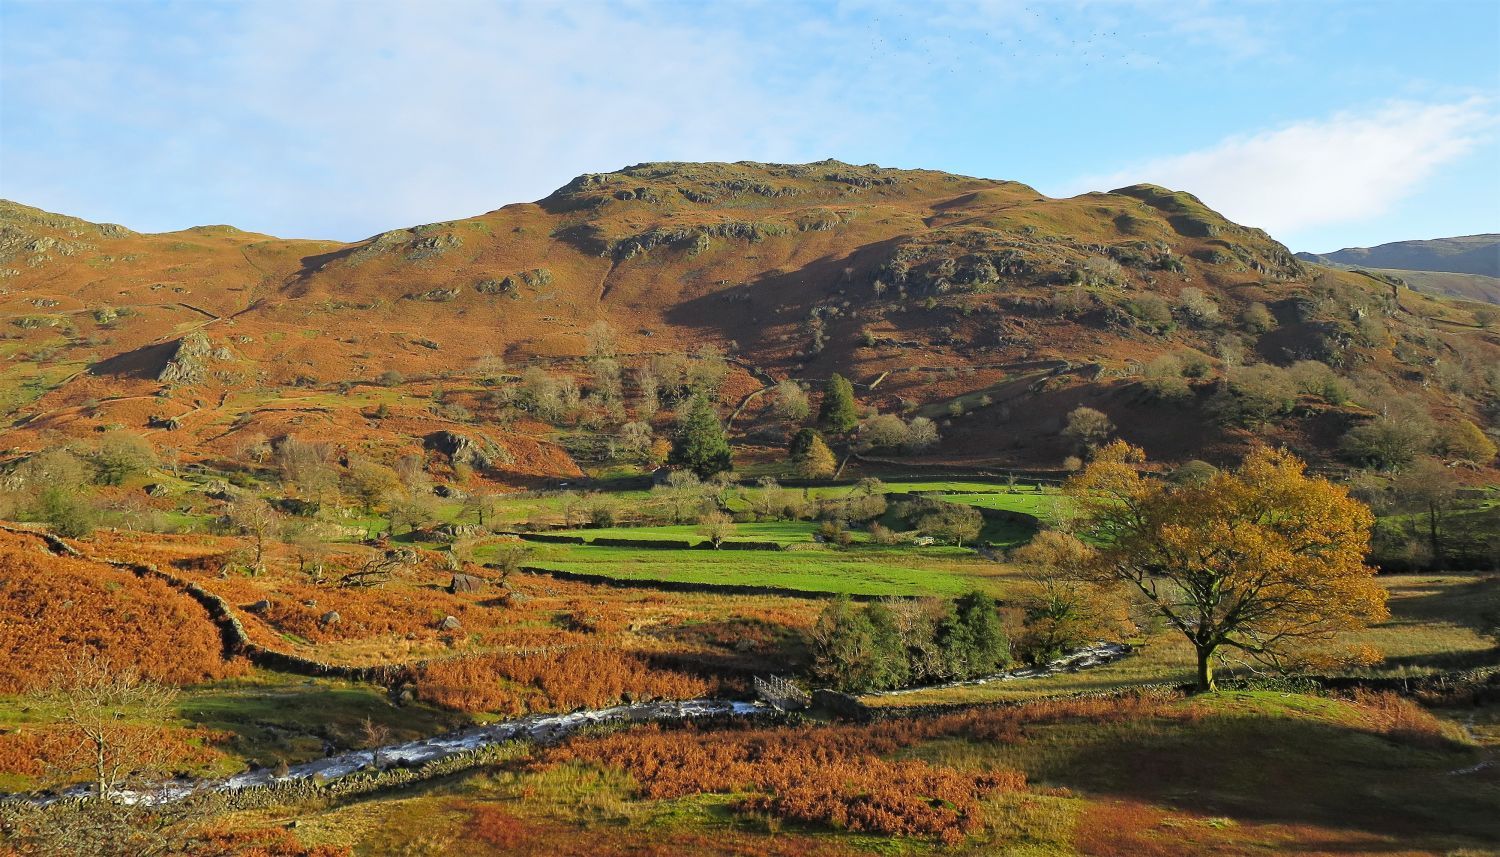
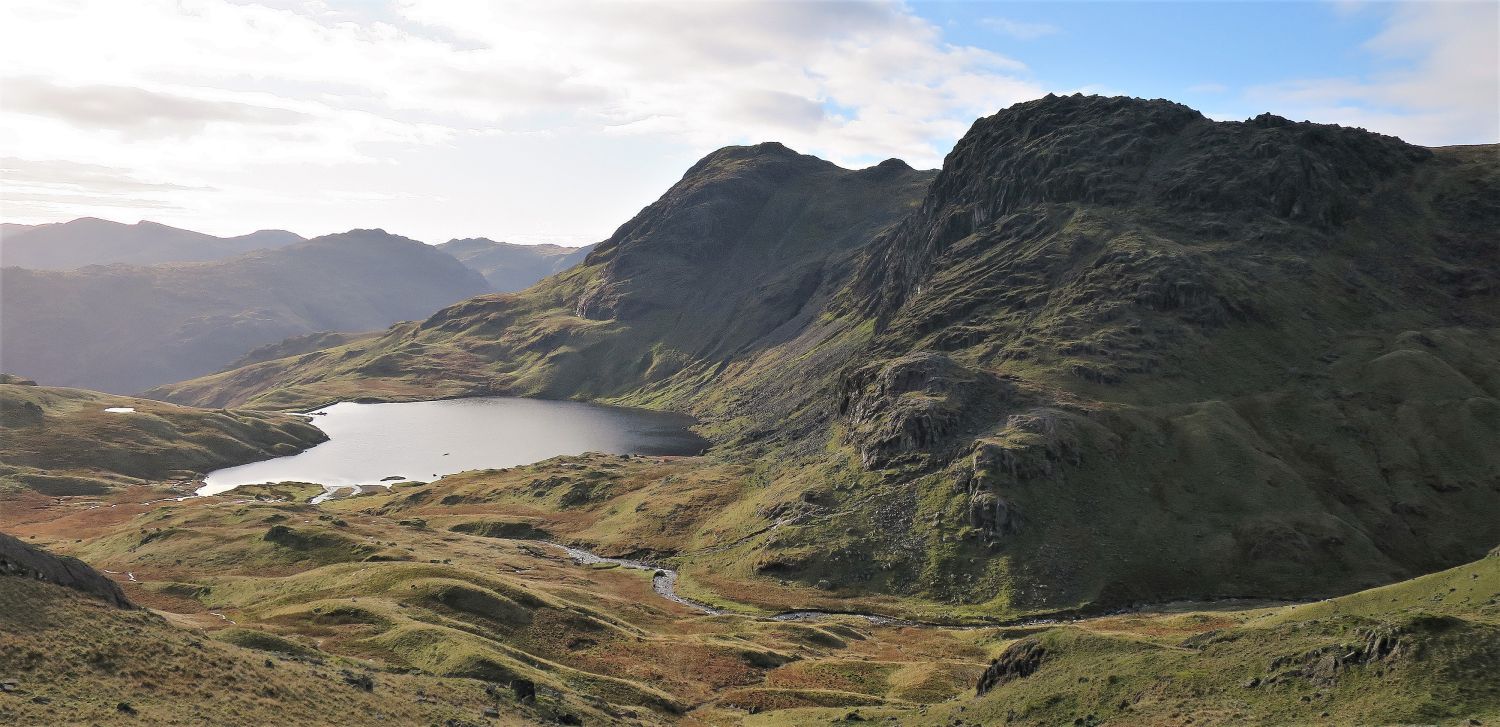
The escarpment of Blea Rigg and Eagle Crag appears above the upper cascades of Sourmilk Gill. Looking Howe is on the left and Cockly Crag on the right, and just beyond the cascades is upper Easedale containing Easedale Tarn.
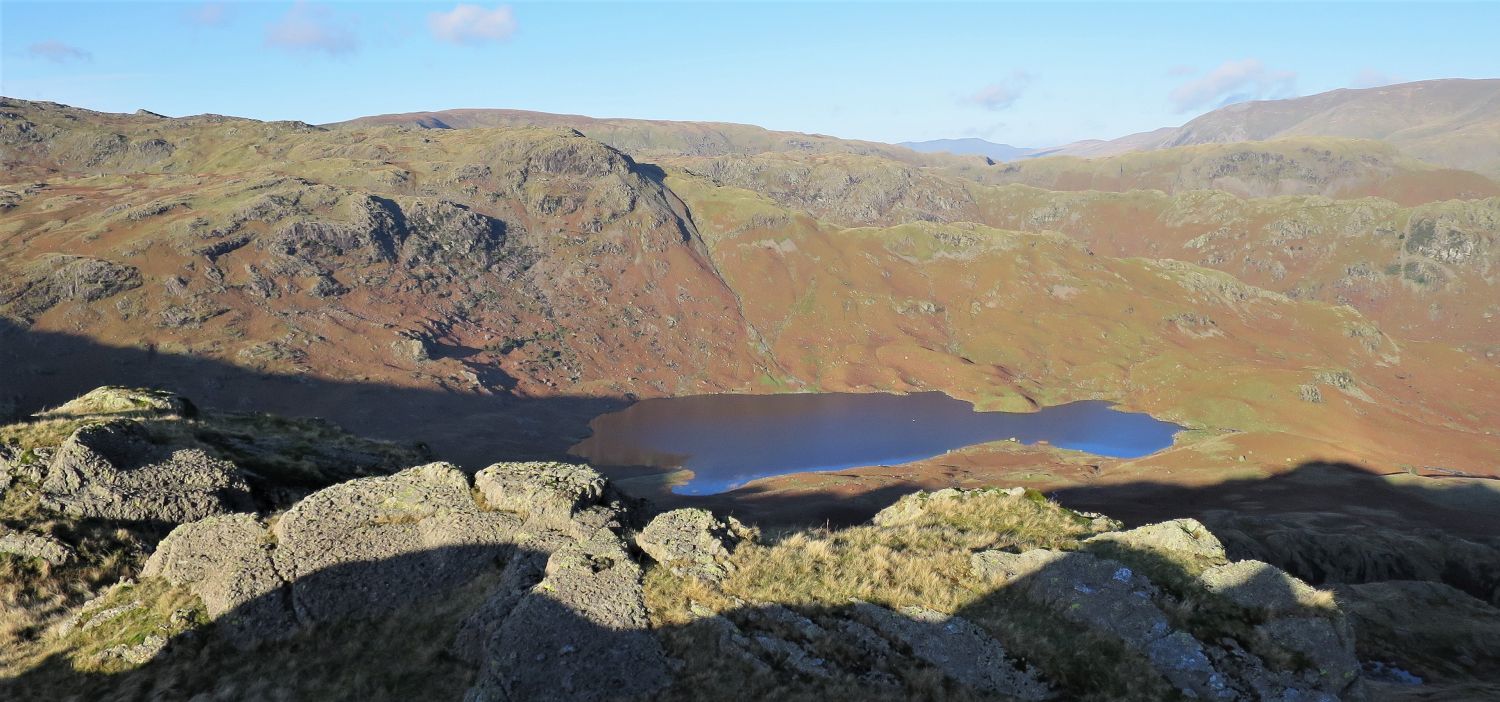
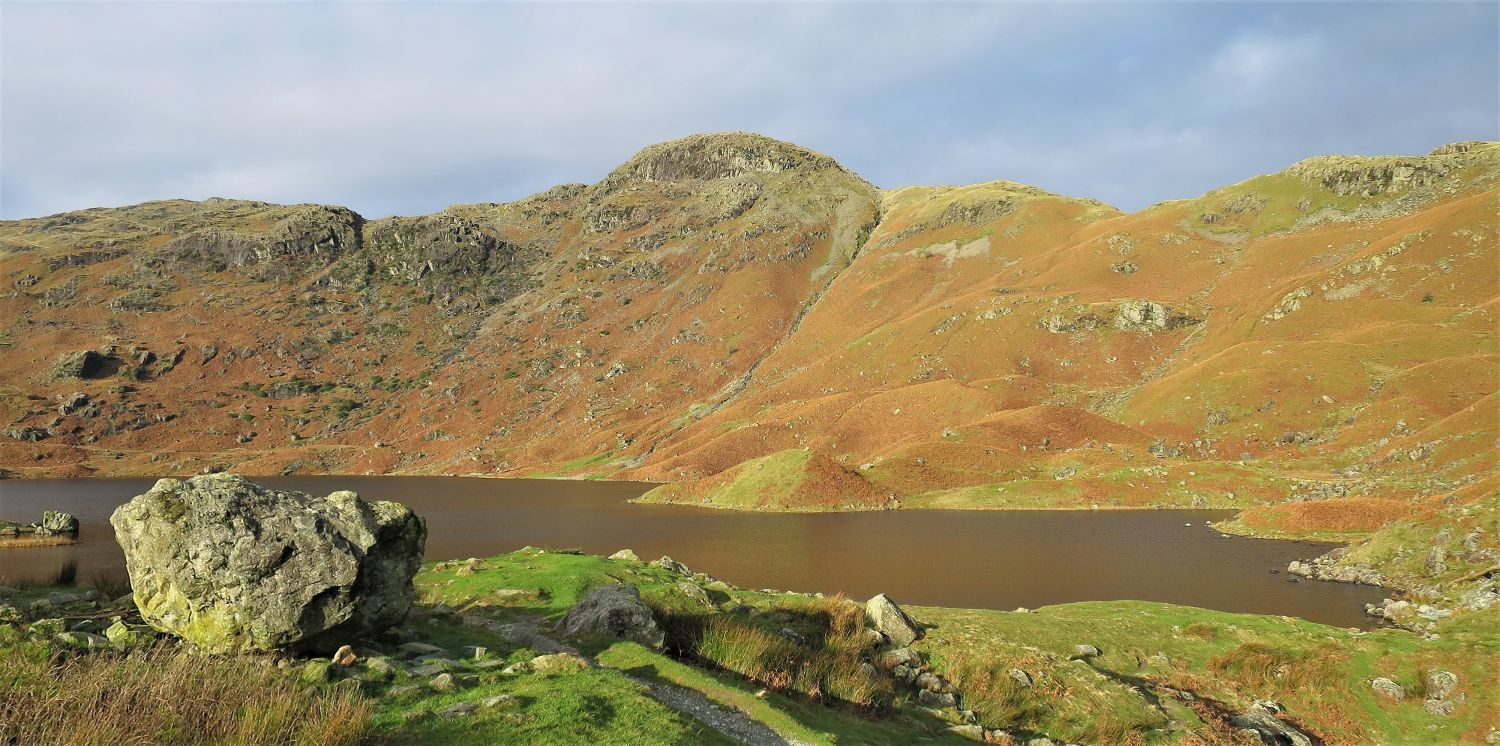 Tarn Crag over Easedale Tarn
The large boulder you can see formed part of the east wall of the refreshment hut that once sat at this location. More information can be found in this previous route description: Route 21 – Tarn Crag via Tarncrag Gill
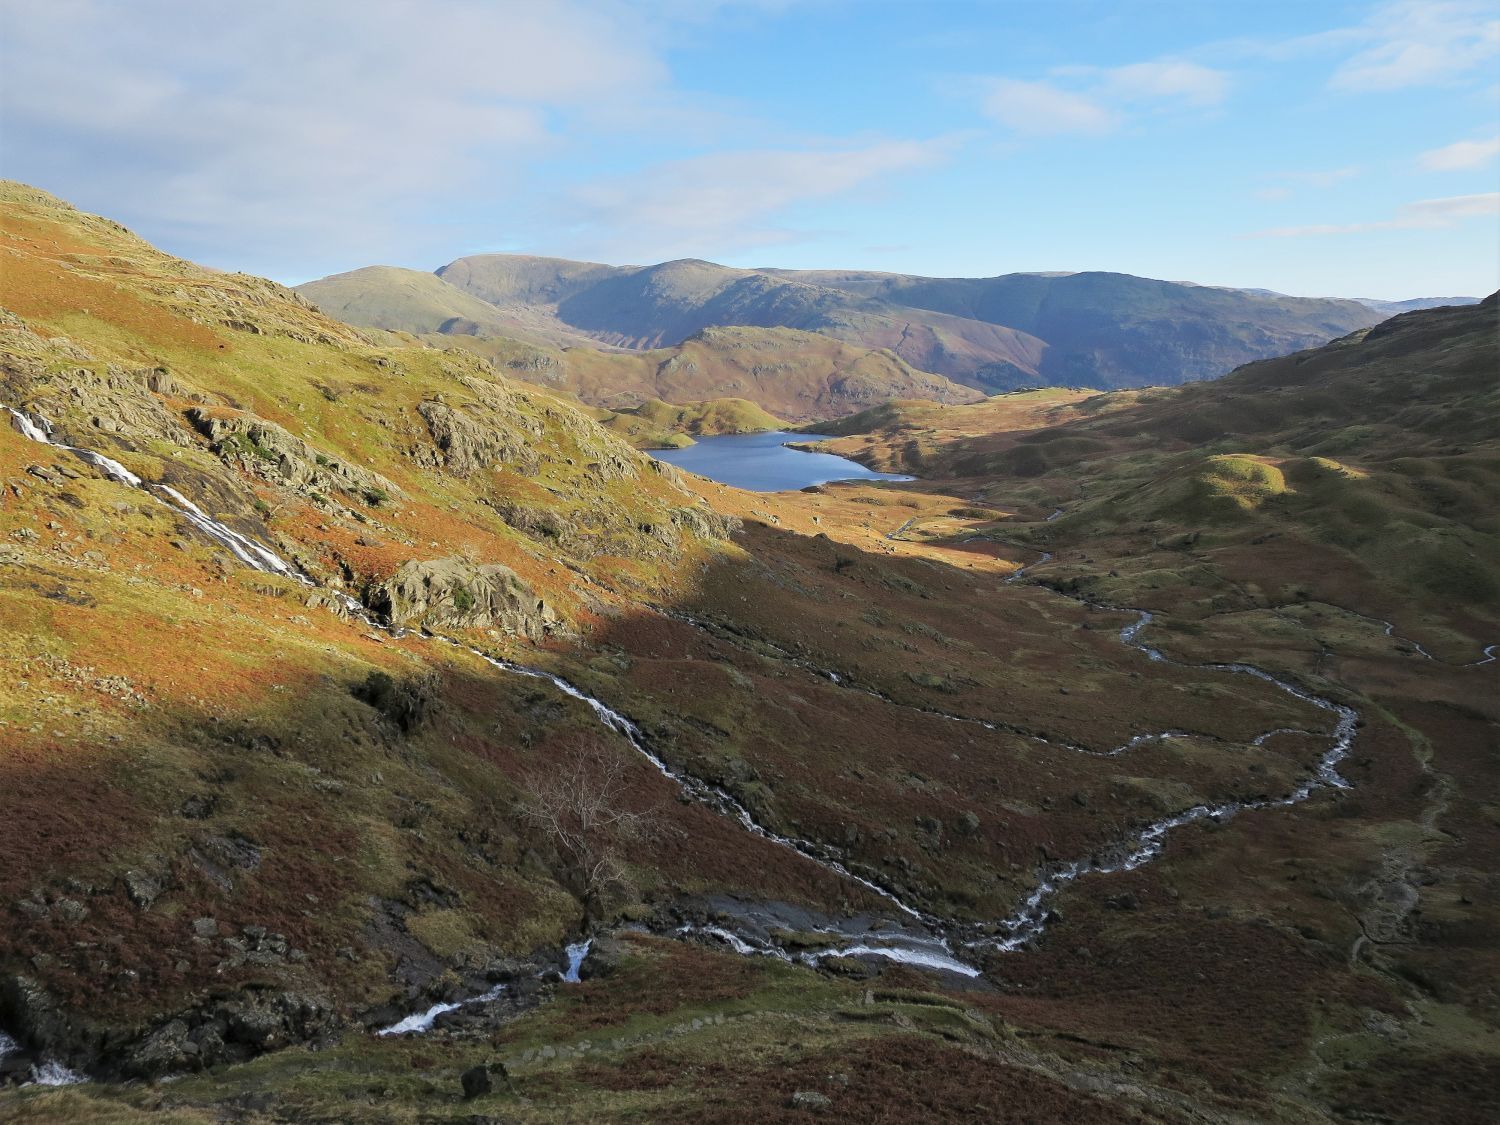
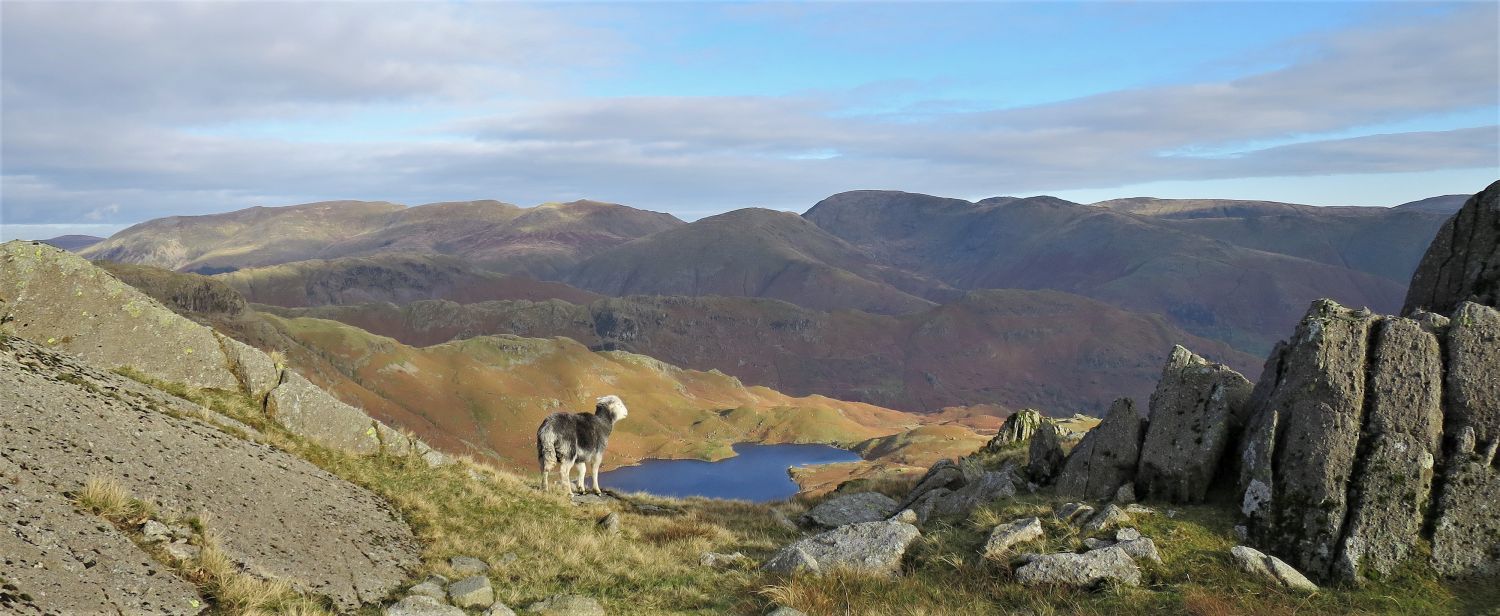
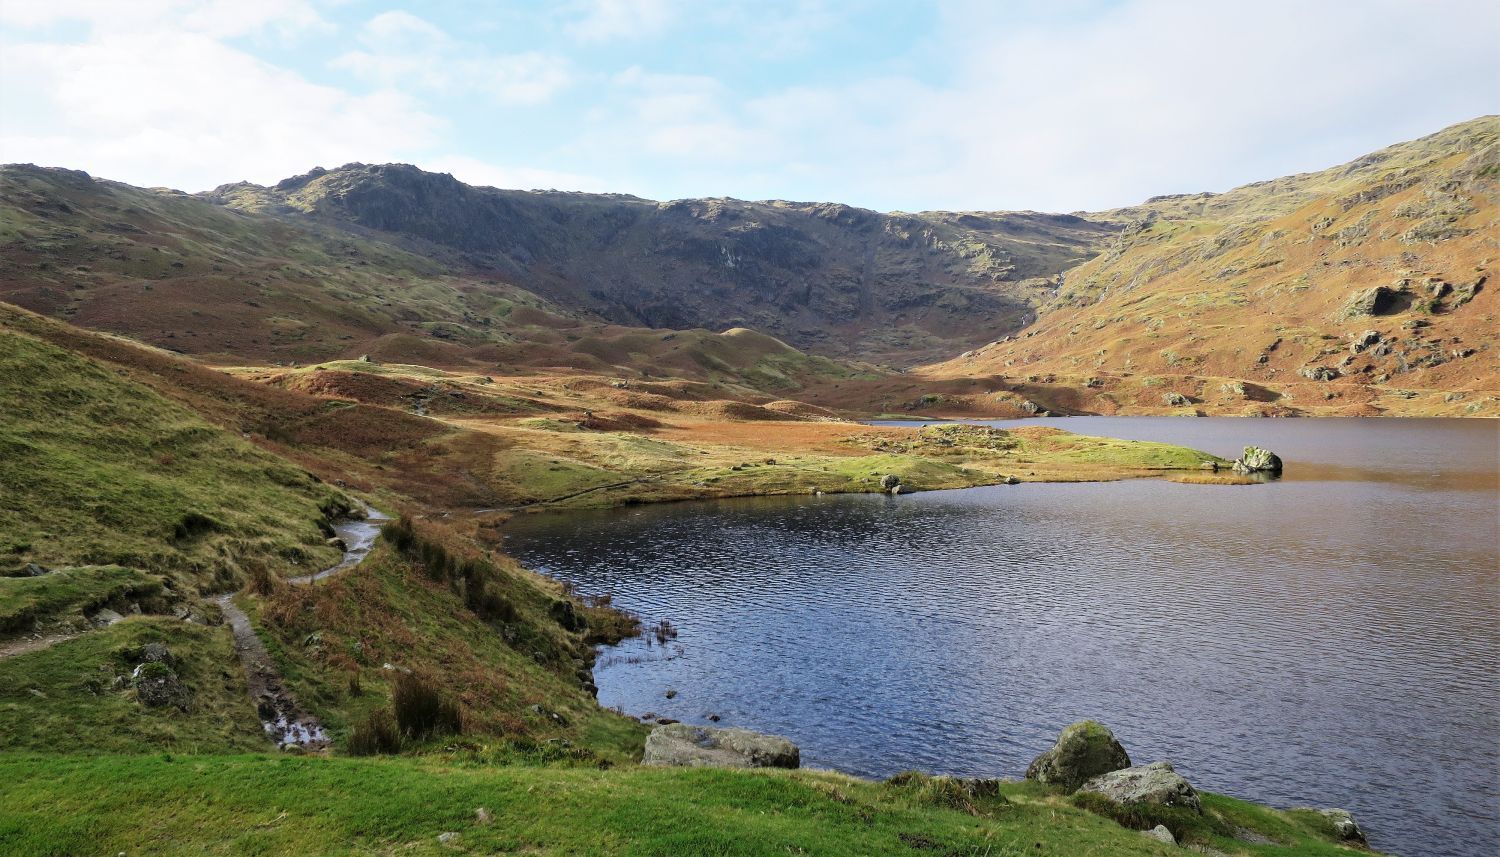 Blea Rigg from Easedale Tarn
The path now continues through upper Easedale towards the ridge of Blea Rigg.
“Black slime is experienced at its blackest and slimiest at frequent intervals on the path in the boggy area just beyond the tarn, but this no longer poses problems for walkers because it is crossed by stepping stones.” Sergeant Man 5
AW (Revised by CH)
 Blea Crag and Eagle Crag from upper Easedale
A small cairn marks the spot where a path takes a more direct route to Blea Rigg….
“It starts indistinctly, but it has the virtue (unique hereabouts) of being reasonably dry underfoot.” Blea Rigg 6
AW (Revised by CJ)
….however, we’ll continue to the head of the valley before rising to the ridge at the point between Blea Rigg and Sergeant Man.
“Blea Crag and Eagle Crag form an imposing precipice on the left….
 Belles Knott and the head of Easedale
“….but the dominating feature on the march up the valley is the peak of Belles Knott, which assumes a striking appearance from the path as it is approached.” Sergeant Man 5
AW
The path follows the beck on its left flank and over some rocky sections; these can be slippy at this time of the year, so care is required.
 Book Three
The Central Fells
Sergeant Man 12
“Belles Knott, the ‘Matterhorn’ of Easedale”
“This sharp peak is a prominent feature in the early stages of the walk by the path from Easedale Tarn to Dungeon Ghyll. Its shapeliness diminishes as the path is ascended, however, and the summit is finally seen to be approachable from behind by a simple grass promenade at a very easy gradient. Codale Tarn is nearby.” Sergeant Man 12
AW
 Looking back to Easedale Tarn from below Belles Knott
 Looking back to the eastern spine from the ‘crossroads’
We’ve now reached the ‘crossroads’ where four paths merge on the ridge: South, the old packhorse route continues down to Stickle Tarn and into Great Langdale, north-west, the ridge-path rises to Sergeant Man and then to High Raise, and south-east, the ridge-path descends to Blea Rigg and then to Silver How.
 Stickle Tarn, Harrison Stickle and Pavey Ark
A short detour to the south-west is highly recommended for this view.
 The ridge leading to Blea Rigg from the ‘crossroads’
Having reached the highest point of our walk, at the ‘crossroads’ on the ridge, we are now in an unusual position in the fact we have to descend to our intended Wainwright tops. I’m not sure of any other route I’ve walked in Lakeland where this has occurred. The ‘crossroads’ lie at 1932 feet, Blea Rigg at 1776 feet, and Silver How at 1292 feet.
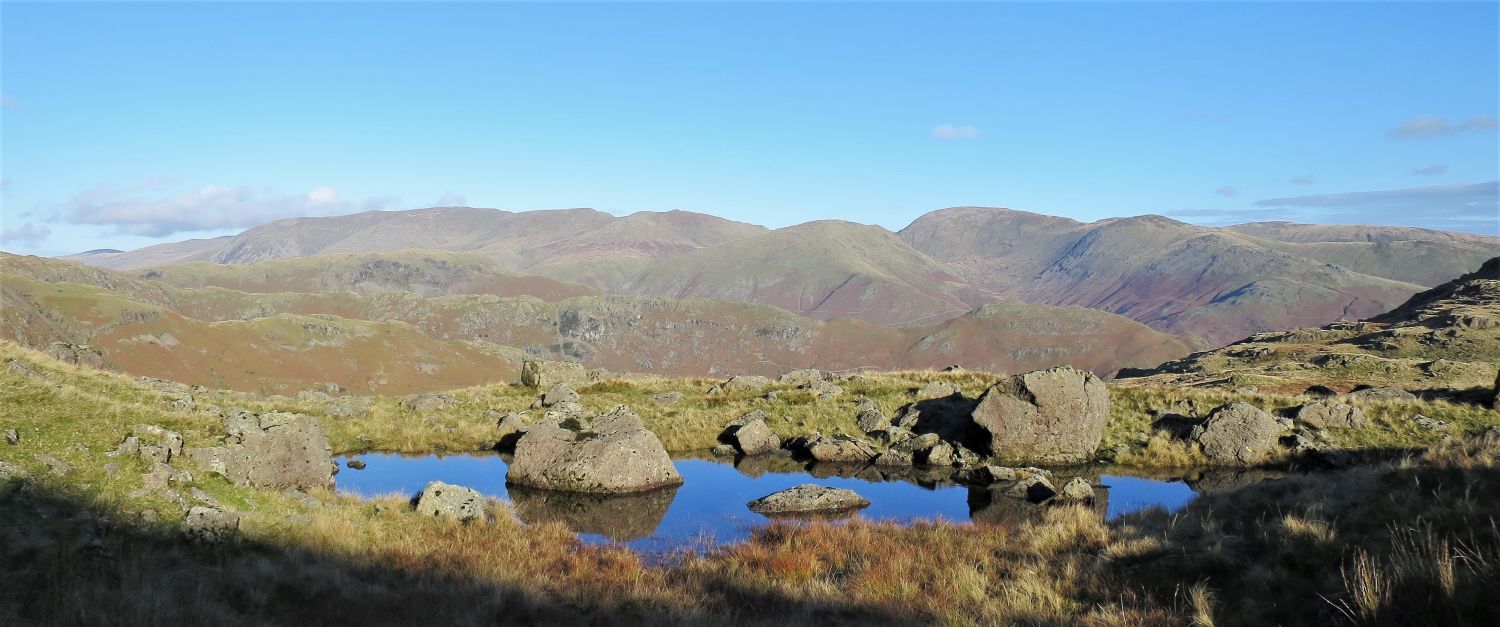
Slightly to left of the main path from leaving the ‘crossroads’, a rocky outcrop provides a grand viewpoint for Codale and Easedale Tarns.
 Codale and Easedale Tarns from the rocky outcrop
 Book Three
The Central Fells
Blea Rigg 11
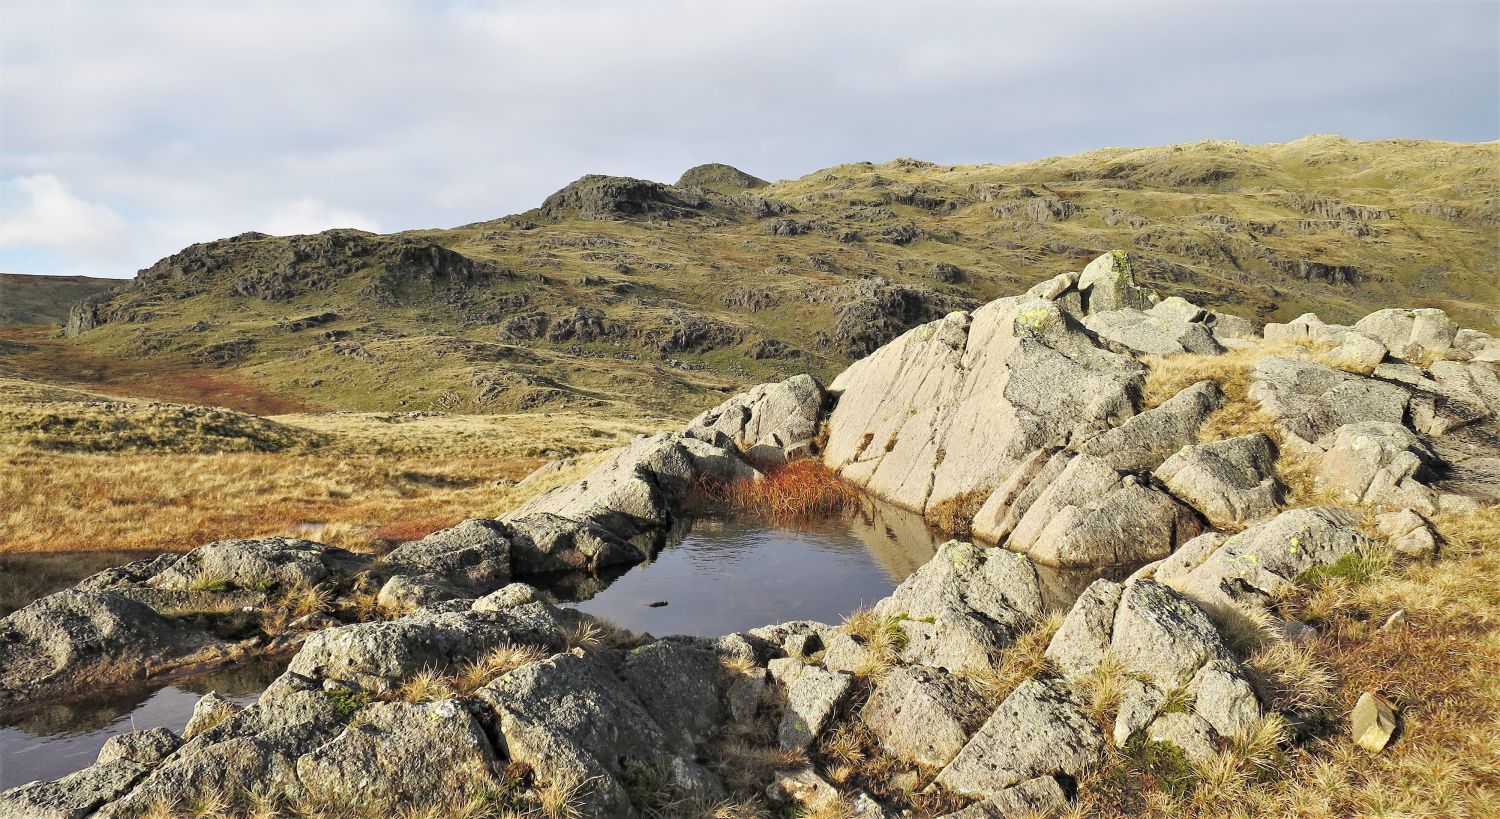
“The rock-pool on the ridge and the route beyond”
The “route beyond” meaning the continuation of the ridge-path towards Sergeant Man; the pinnacle of which is seen here directly above the ‘rock-pool’. Wainwright describes the ‘rock-pool’ wonderfully on an ascent to Sergeant Man from Blea Rigg:
“A few yards to the right of the ridge-path, about a furlong short of the ‘crossroads’, is a miniature pool entirely enclosed in an outcrop of handsome rock. This is a delightful natural feature (a great favourite of the author) and all gardener-walkers who see it must covet it for their backyards at home.” Blea Rigg 11
AW
 The Blea Rigg shoulder from the rocky outcrop
It’s worth noting at this point that the whole ridge descending south-east from High Raise and Sergeant Man, has three distinct shoulders: Blea Rigg, Castle How and Lang How.
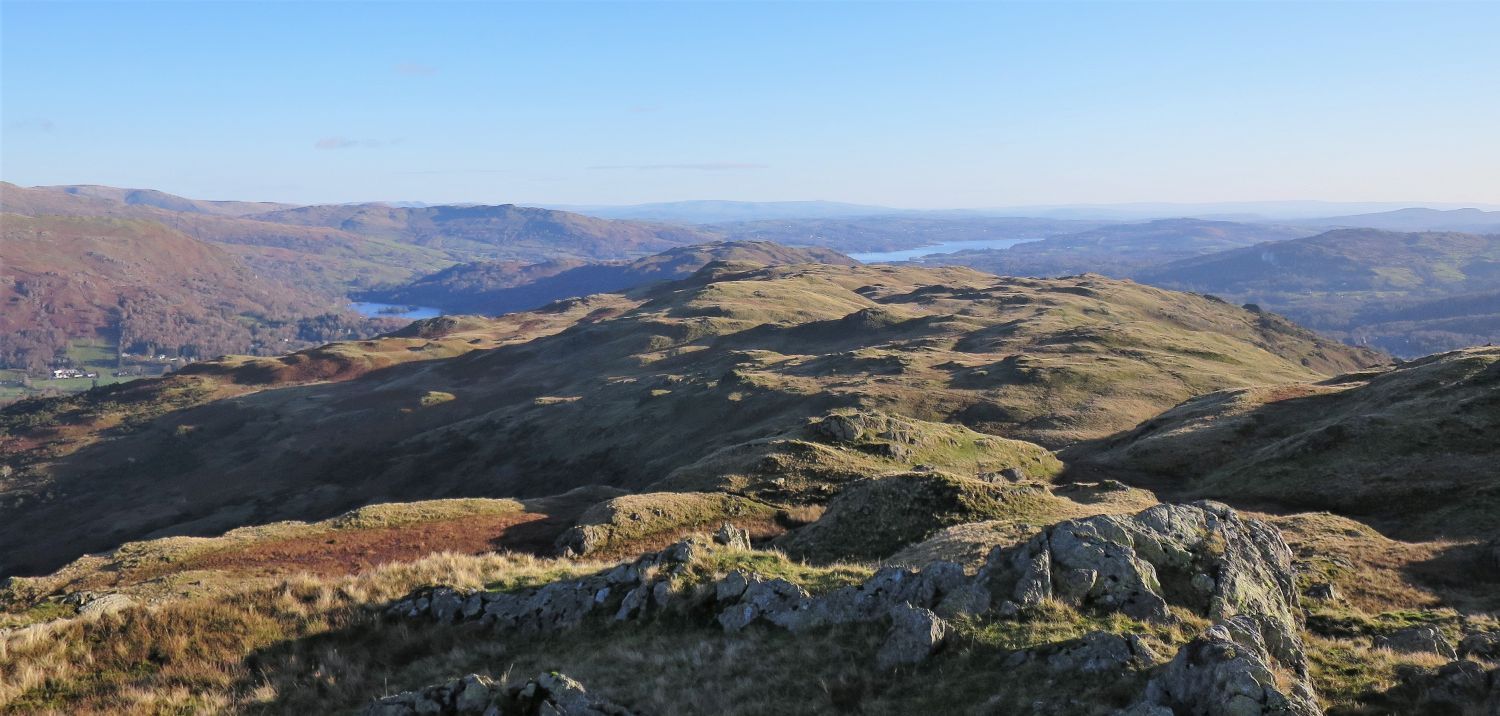
 Looking back to the rocky outcrop, Sergeant Man and Codale Head
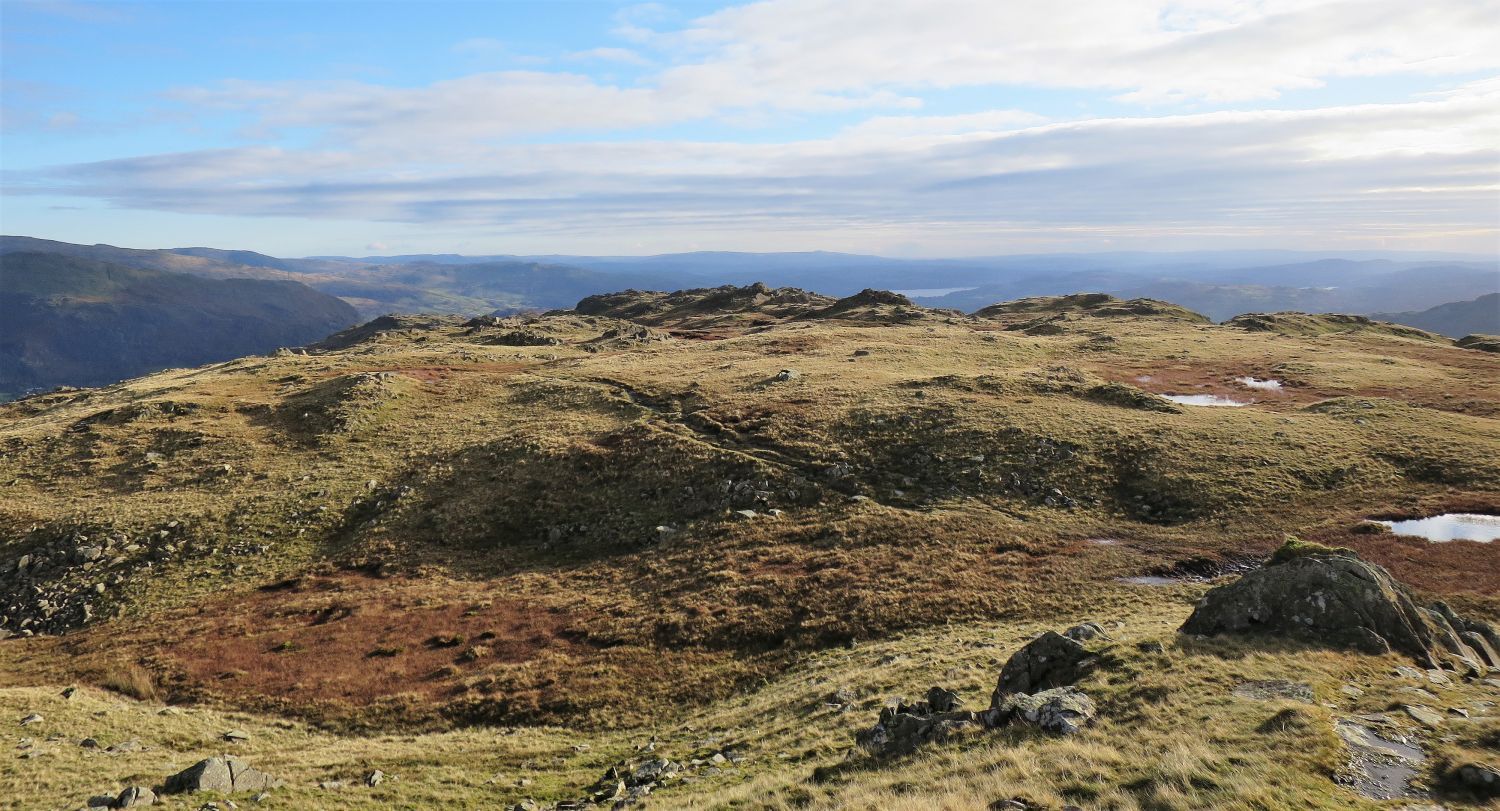
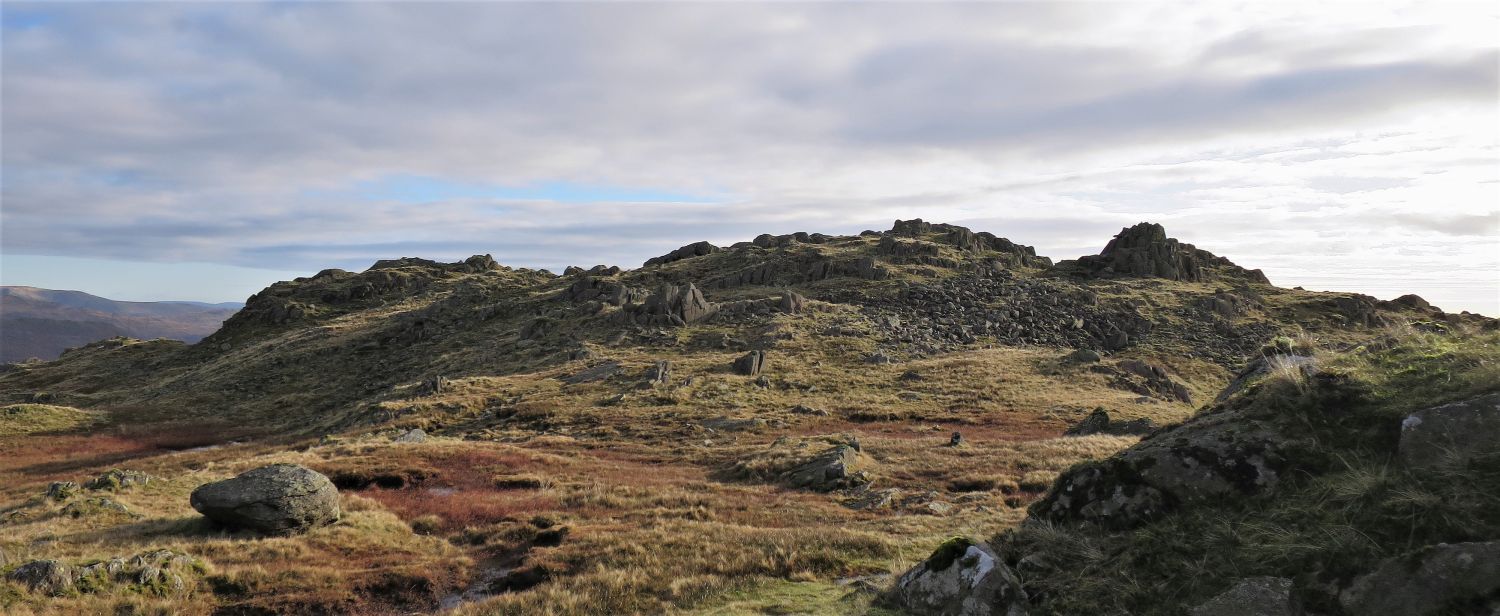
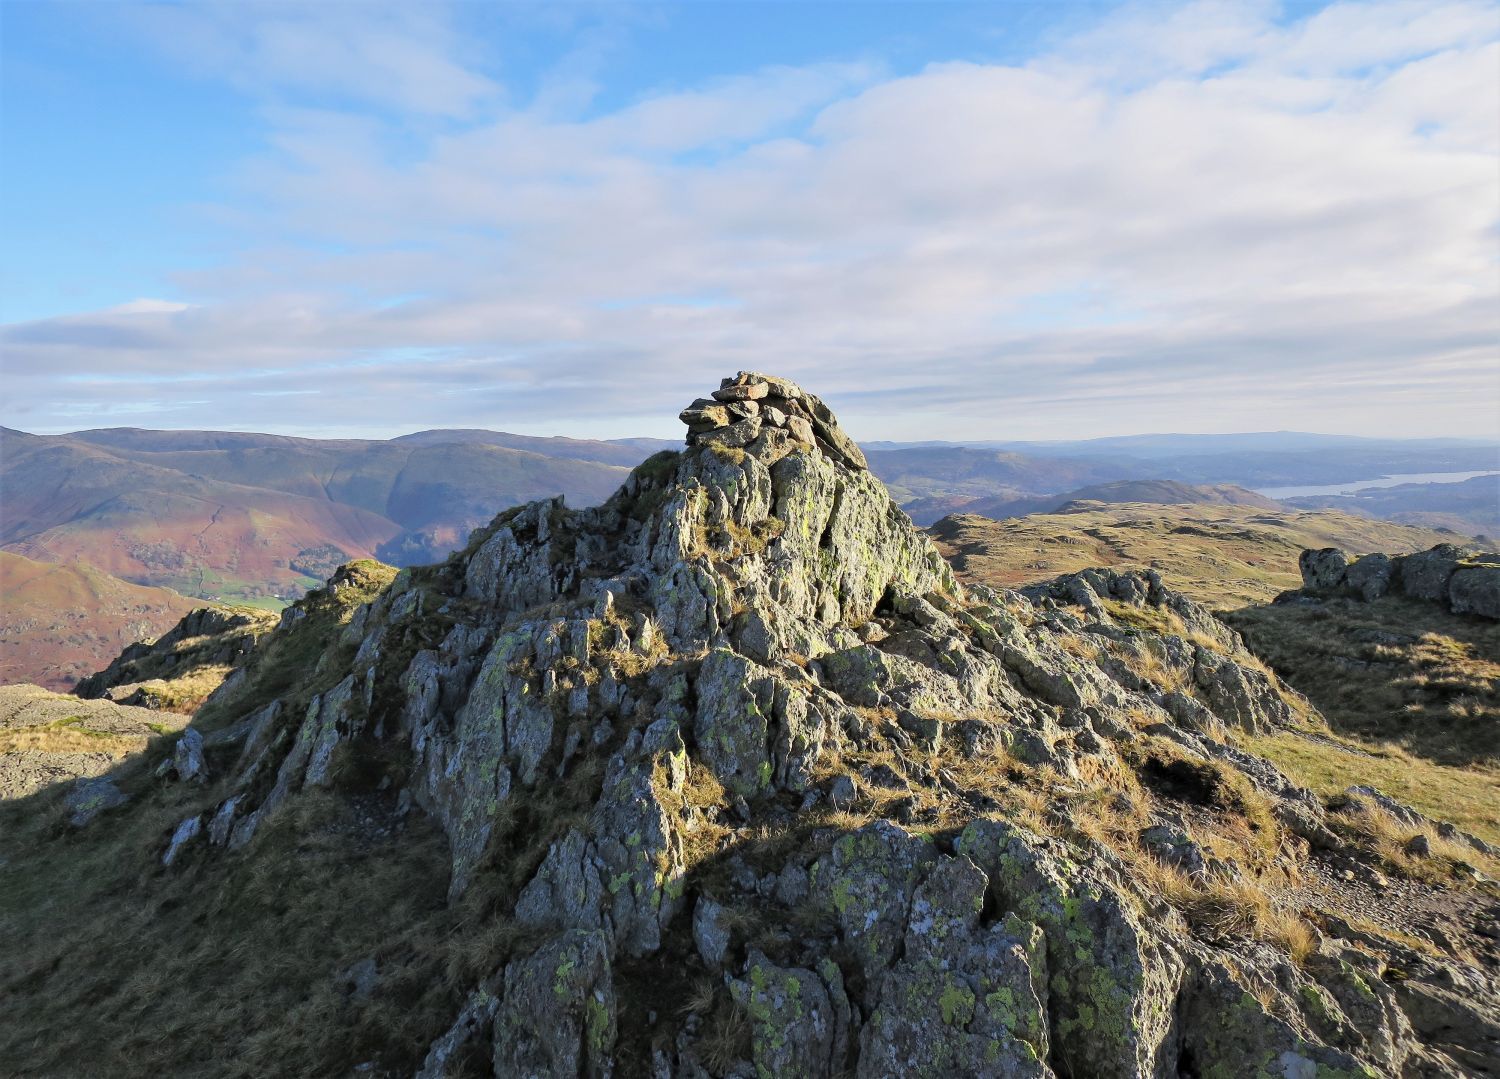
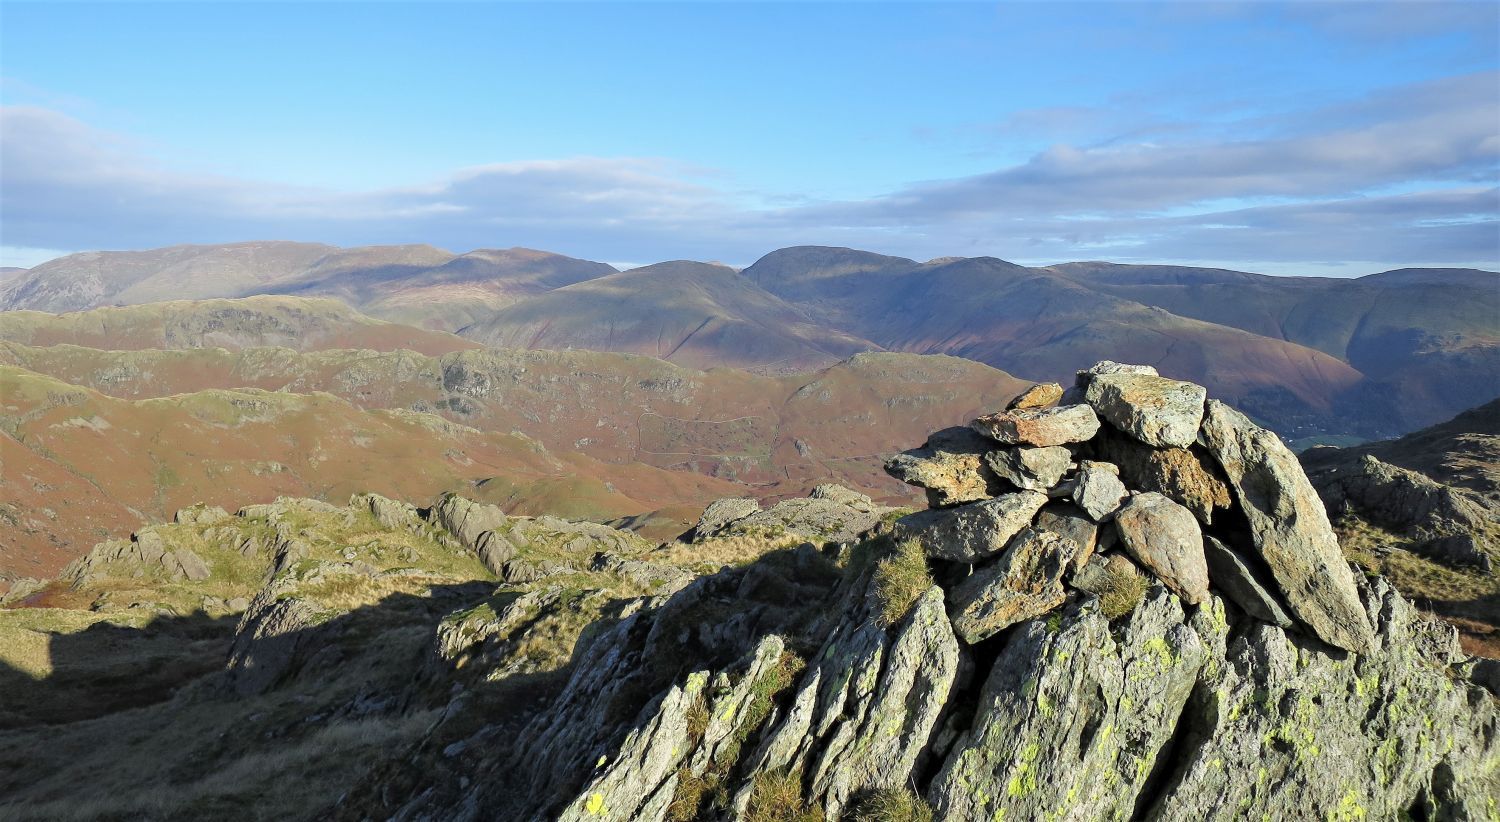
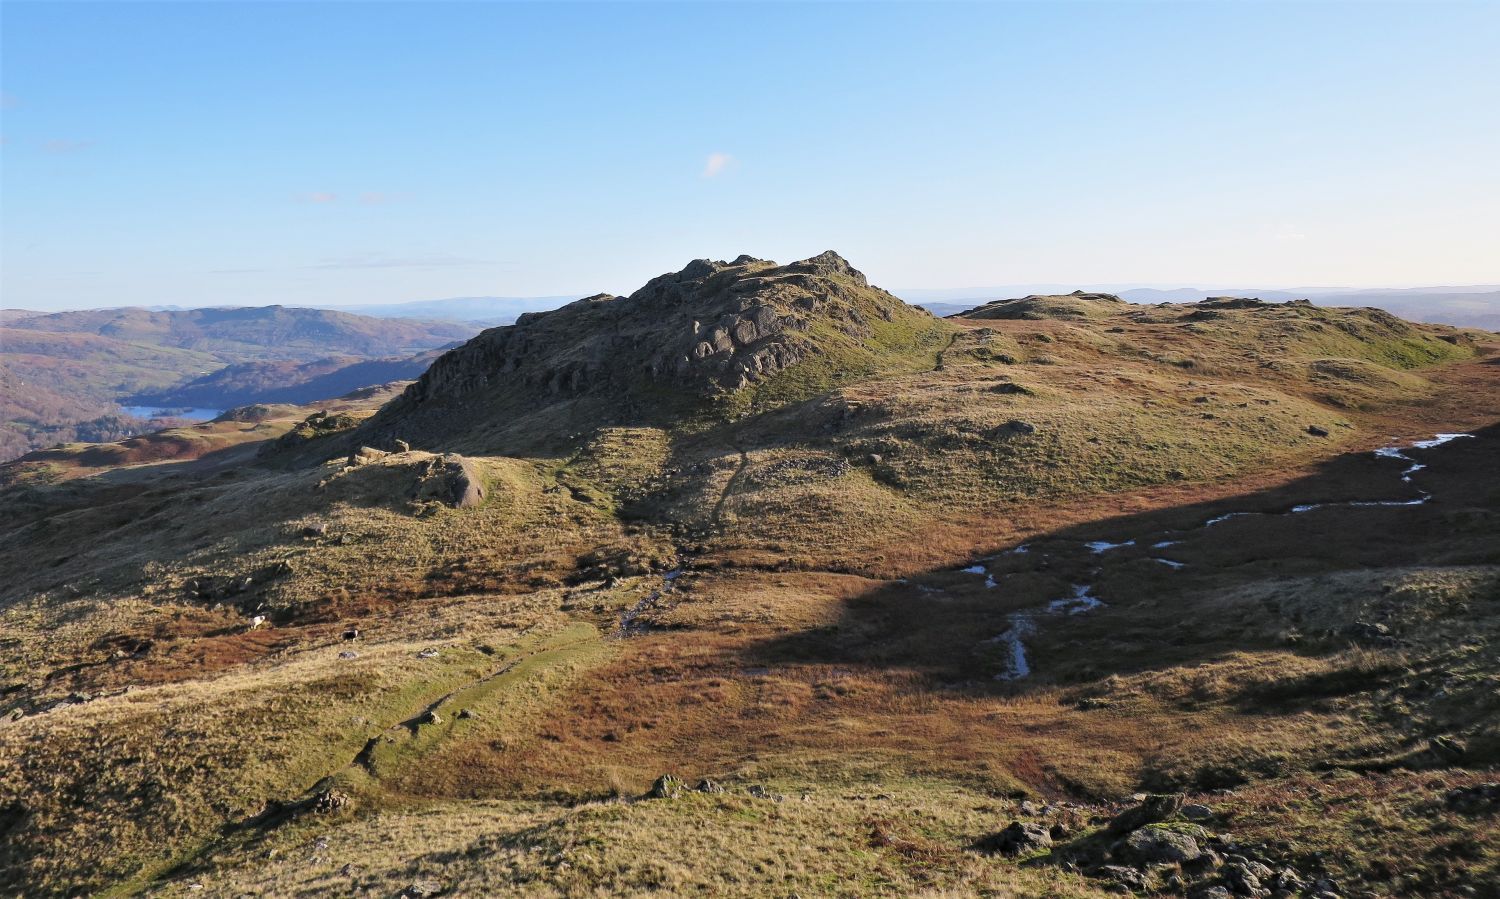
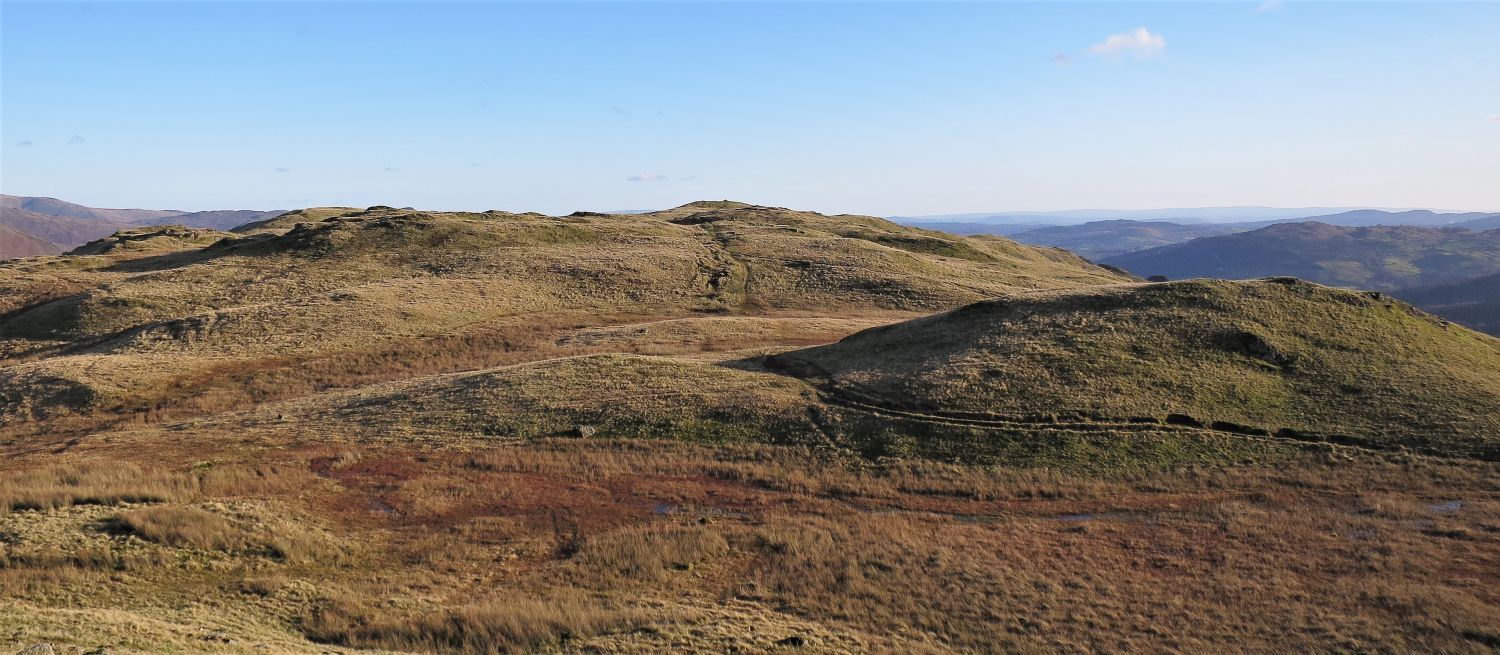
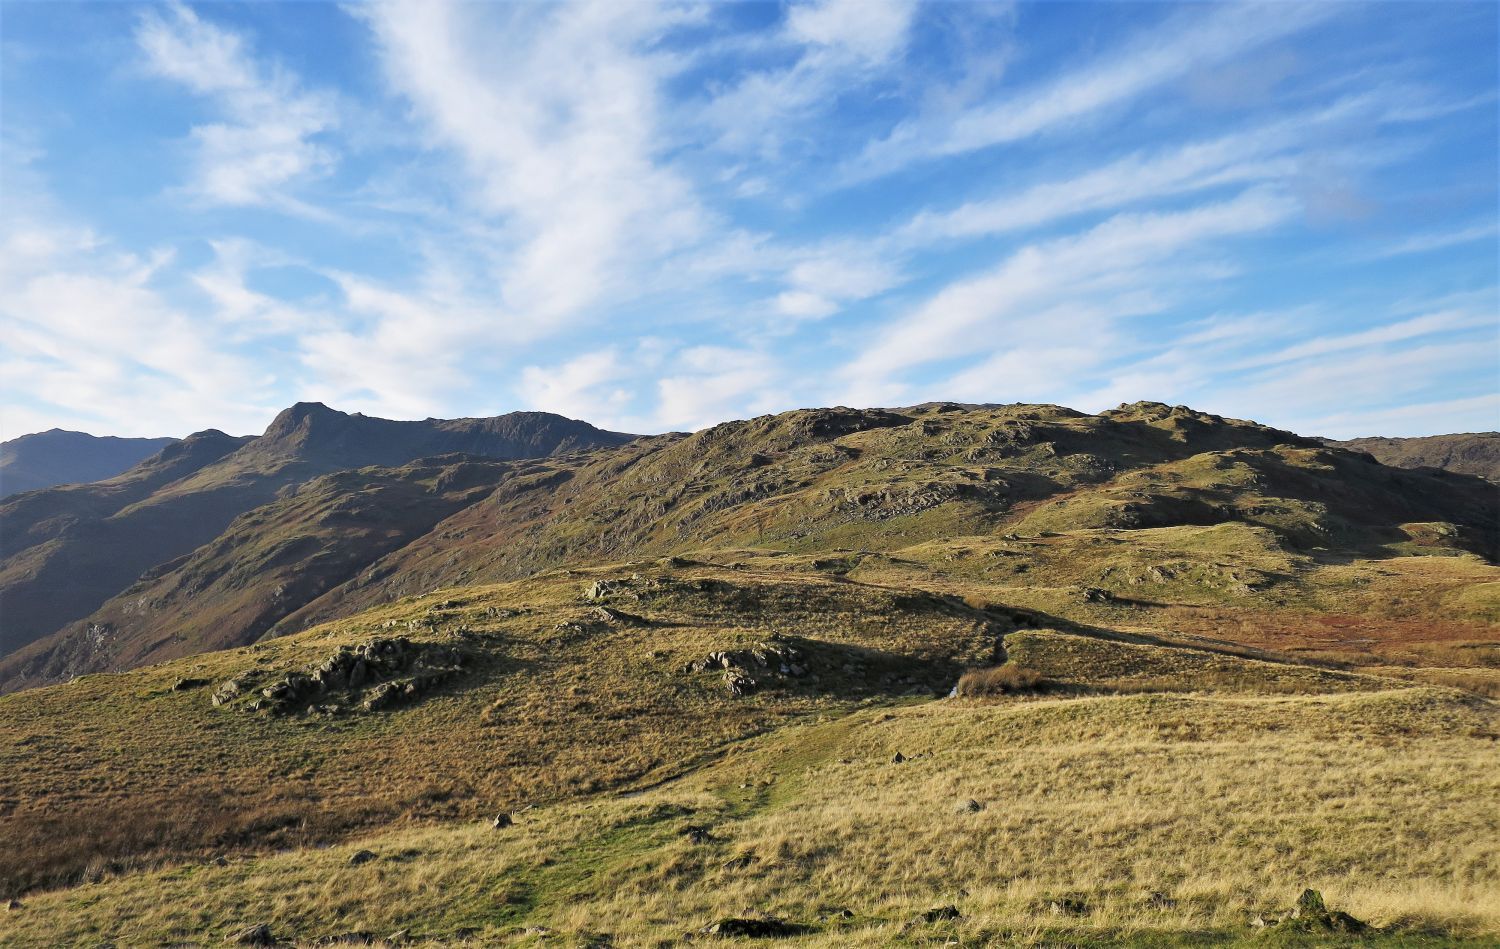
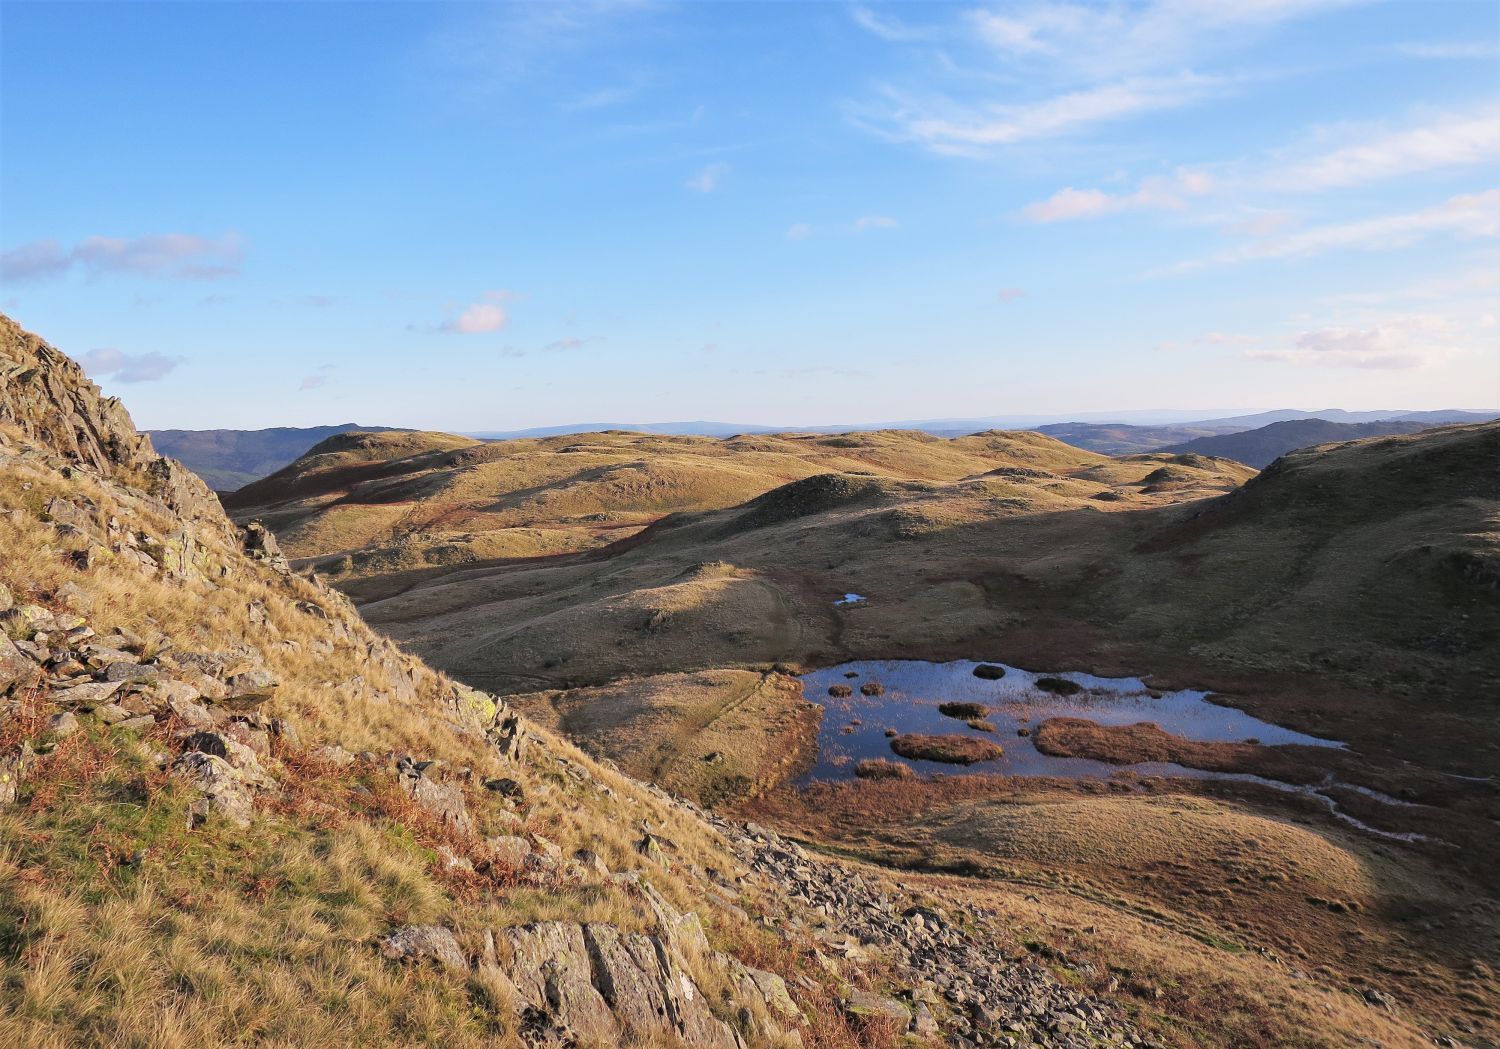
 Rocky knolls of Blea Rigg
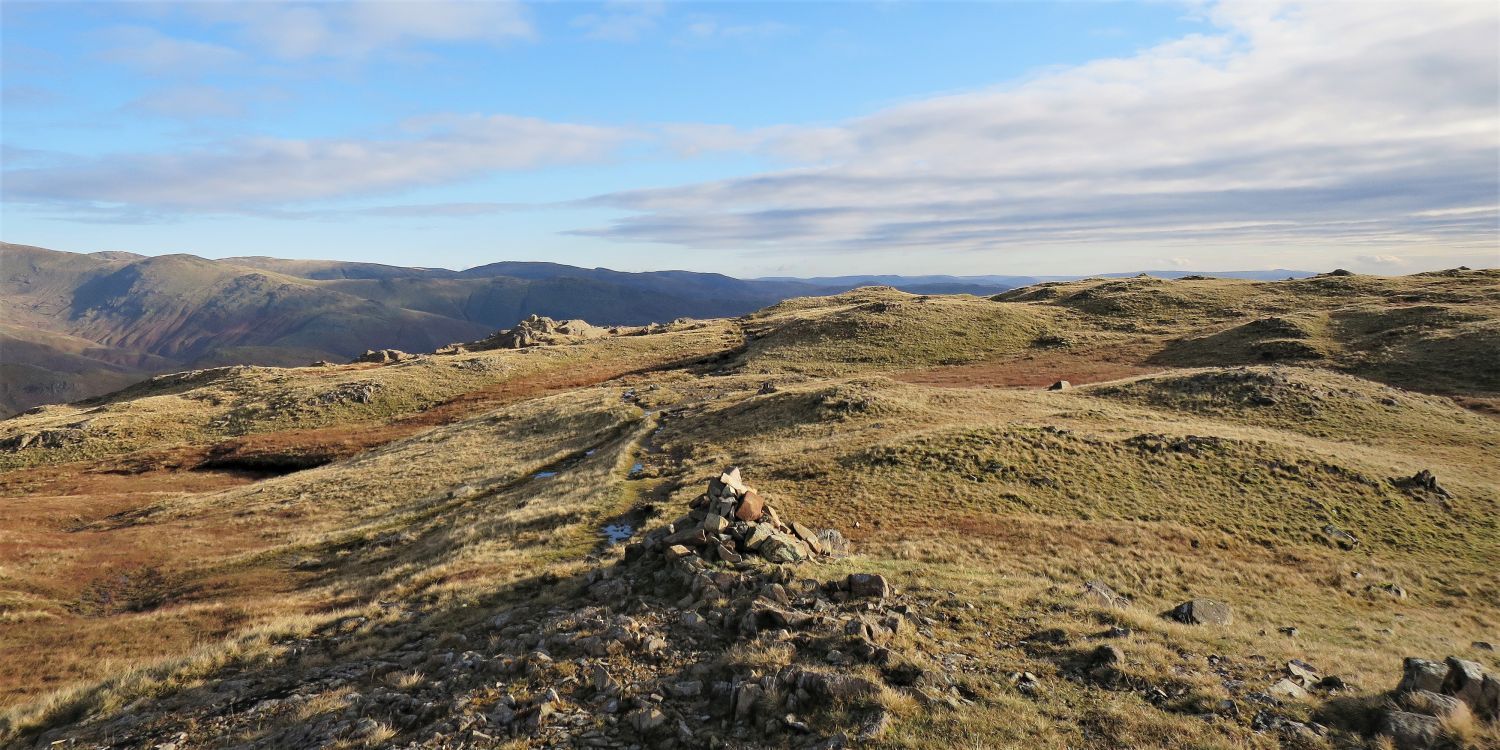
The Blea Rigg shoulder is a confusing mass of undulating rocky knolls, and for this reason, walking along this ridge in mist is not recommended. It is easy to lose your way, and locating the main summit of Blea Rigg can be tricky.
In the picture above, the summit is to the left and beyond the two rocky knolls in the centre. It is easy to think that these knolls are higher than the summit, but this is an illusion.
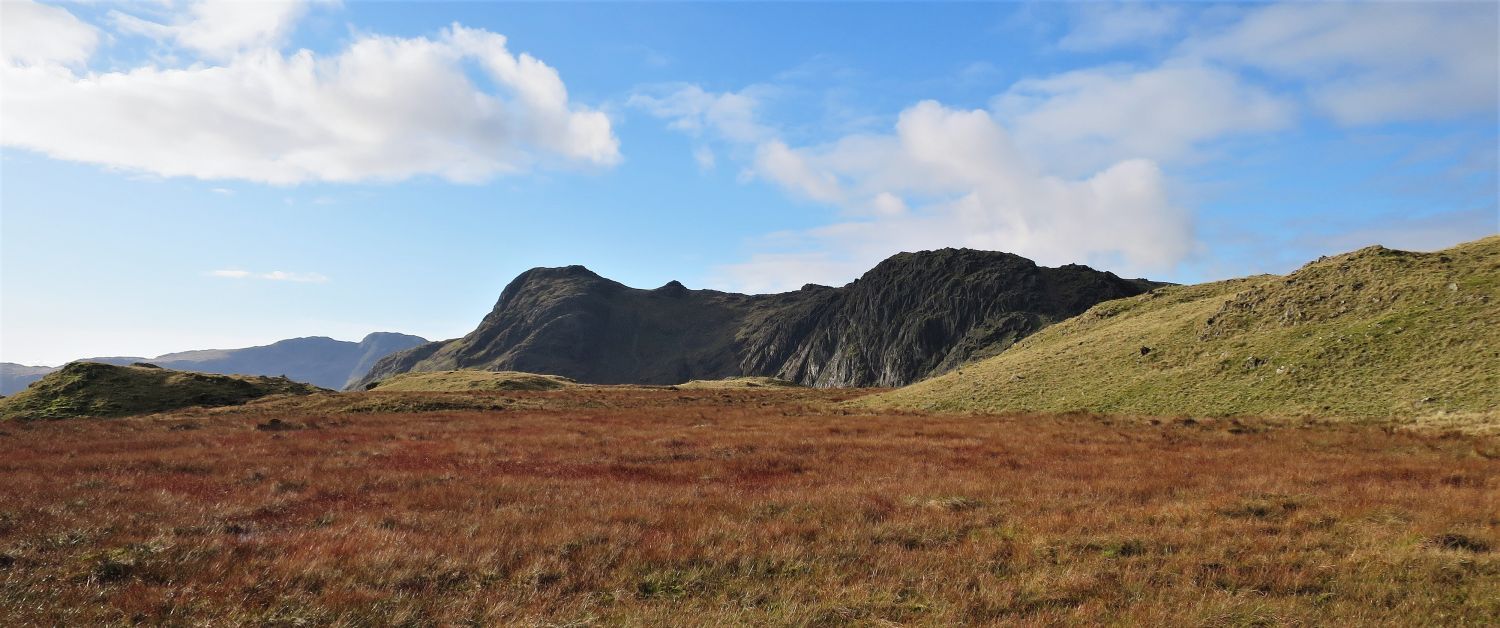 Looking back to Harrison Stickle and Pavey Ark
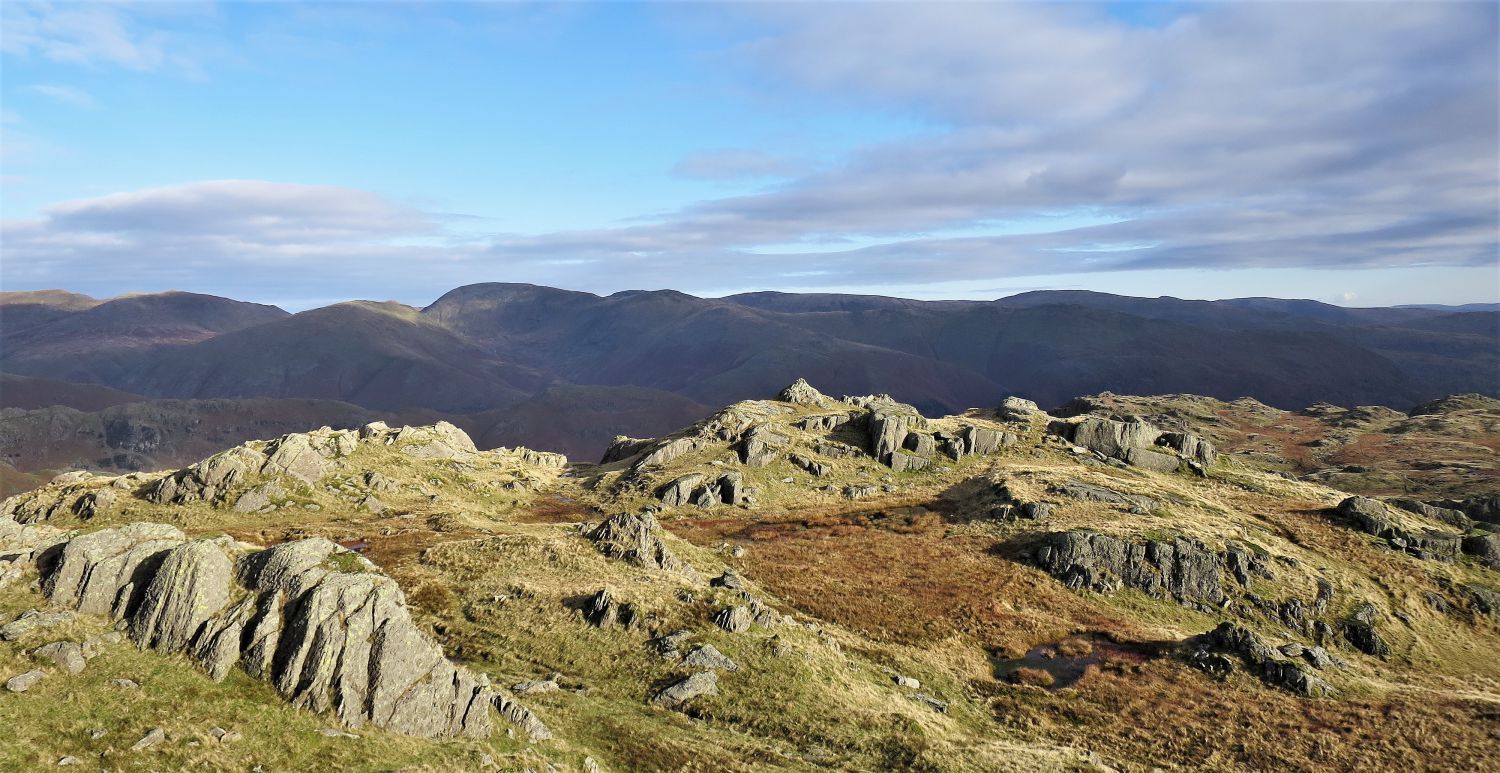
 The eastern spine over Easedale Tarn
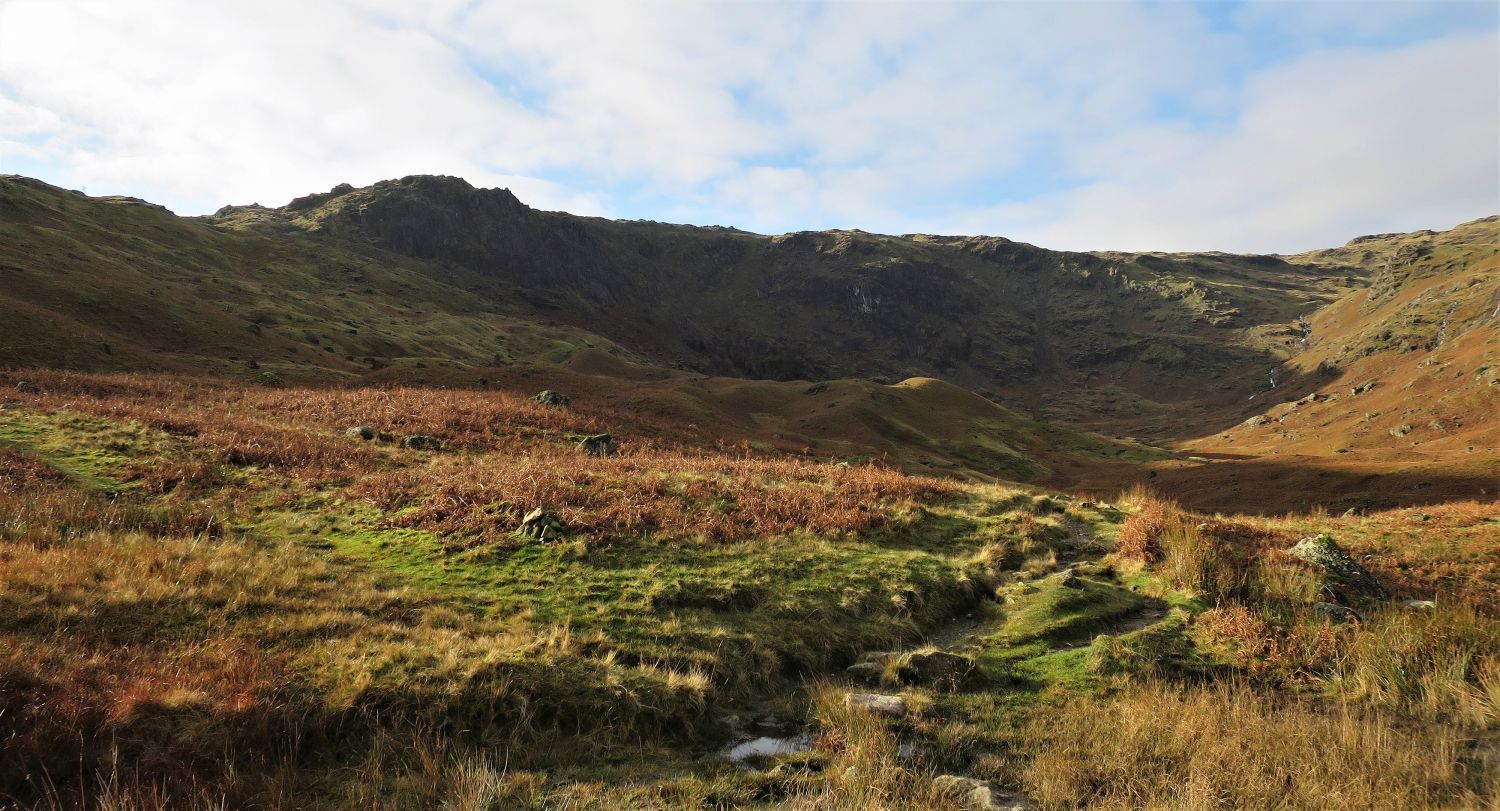
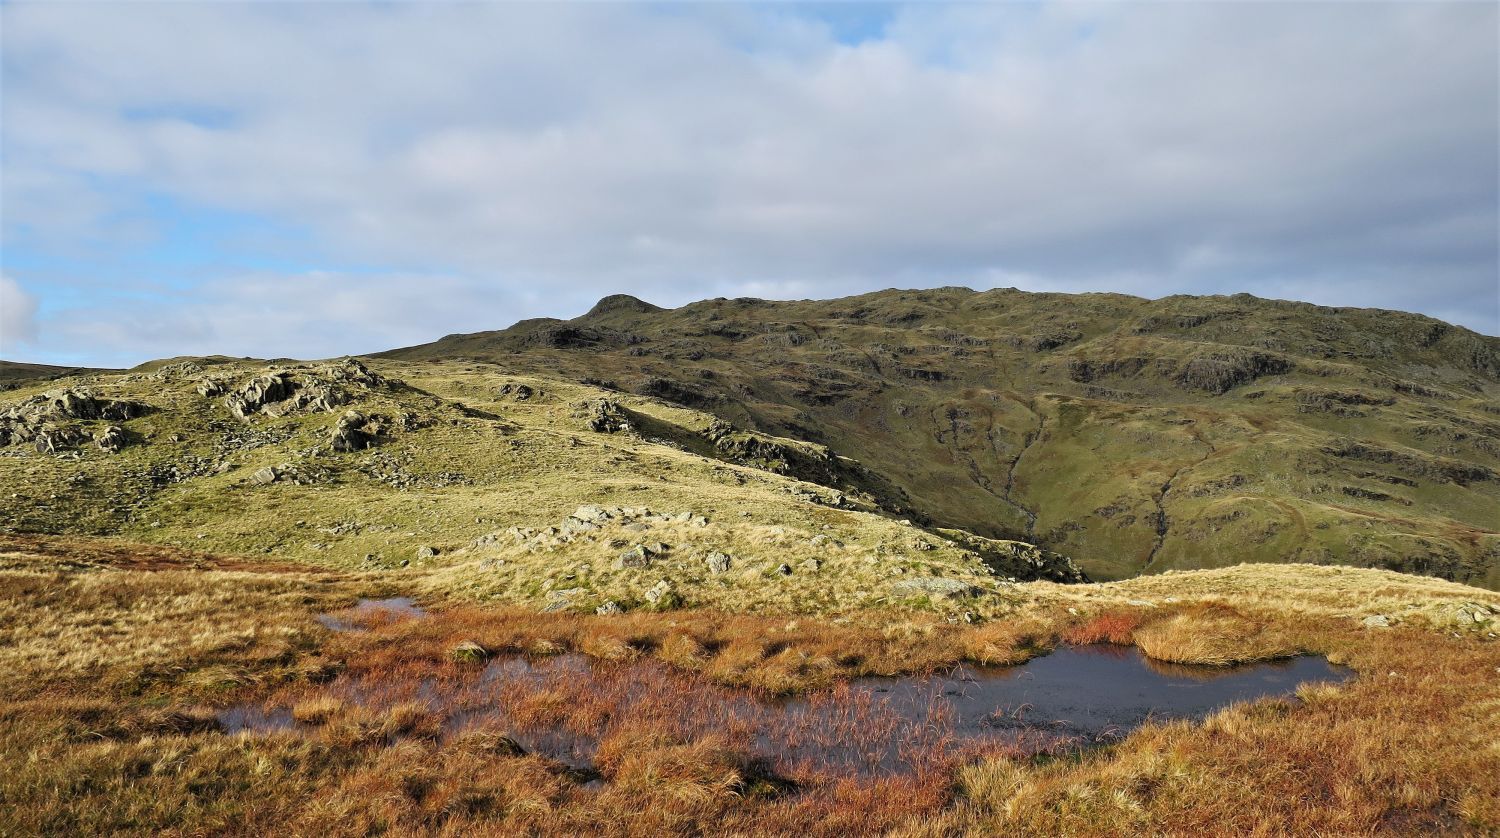
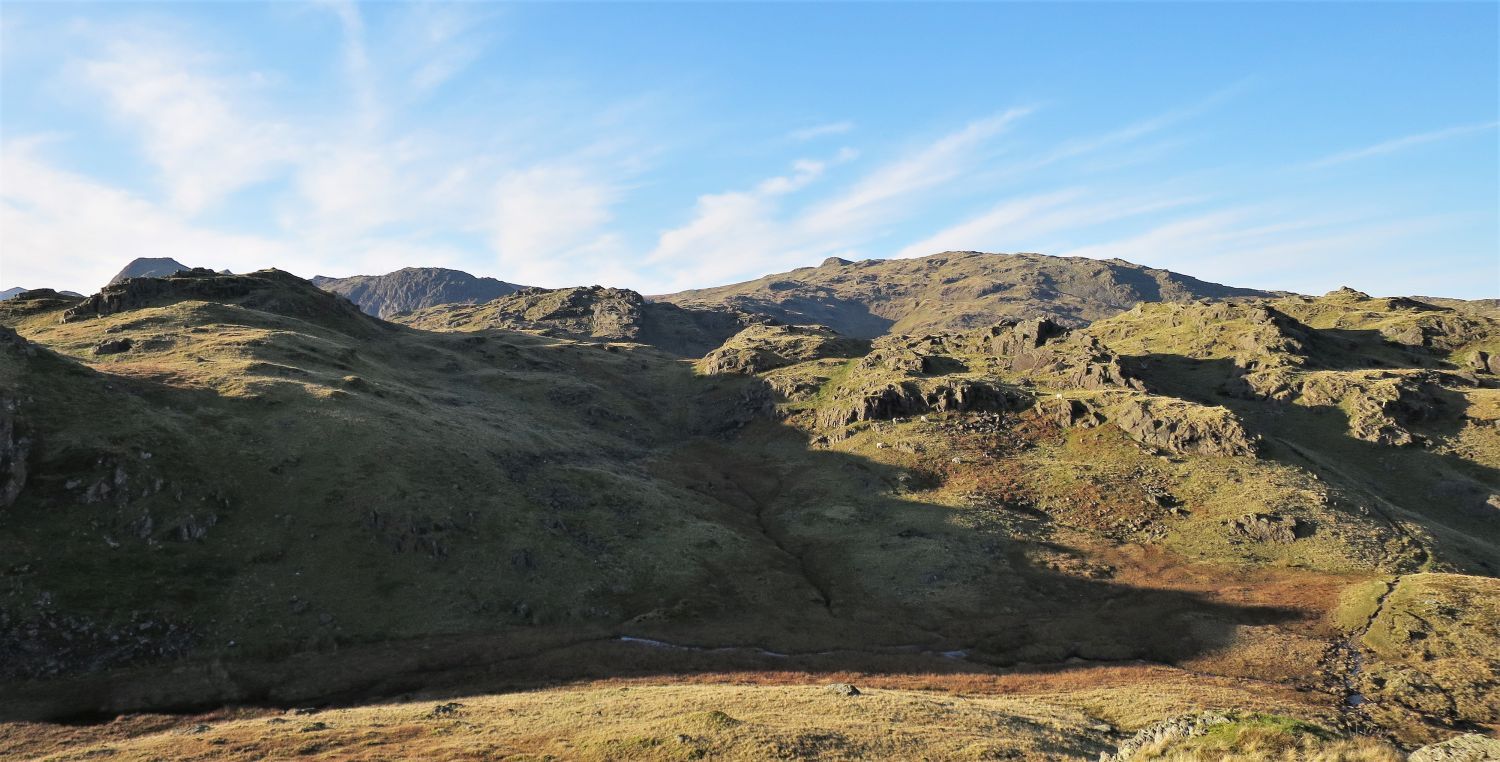
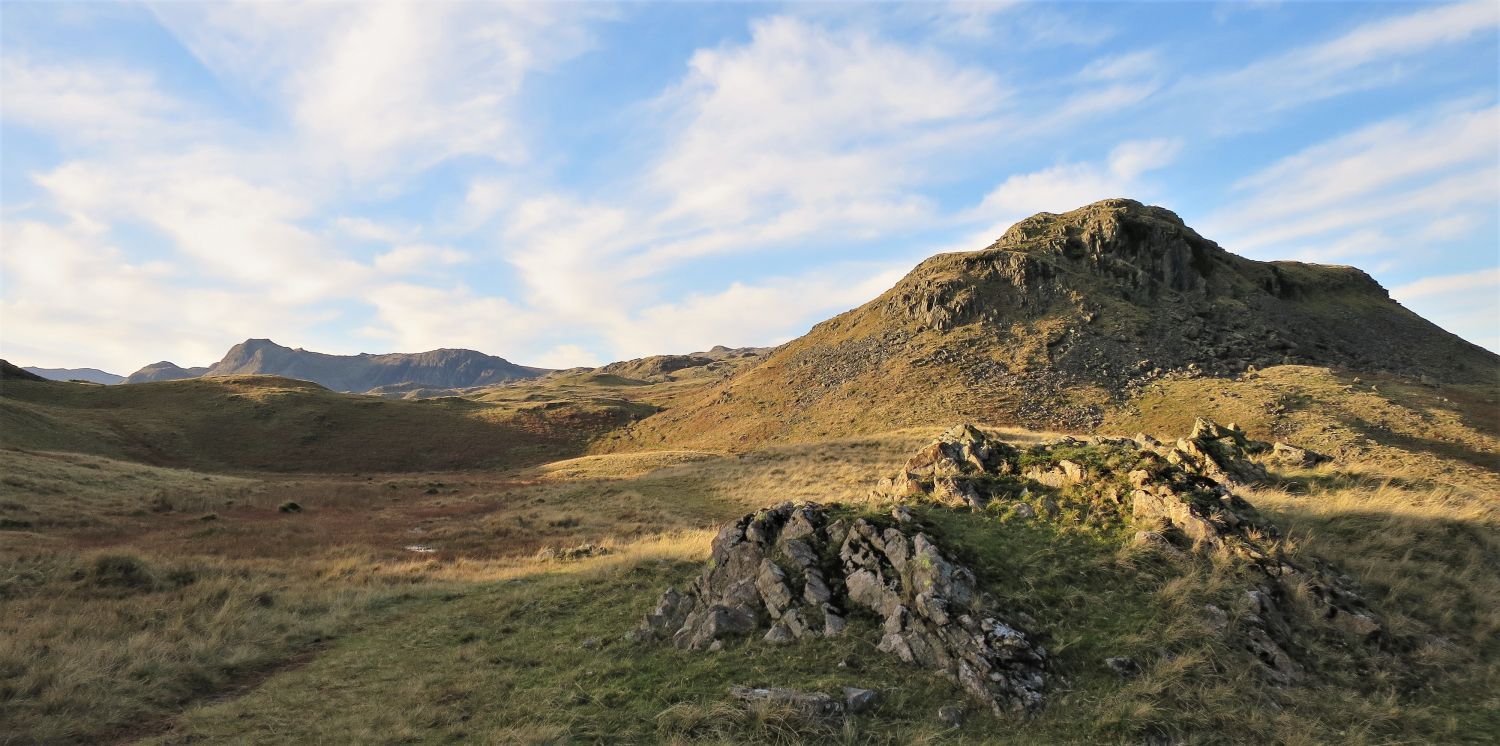
 The approach to the summit plateau of Blea Rigg
The highest point (true summit) of Blea Rigg is right of centre. The Wainwright summit is on the left.
 The Wainwright summit from the ‘true’ summit
The Wainwright summit is a rocky knoll 150 yards to the east from the ‘true’ summit, with the latter being approximately 1m higher.
“Although Blea Rigg is traversed on the popular ridge-walk from Silver How to Sergeant Man it gets little attention and the cairn, surmounting a rocky bluff, is often passed unnoticed. The rough top, however, with its many outcrops and small tarns, is entirely attractive, and the paths hereabouts (none of them very plain) are interesting to follow.” Blea Rigg 9
AW
 Book Three
The Central Fells
Blea Rigg 12
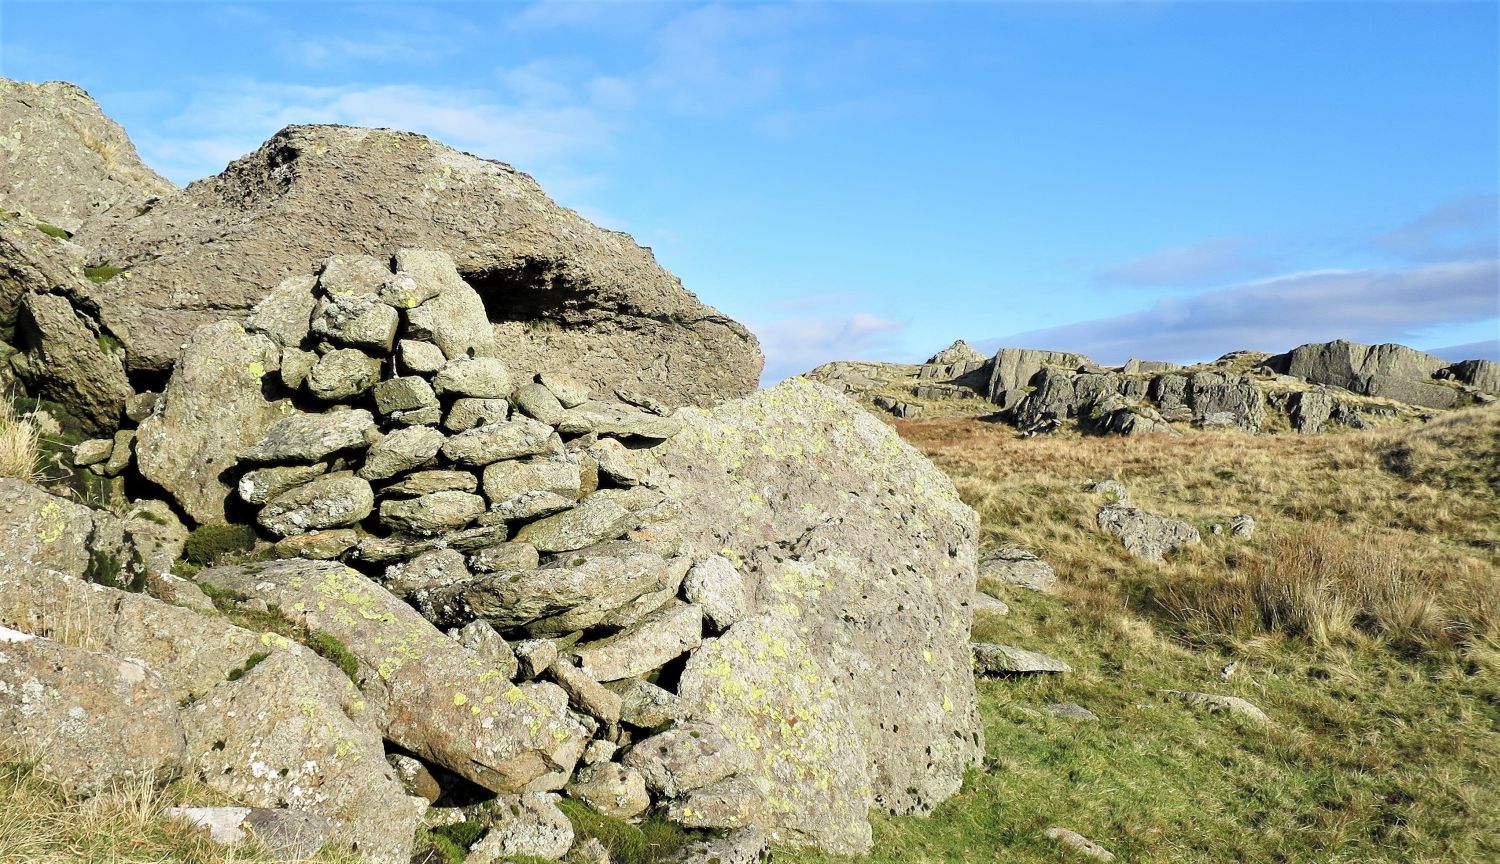
“The Shelter Stone on the top of Blea Rigg”
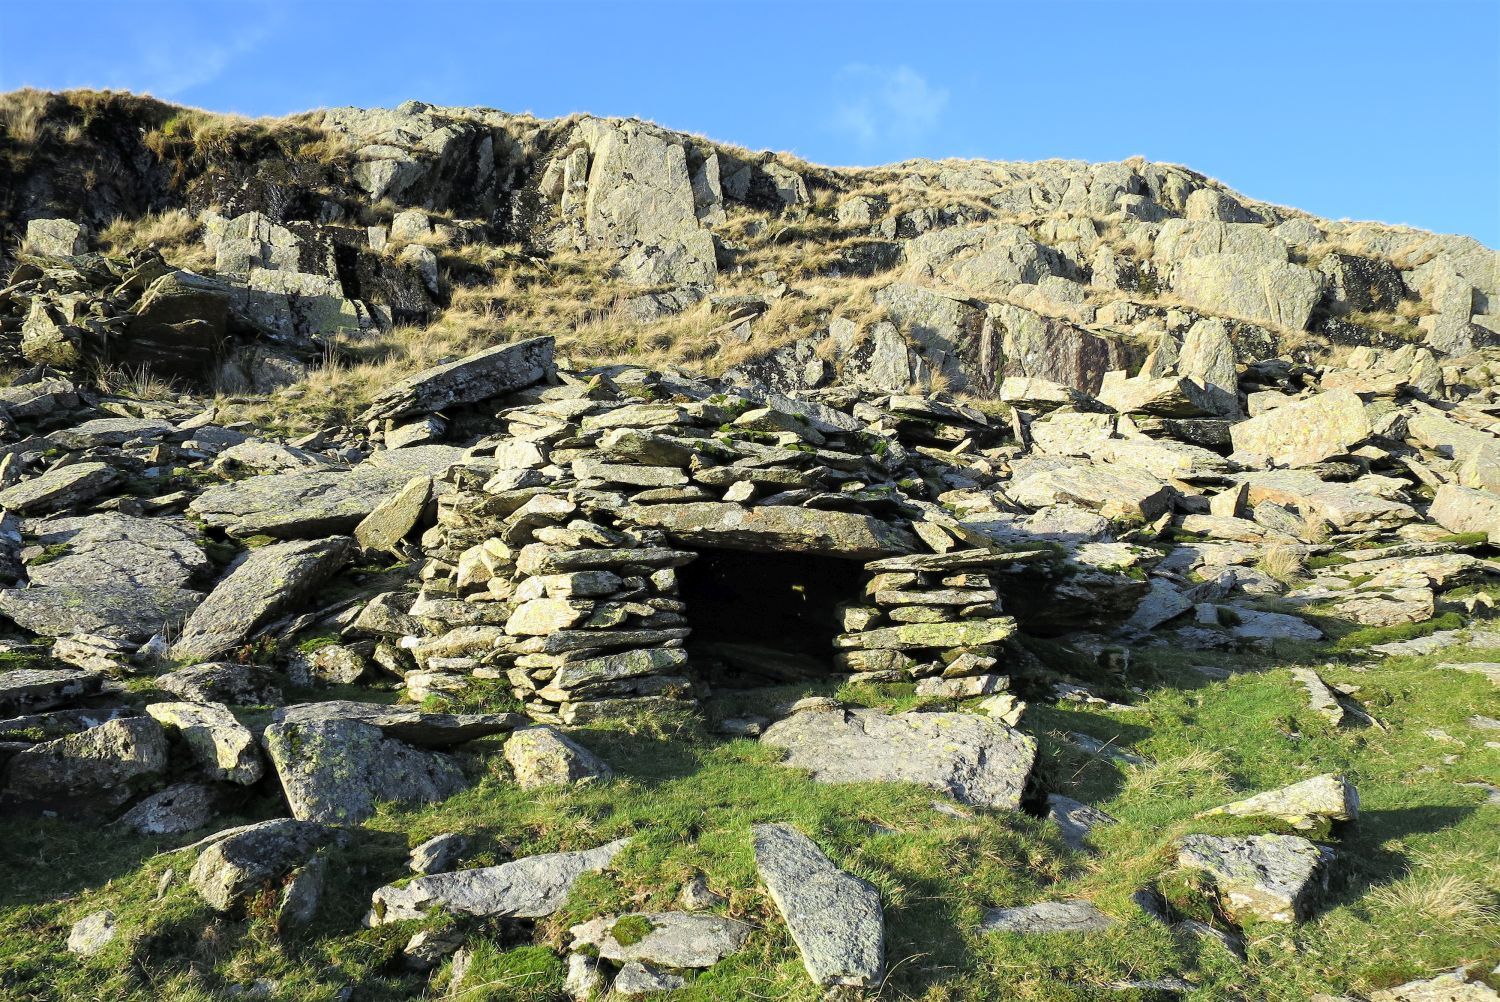
If in any doubt of locating the Wainwright summit, note that the summit-cairn can be seen from the Shelter Stone.
“This useful refuge is situated at the base of the prominent rocky tor [true summit] 150 yards west of the summit-cairn. It cannot be seen from the path….
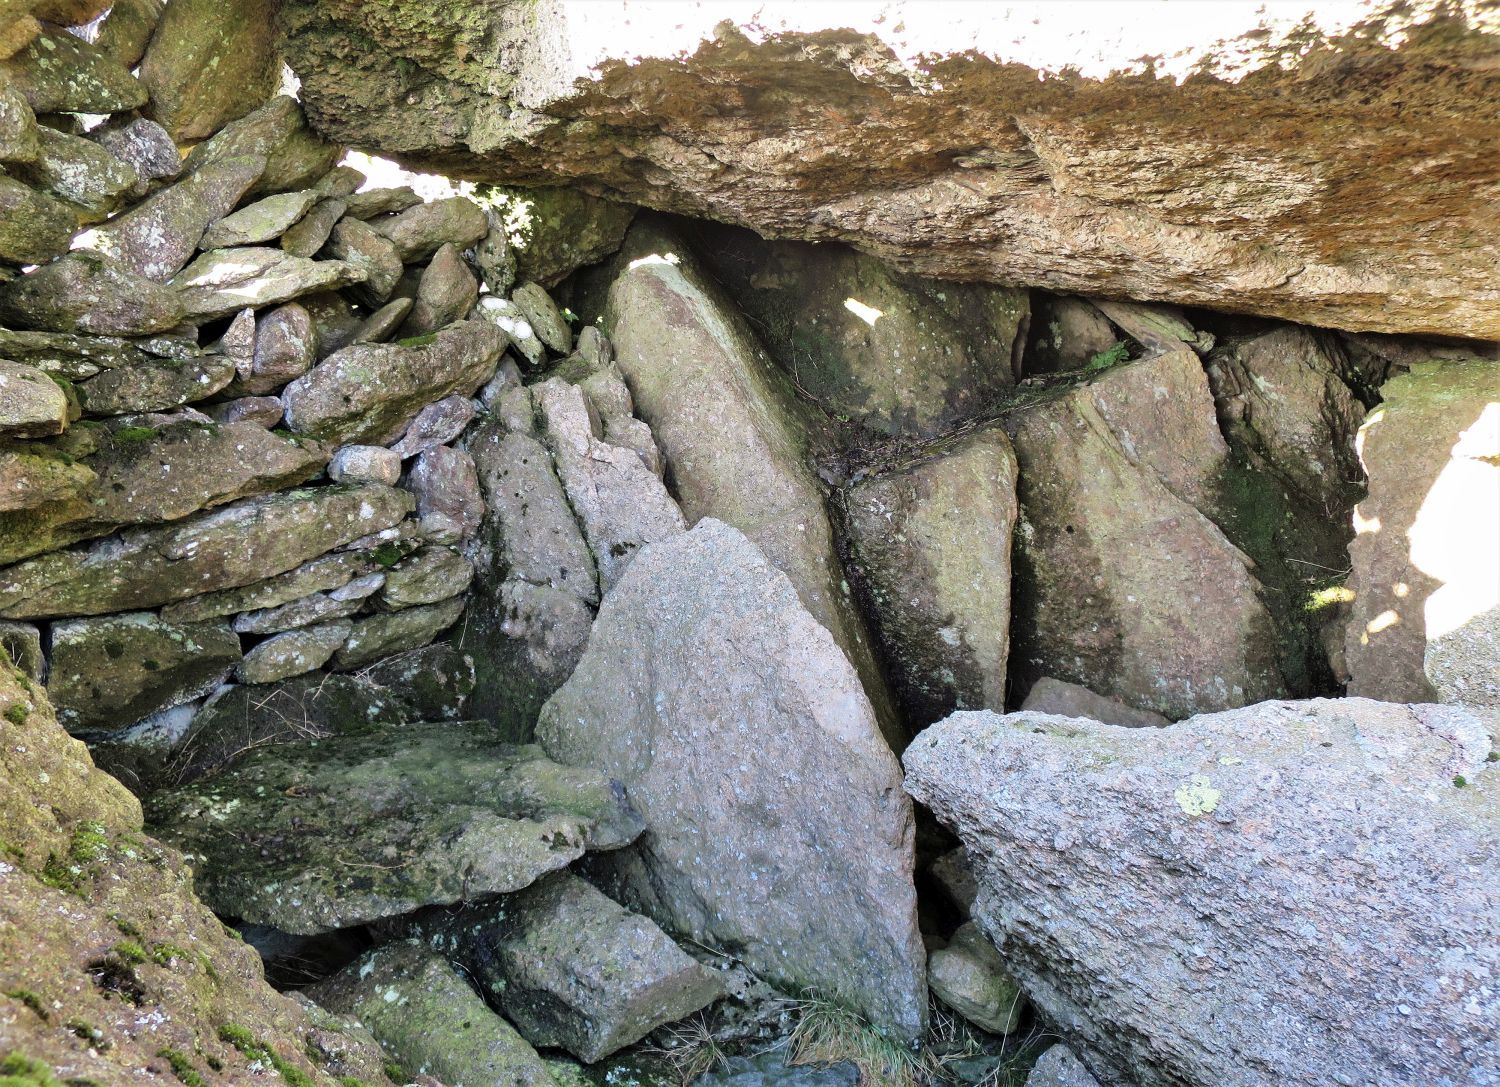 Inside the Shelter Stone
“….The accommodation is strictly limited.” Blea Rigg 12
AW
 Book Three
The Central Fells
Blea Rigg 9
“The Summit”
 Looking back to the ‘true’ summit from the Wainwright summit
To the west, Crinkle Crags, Harrison Stickle and Pavey Ark are seen over the ‘true’ summit. The Shelter Stone lies in the rocks seen here on the left.
“The view is good, although it contains none of the Scafell group nor the western fells. Prominent in an interesting panorama, due west, is a striking outline of Harrison Stickle and Pavey Ark.” Blea Rigg 10
AW
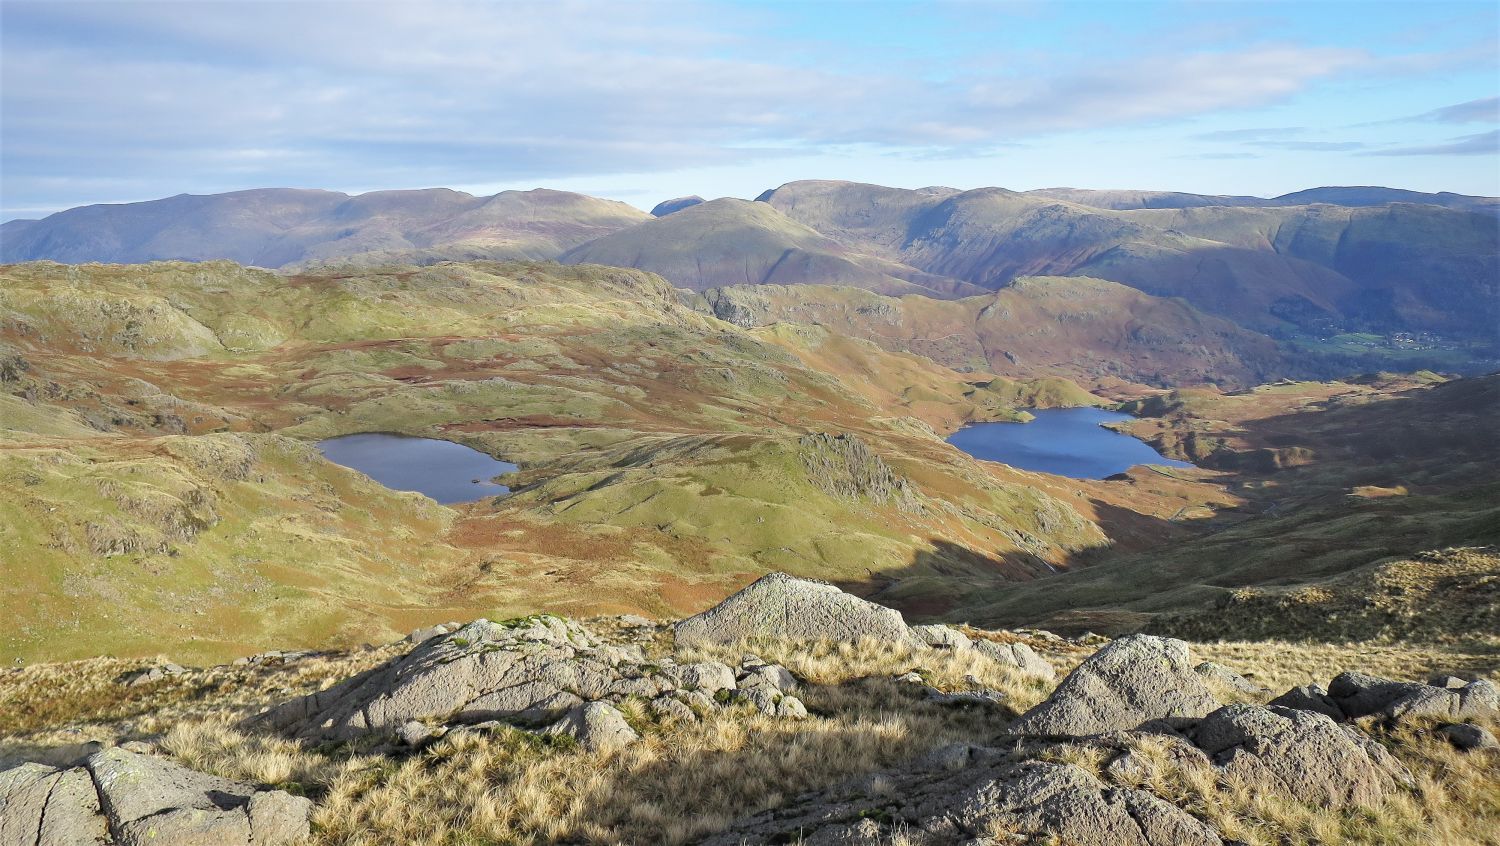
 Sergeant Man and Codale Head from the Wainwright summit
Belles Knott at the head of Easedale is seen centre. Wainwright mentioned the “approachable”, “grass promenade” behind the “sharp peak” of Belles Knott, which is clearly defined from Blea Rigg.
 The eastern spine from the Wainwright summit
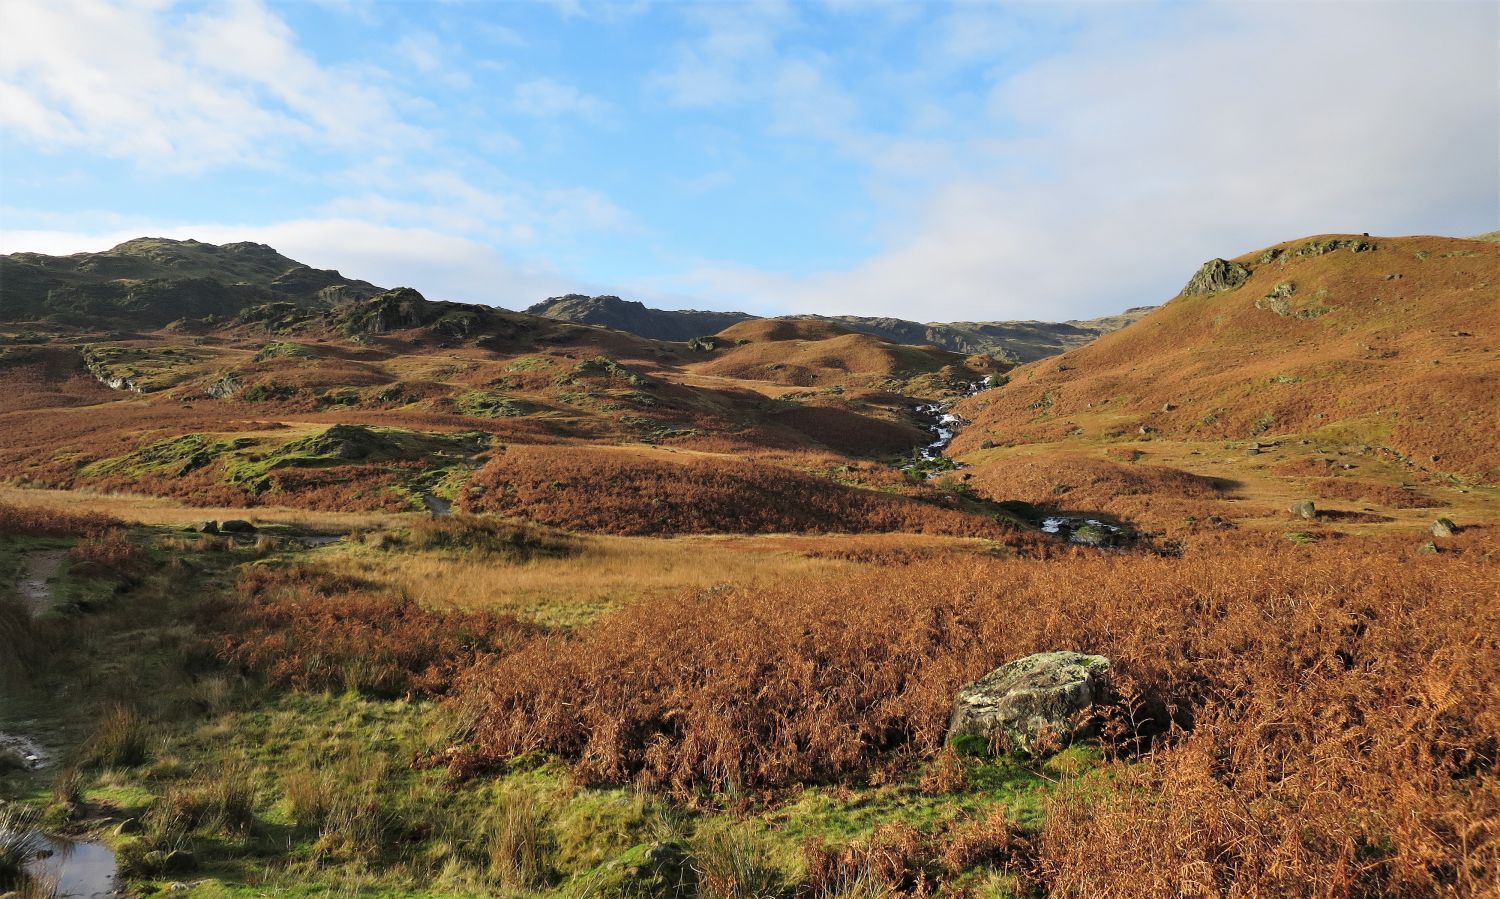
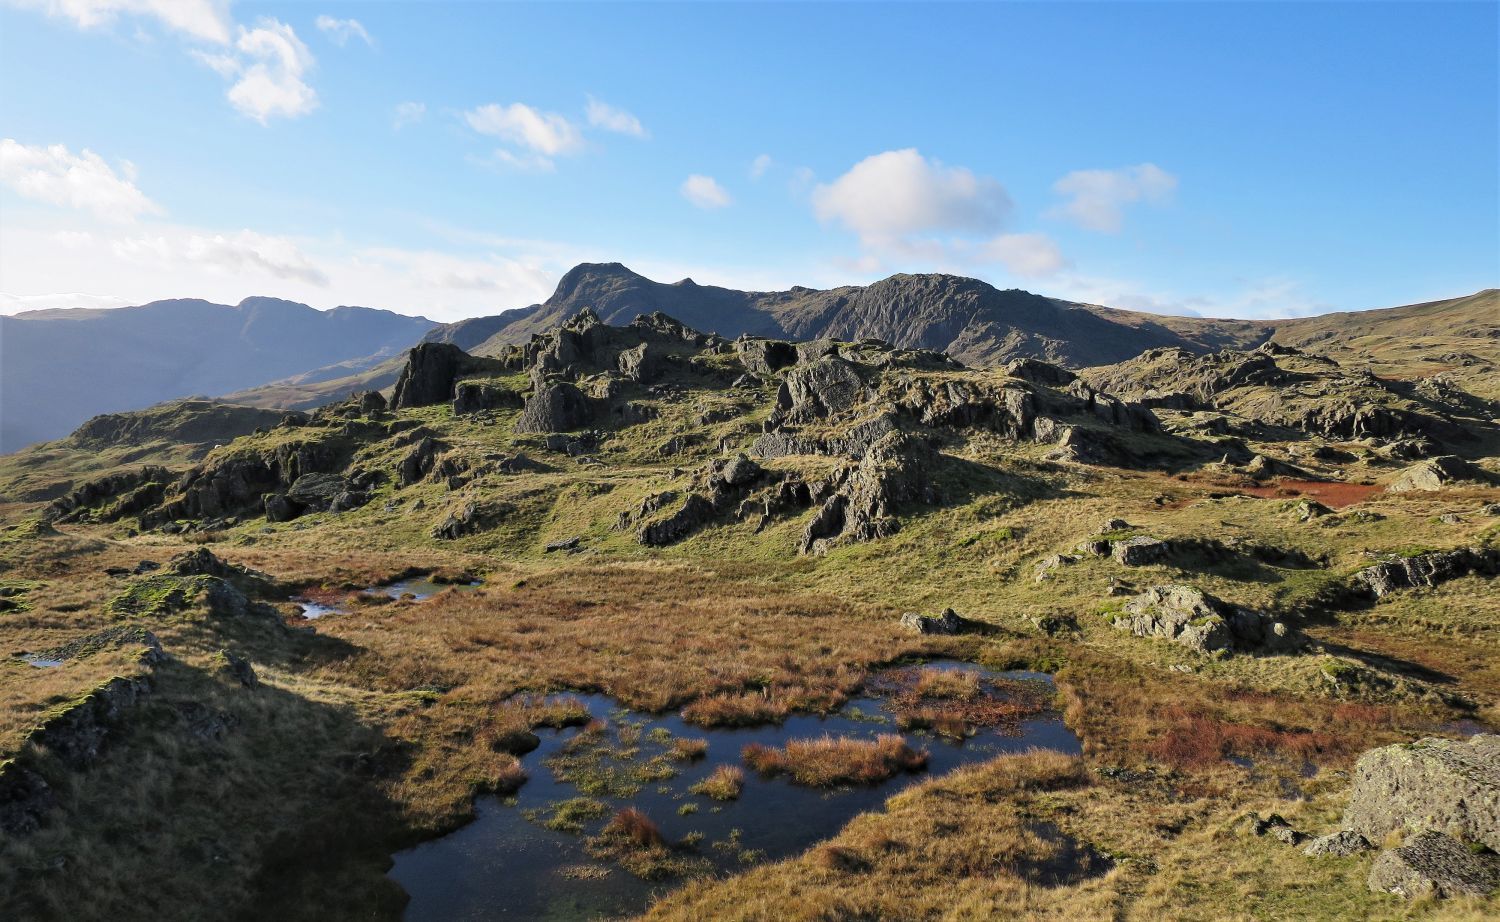
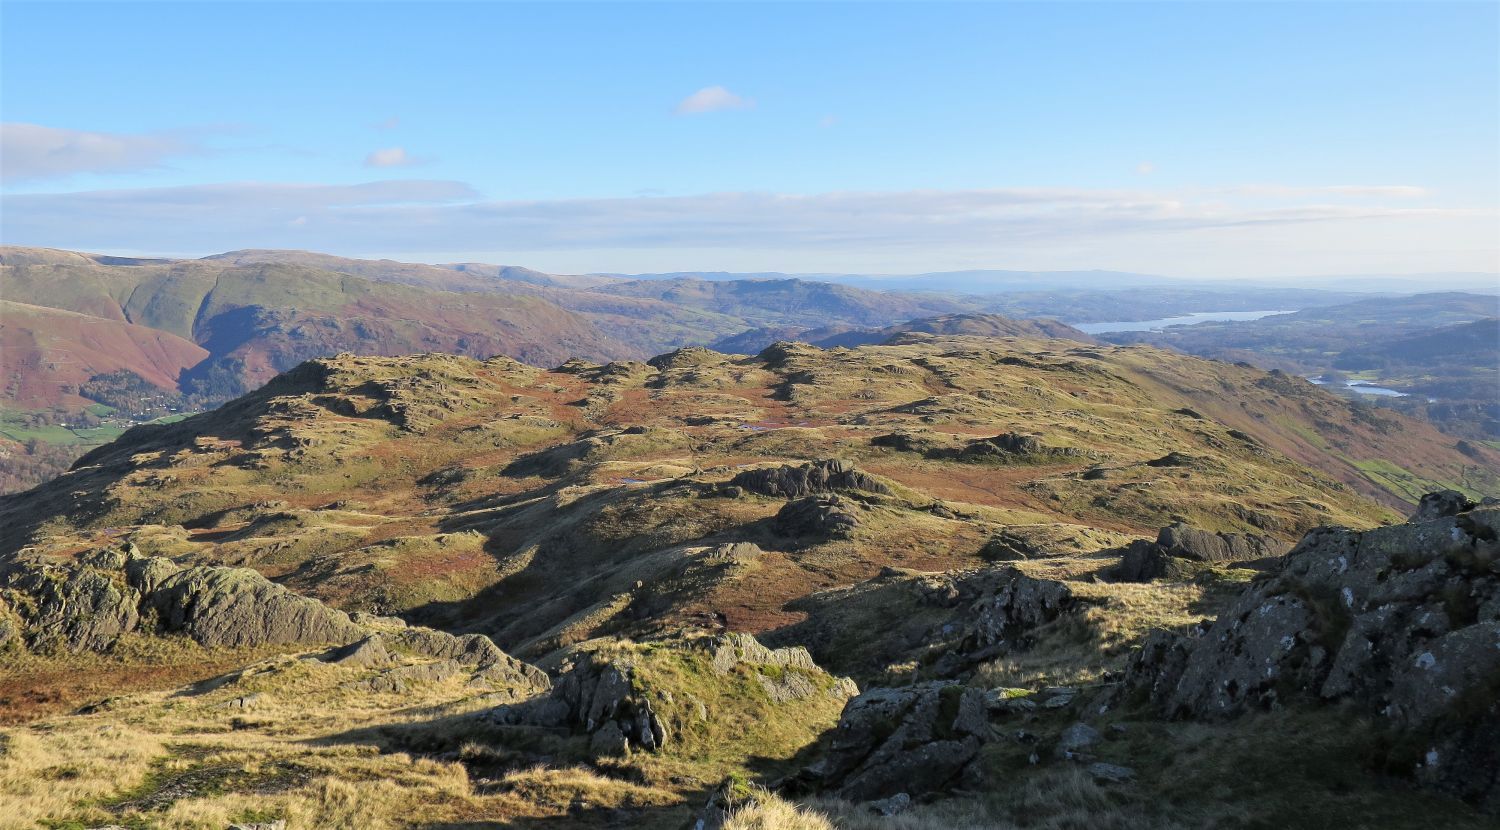 Castle How shoulder from the descent of Blea Rigg
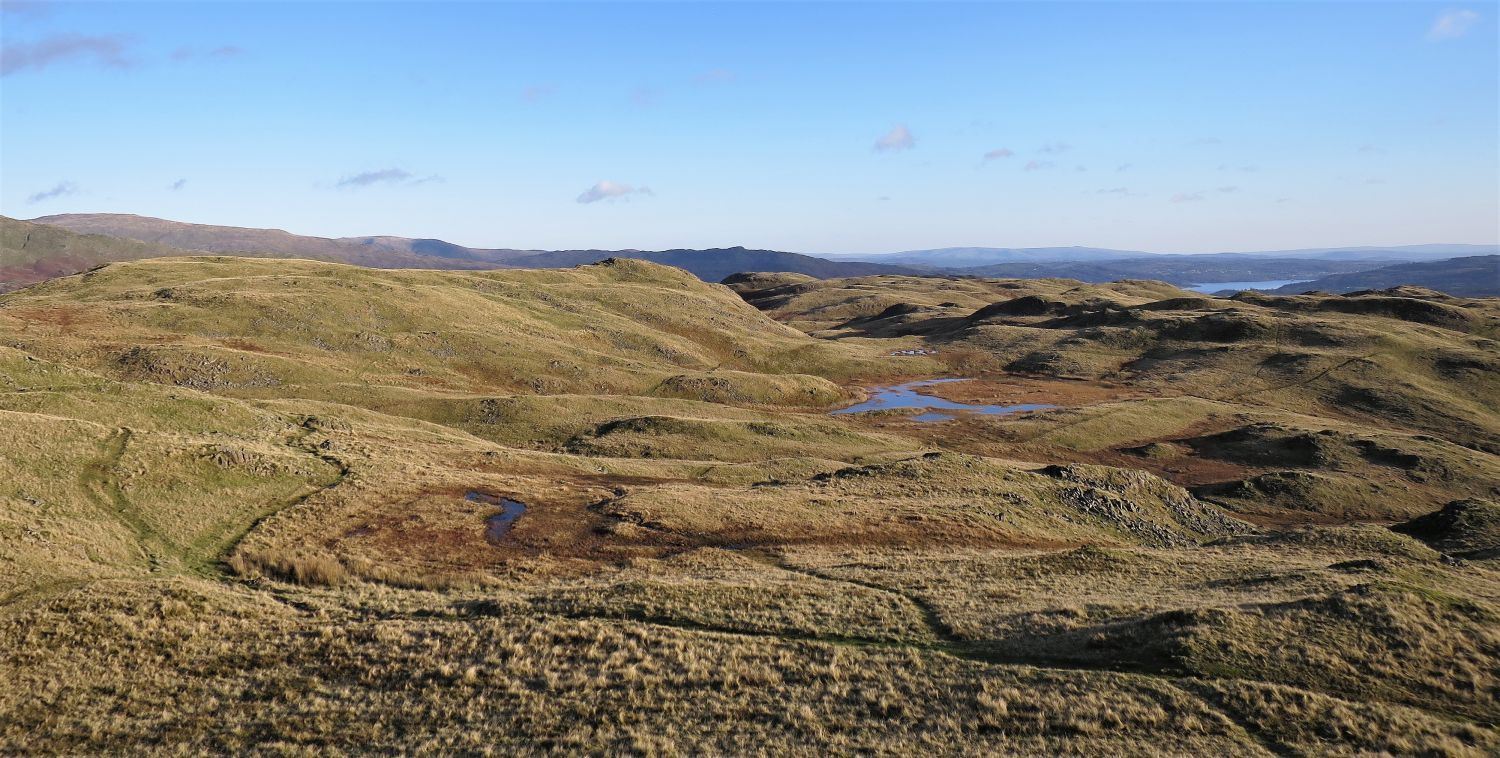
This broad shoulder of Castle How includes three main tops: The most central, and highest at 500m, is Castle How (Raw Pike). The most interesting out of the three is Great Castle How, seen here on the left, and is 1m less in height at 499m. Little Castle How, the most easterly of the three, is 481m in height. With tarns, rocky knolls and meandering paths, the route is interesting all the way.
“Much of the pleasure of this easy and charming walk is derived from following the vagaries of the indistinct path.” Silver How 10
AW
 The eastern spine from the approach to Great Castle How
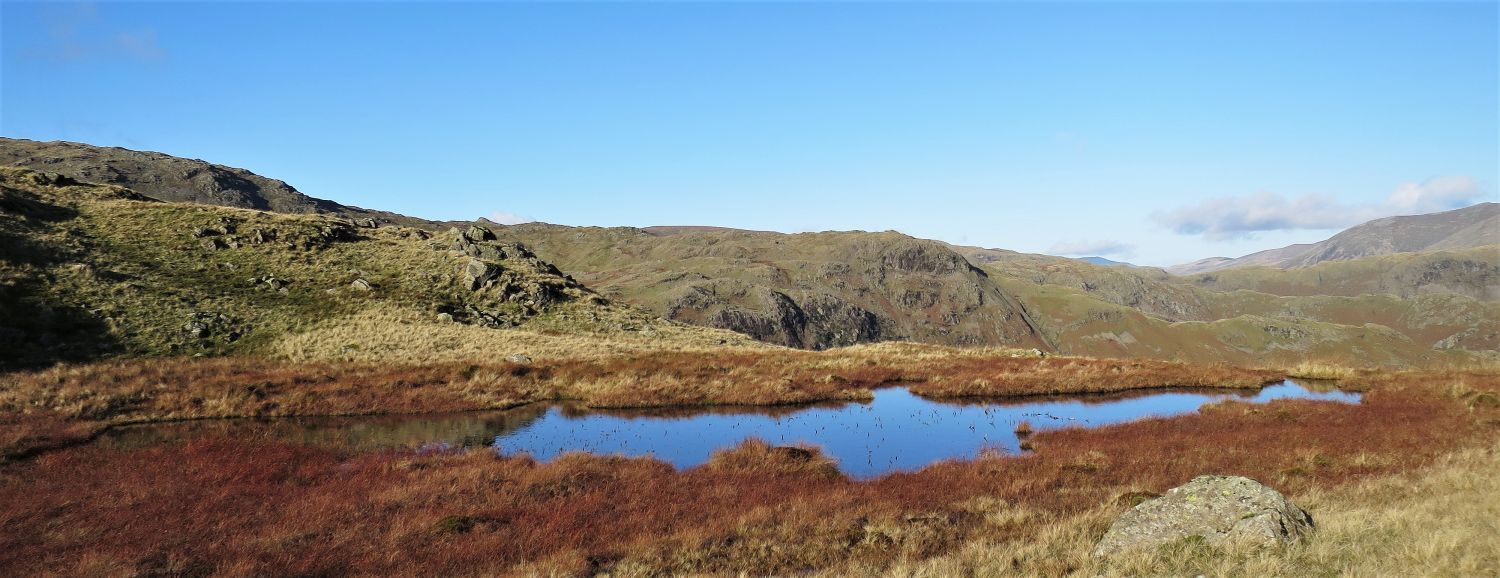
A small tarn on the northern edge of the ridge (slight detour from the path).
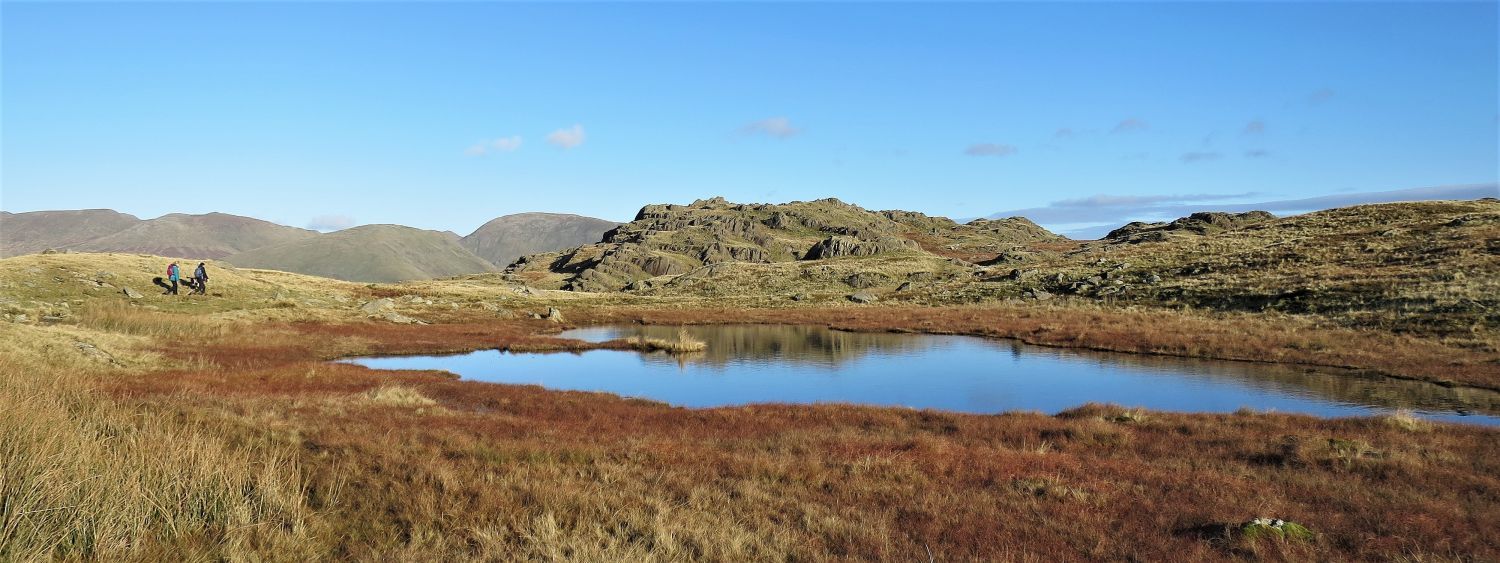 The approach to Great Castle How
This tarn (central) is part of a group of three tarns usually referred to as Great Castle How Tarns, however, geographically, Castle How Tarns would be a more suitable name.
 Tarn Crag from the northerly tarn
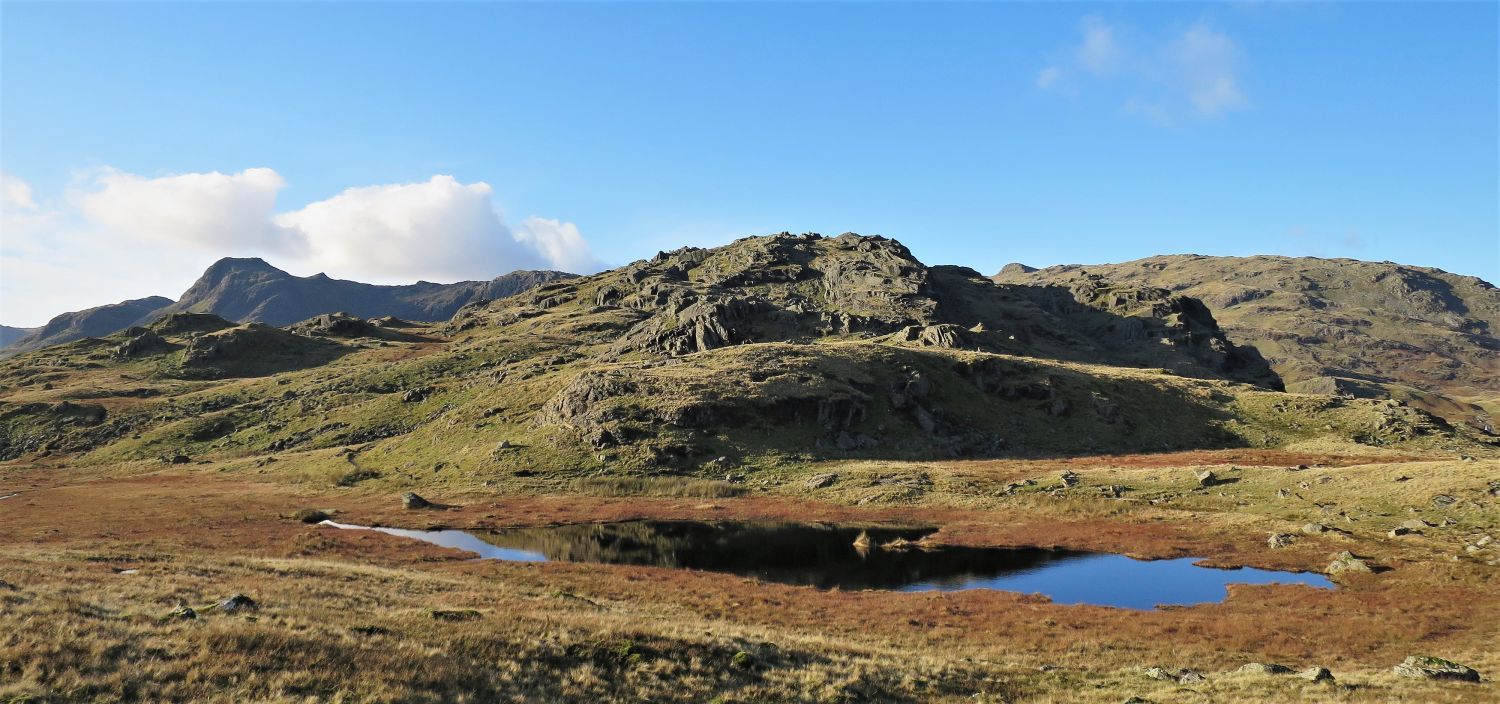 Looking back to Blea Rigg over the central tarn
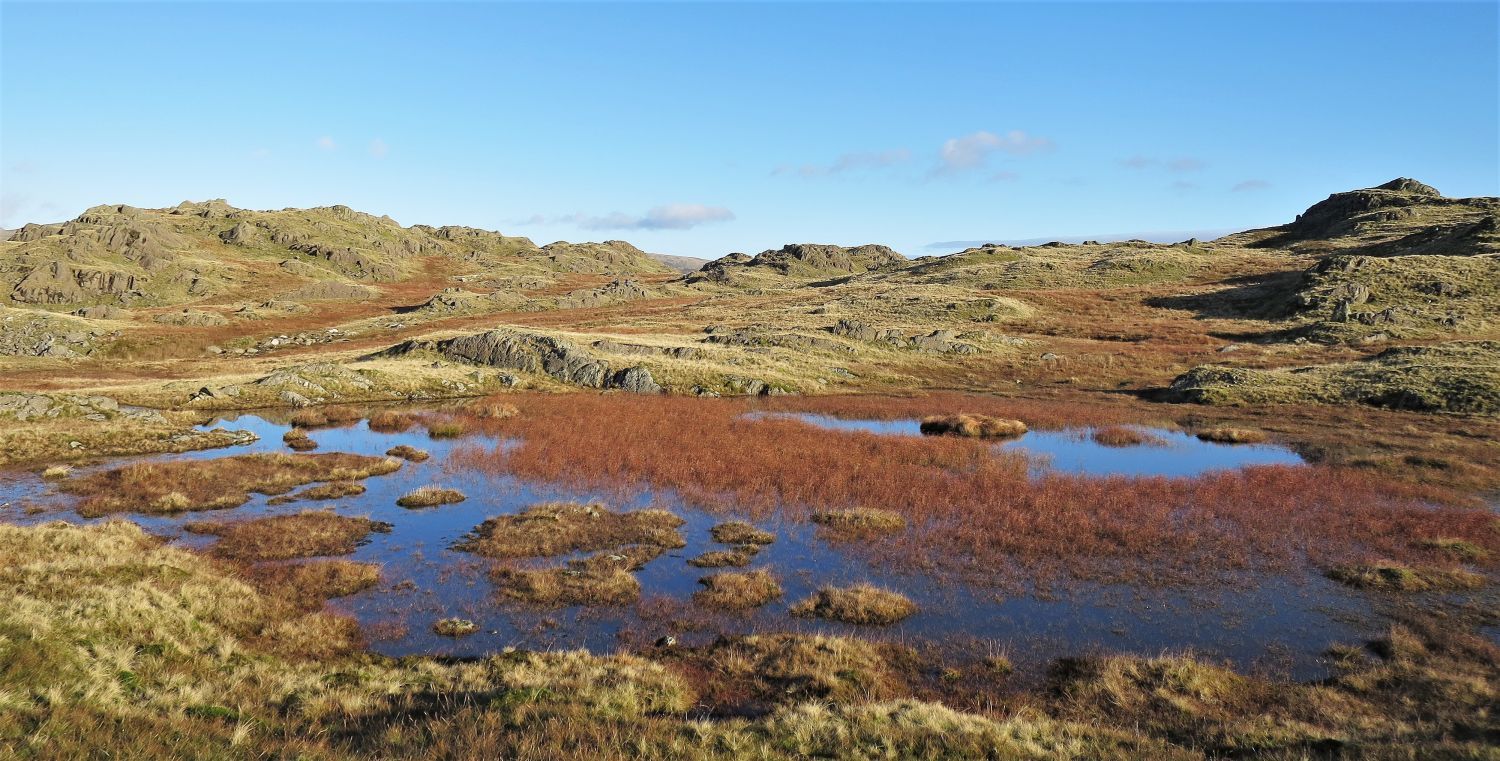 Great Castle How and Castle How (Raw Pike) from the easterly tarn
 Blea Rigg and Codale Head from the summit of Great Castle How
 Tarn Crag and Easedale Tarn from the summit of Great Castle How
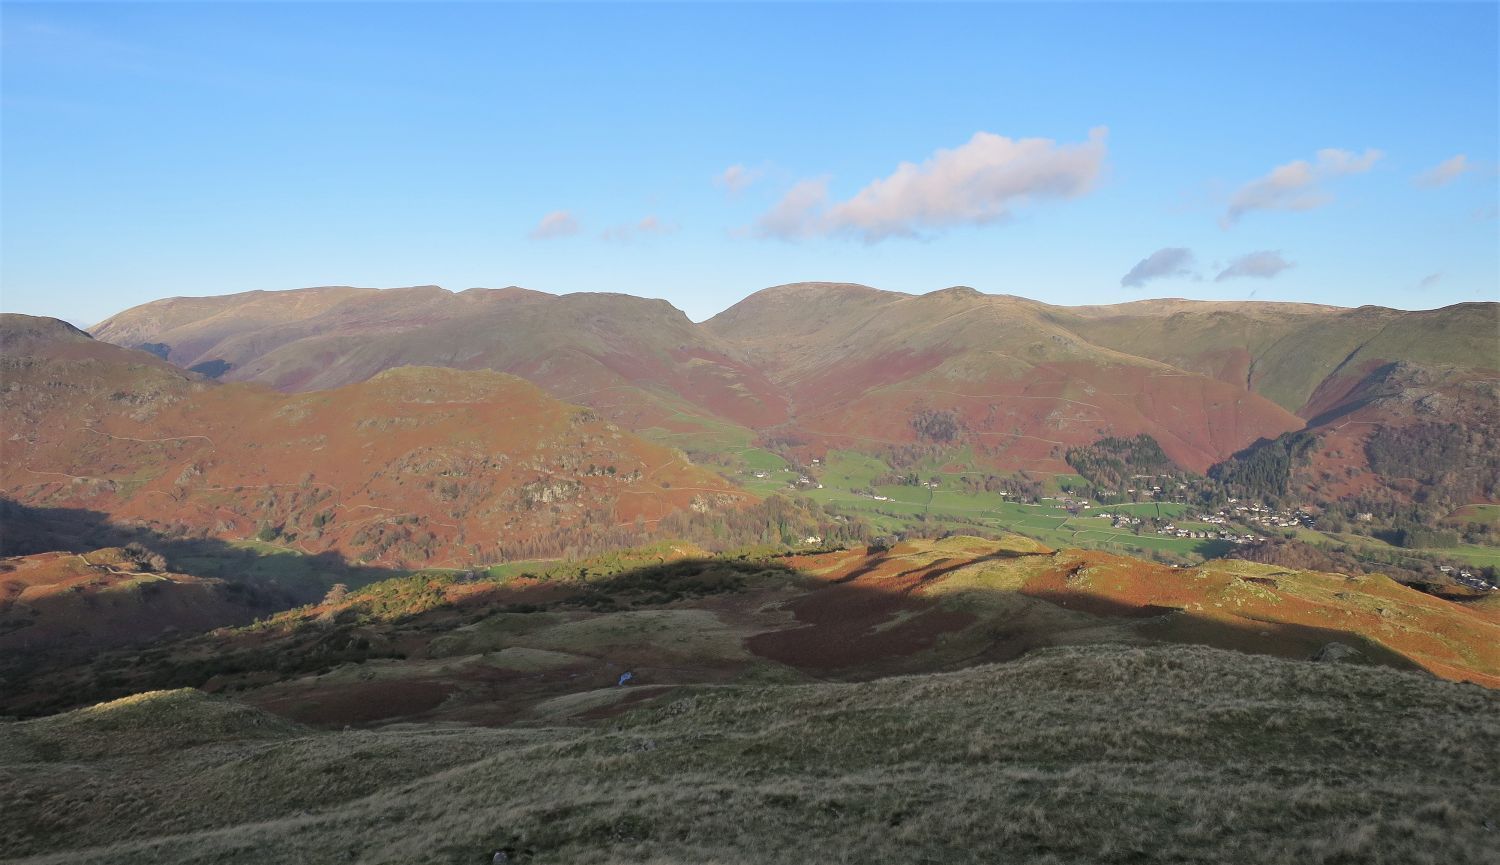
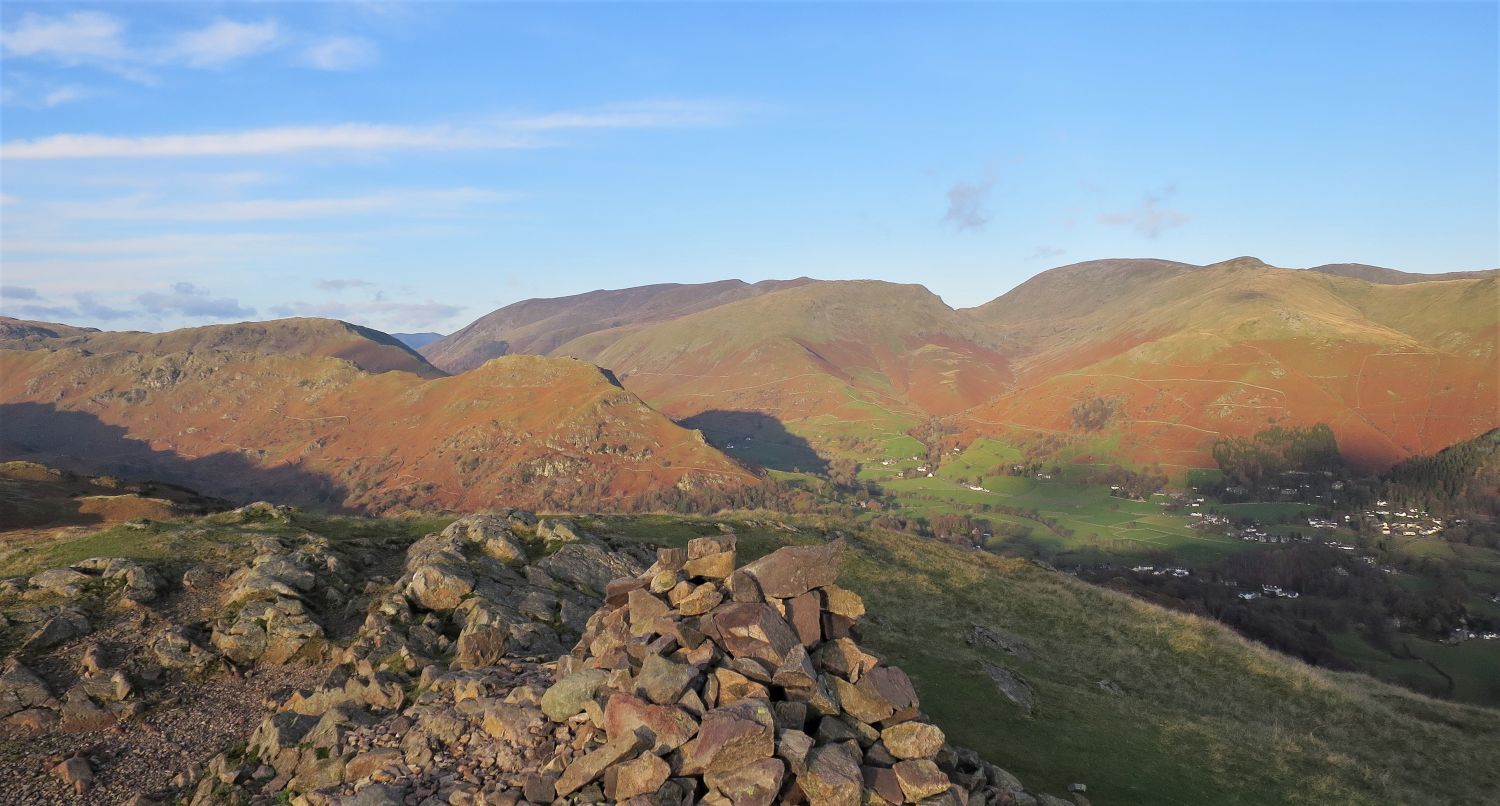
 The Fairfield group and the Vale of Grasmere from Great Castle How
 Little Castle How from the descent of Great Castle How
 Castle How (left), Blea Rigg (left of centre) and Great Castle How (right) from Little Castle How
Far back is Harrison Stickle, Pavey Ark, Sergeant Man and Codale Head.
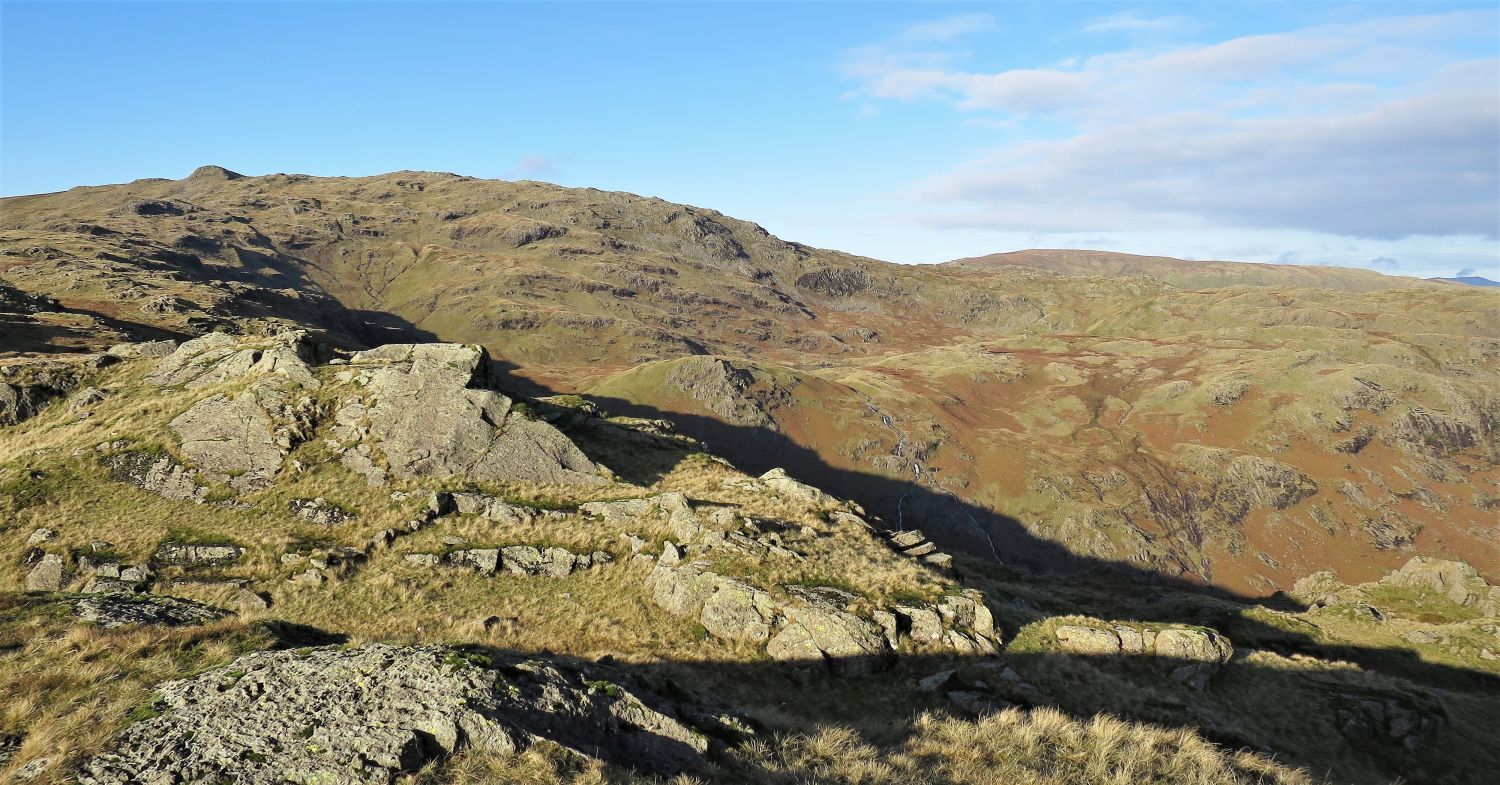
 The Lang How shoulder from Little Castle How
The Lang How shoulder contains three main tops: Swinescar Pike at 411m, Lang How at 414m, and Silver How at 395m. Note the ridge far left, that will be our route back down to the village of Grasmere from Silver How.
 Swinescar Knott from Swinescar Hause
Swinescar Hause is where two valley routes meet the ridge-path. To our left, a path gently rises from Easedale via Blindtarn Gill, and to the right is a much steeper ascent from Great Langdale. Many years ago this was an important pass for trade between the two valleys.
 The Half-way Shelter
“The half-way shelter (above the Langdale descent) is effective but uninviting. It is entered by crawling.” Blea Rigg 12
AW
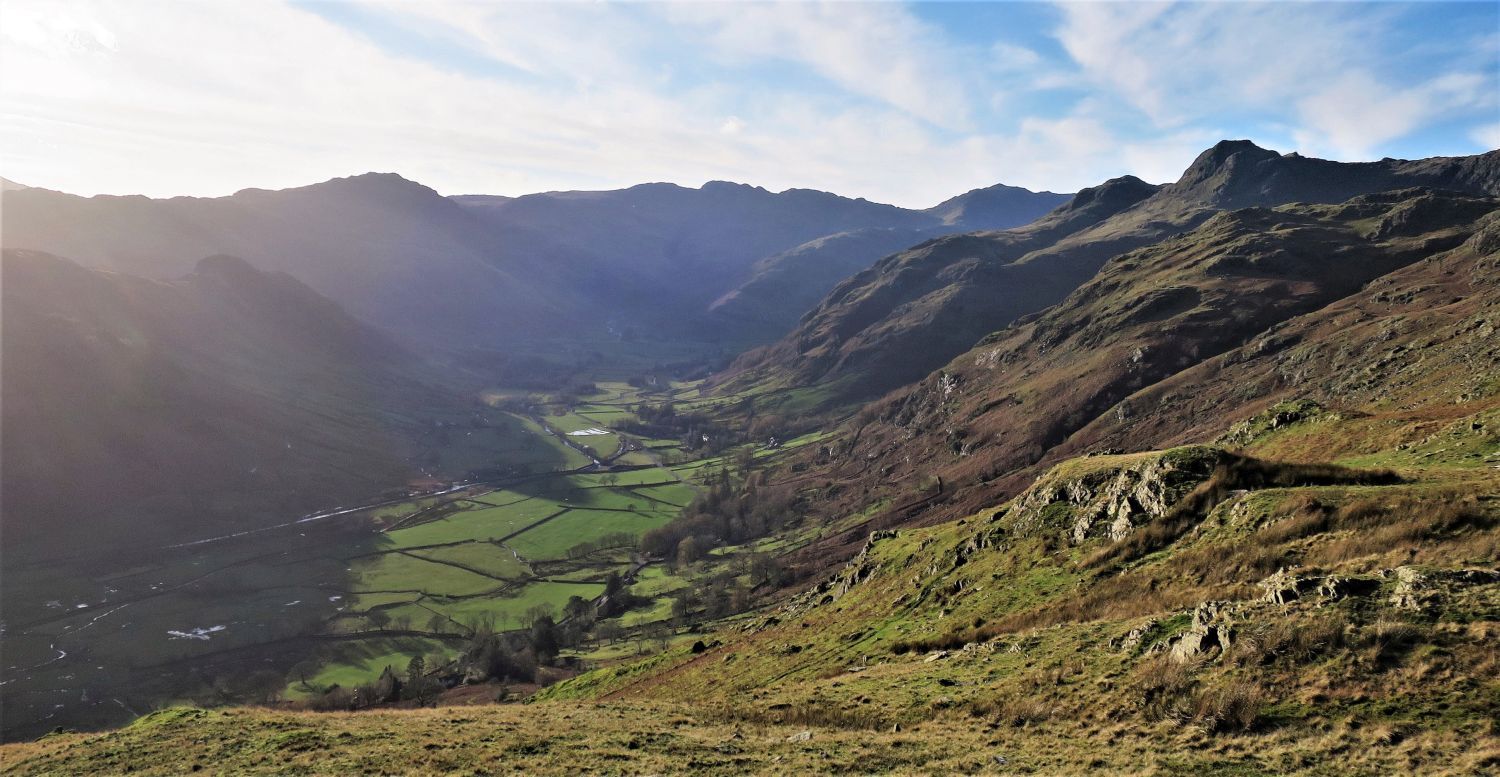 Great Langdale from Swinescar Hause
Take a slight detour from the summit of the hause for this “good viewpoint for Great Langdale”.
 Lang How (left) and Youdell Tarn from Swinescar Pike
Youdell Tarn was named after John Youdell, who owned Robinson Place in Great Langdale in the 1700s.
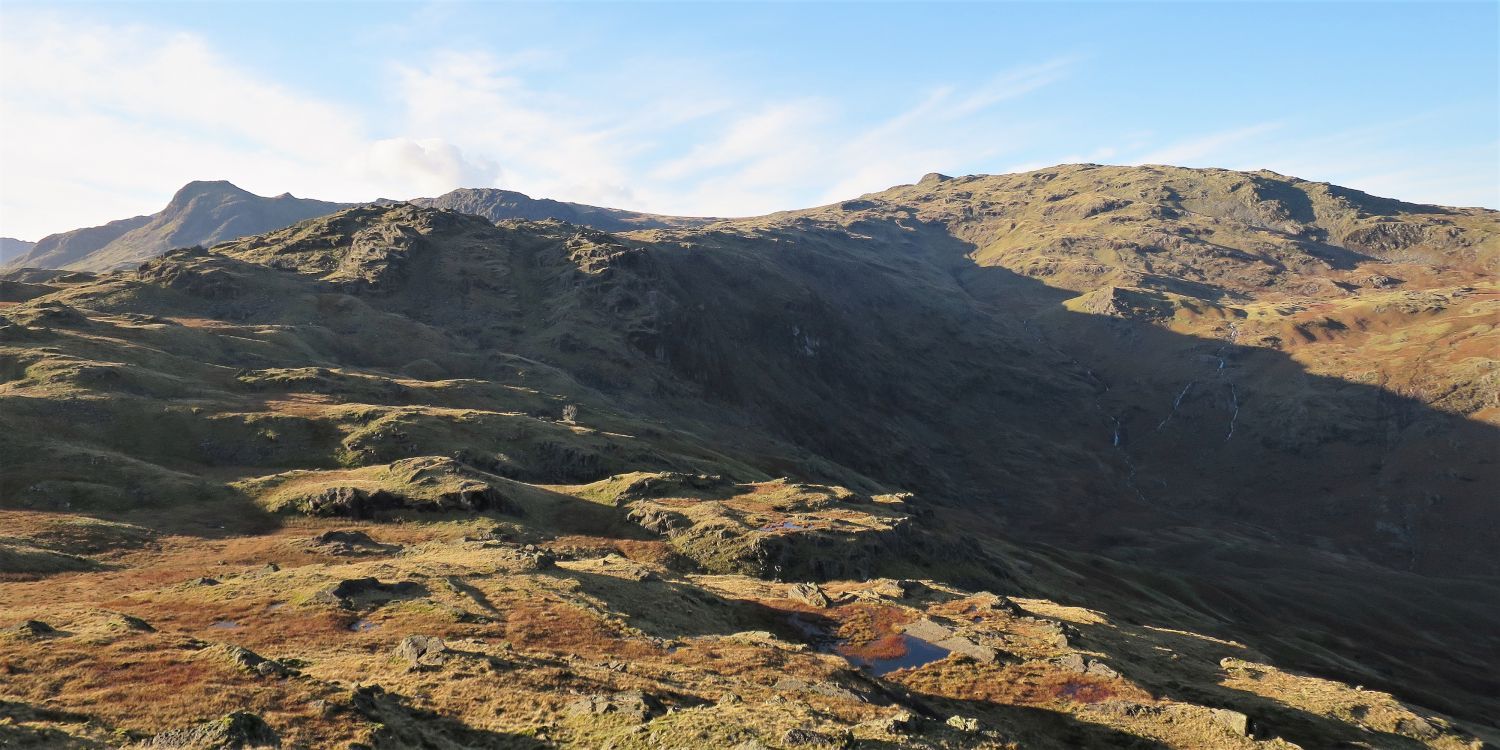
 Looking back to the Langdale Pikes and Castle How from the ascent of Lang How
 The Helvellyn and Fairfield groups from Lang How’s north top
 Silver How from Lang How’s south top
“The top of the fell is extensive and forms several rounded elevations, most of them cairned, but the actual summit is conspicuously situated above the steep Grasmere face. The paths across the top are little better than narrow sheep-tracks in the grass.” Silver How 7
AW
 Silver How and Brigstone Tarn from the descent of Lang How
 Looking back to Lang How
It’s puzzling why Alfred Wainwright didn’t include Lang How in his 214 Lakeland Fells, especially with the fact that this top is the highest (just) and the most geographically dominant of the three tops on this shoulder. However, Wainwright does give one explanation:
“Lang How, a half-mile north-west of Silver How, at 1354′, is 62 feet higher than its parent fell, but such is its position – springing up from a plateau rather than a valley floor – that it is seldom regarded as a separate fell.” Silver How 3
AW
 Book Three
The Central Fells
Silver How 7
“The Summit”
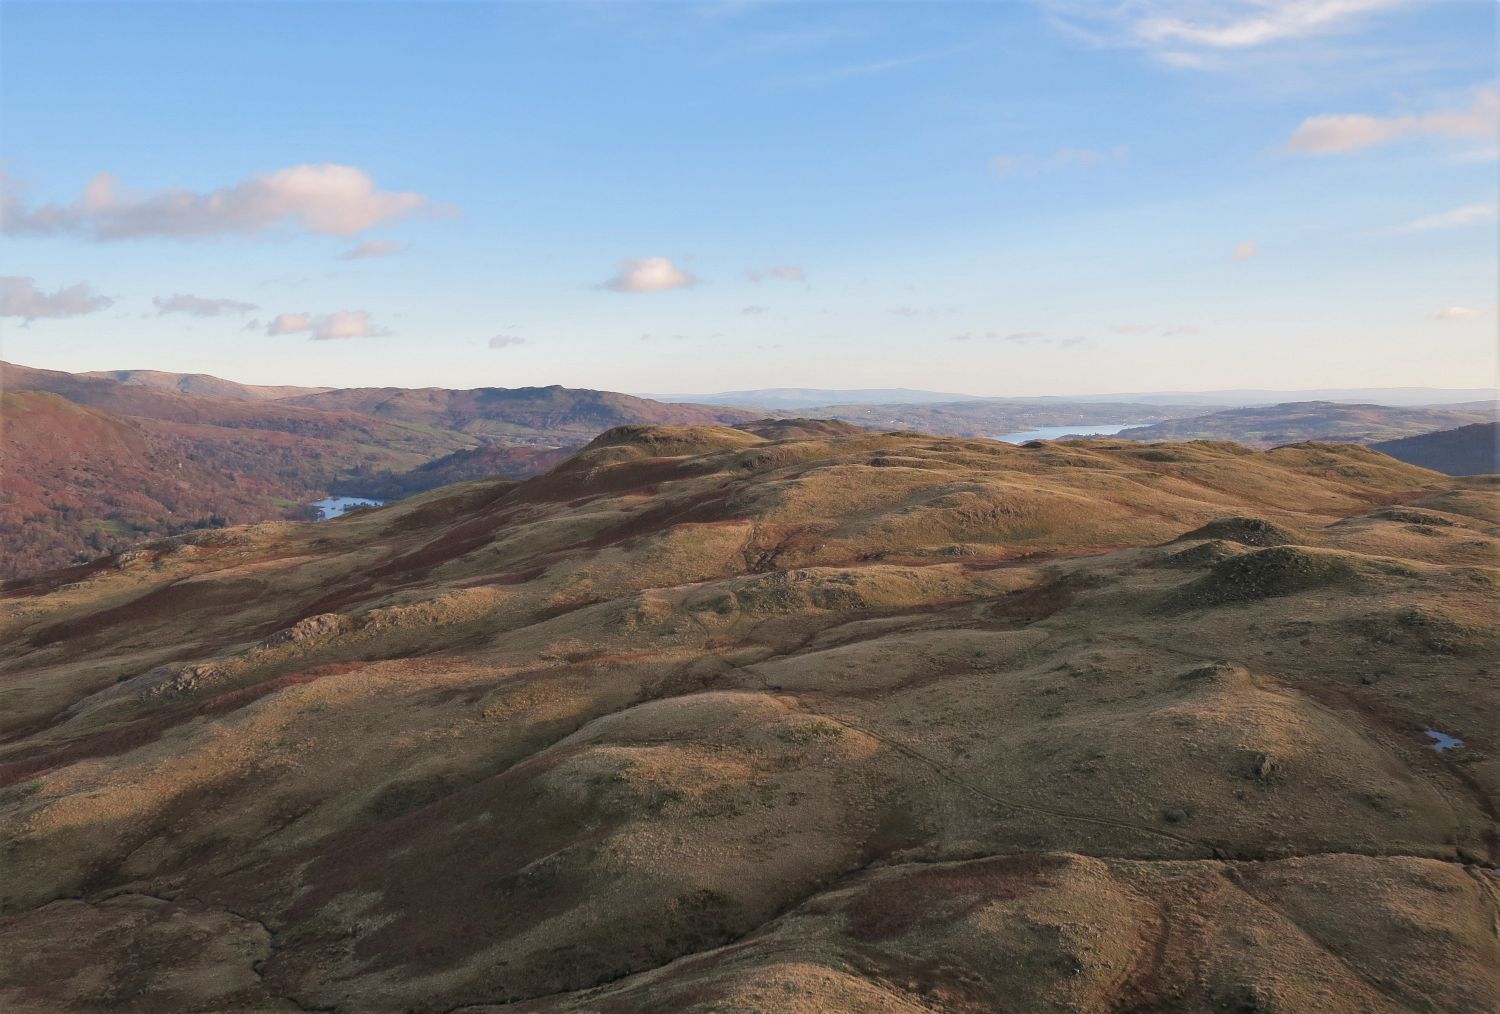
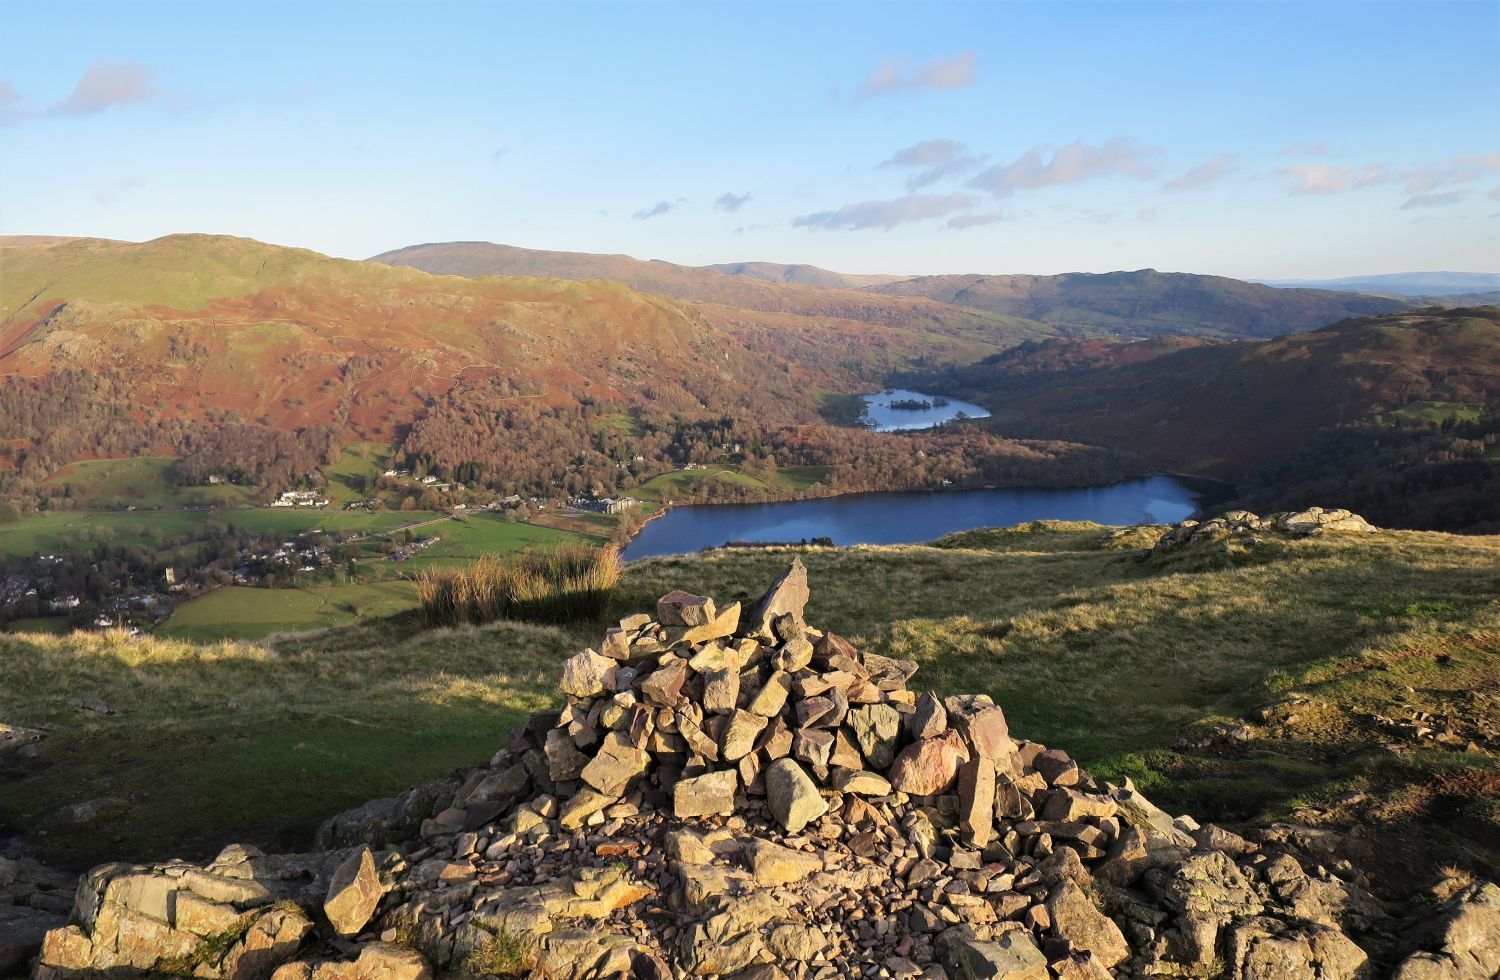 The Vale of Grasmere from the summit of Silver How
“The vale and village of Grasmere, seen in great detail, take pride of place in a very pleasing view, rich in lake scenery….This is probably as good a place as any for a newcomer to the district to appreciate its variety and unique charm.” Silver How 8
AW
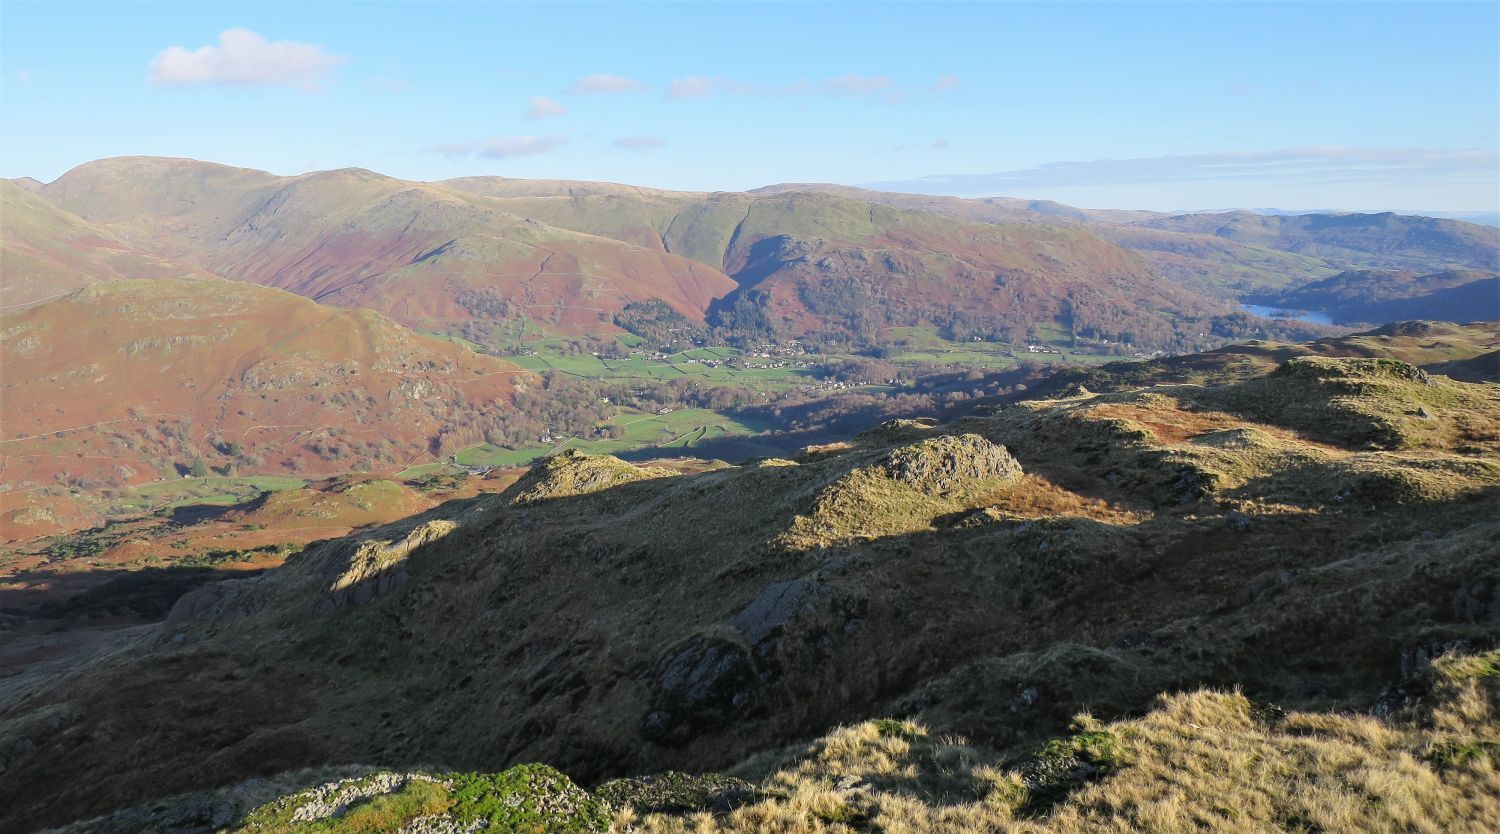
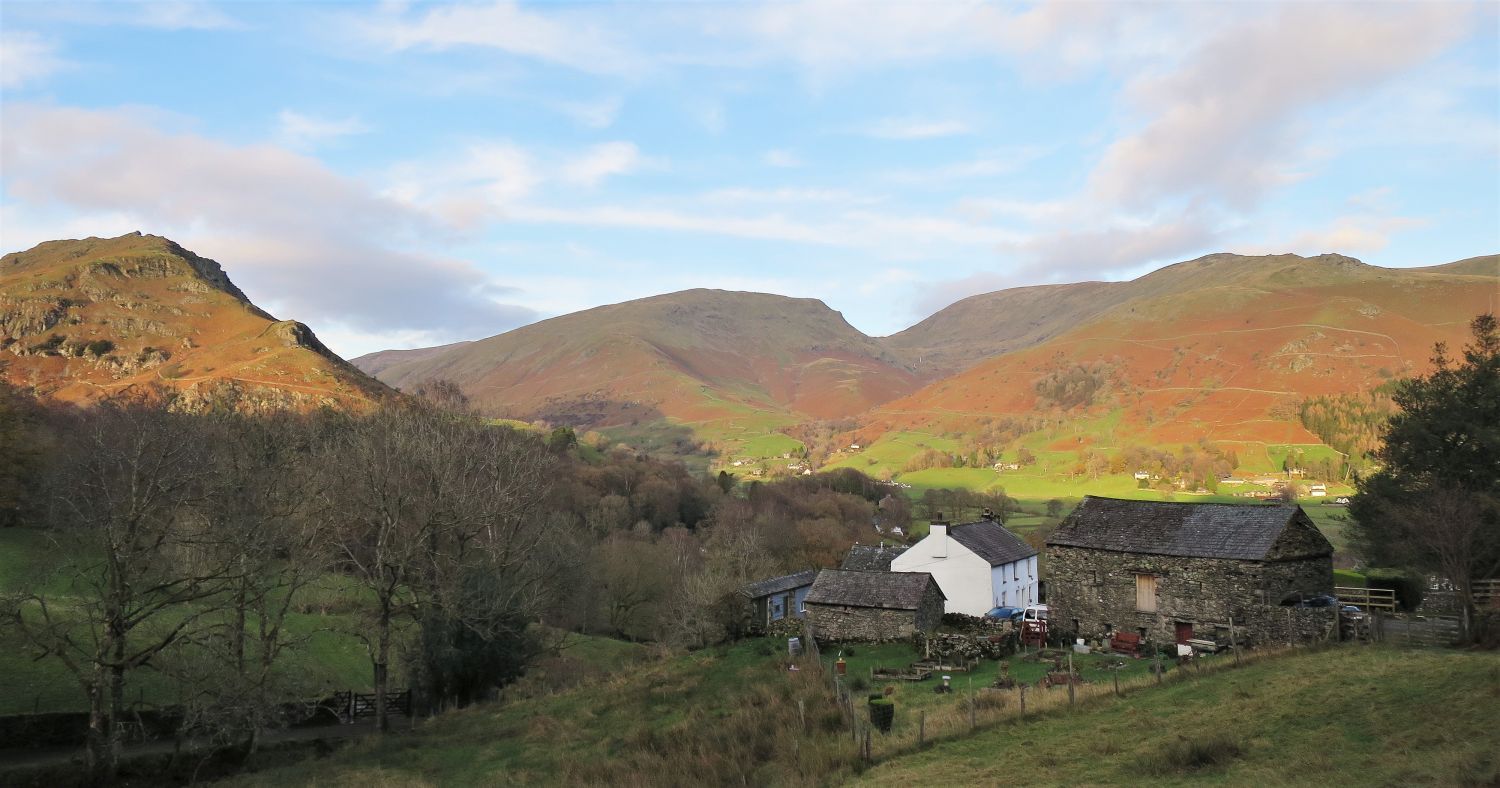
 The route via Brigstone Moss to the village of Grasmere from Silver How
The best route back to the village of Grasmere is by taking the north ridge, passing the depression of Brigstone Moss and crossing Wray Gill.
 Juniper on the north ridge of Silver How
Juniper is one of only three conifers native to the British Isles; the other two are Scots Pine and Yew. It was one of the first trees to colonise Cumbria after the ice age glaciers receded. Its dense prickly foliage provides good cover for nesting birds, such as the goldcrest and firecrest, and a number of birds eat the fruit, including the fieldfare, song thrush, mistle thrush and ring ouzel. Charcoal from juniper wood was prized in the manufacturing of gun powder owing to its consistent burn characteristics, and the berries are used to flavour gin; the word gin is derived from the Dutch word “genever”, meaning juniper.
Although juniper bushes thrive in poor soil and are well adapted to extreme weather conditions, they are heavily grazed by rabbits, sheep and deer, and bracken chokes the few seedlings they do produce. It will thrive in the crevices of rocky outcrops where grazing animals find access difficult, however, due to disease and not being able to regenerate successfully, sadly there are only a few scattered areas that remain of the once dense forest that covered the Lakeland Fells.
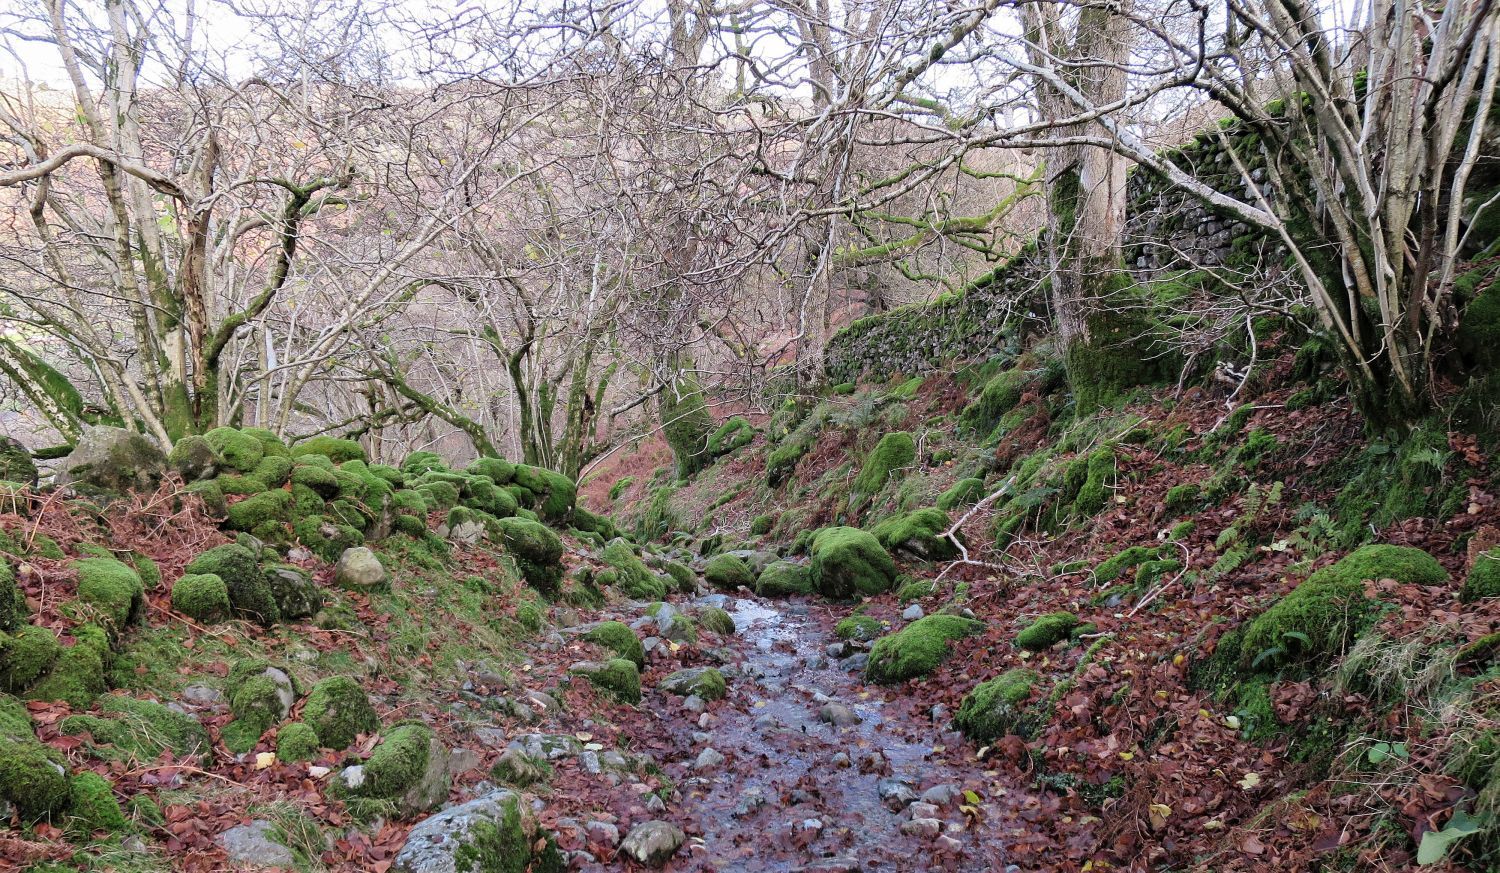 Old track leading to Allen Bank and the village of Grasmere
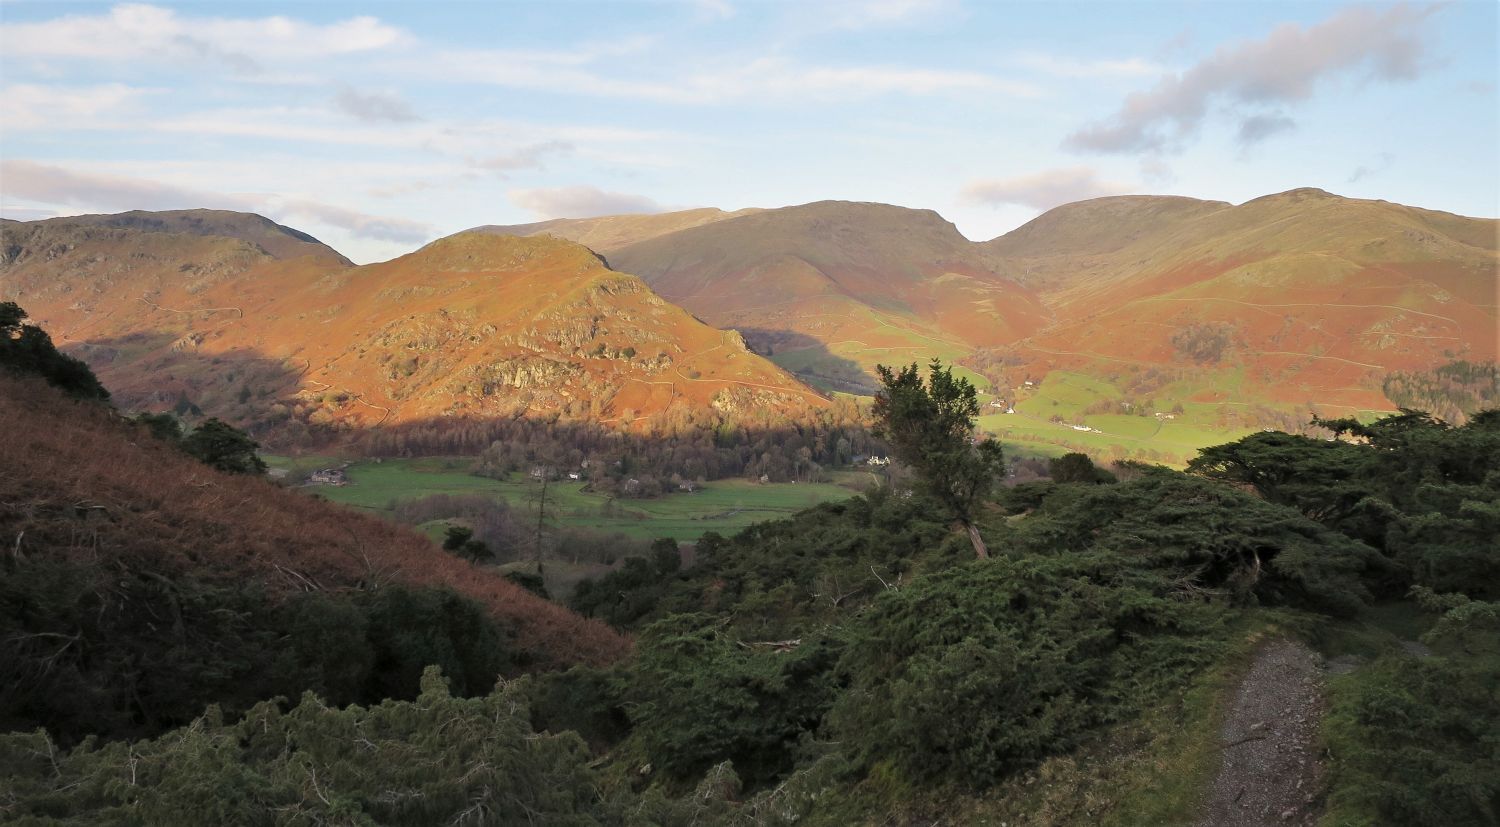
 Helm Crag and Low Score Crag (National Trust Farm)
Thank you for visiting.
Richard
<<>>
Thanks, sources and further reading:
‘Book Three – The Central Fells’ by Alfred Wainwright
The National Trust – Central and East Lakes Rangers
‘The Tarns of Lakeland – Vol. 2: East’ by John and Anne Nuttall
The Woodland Trust